Advertisement
Quick Links
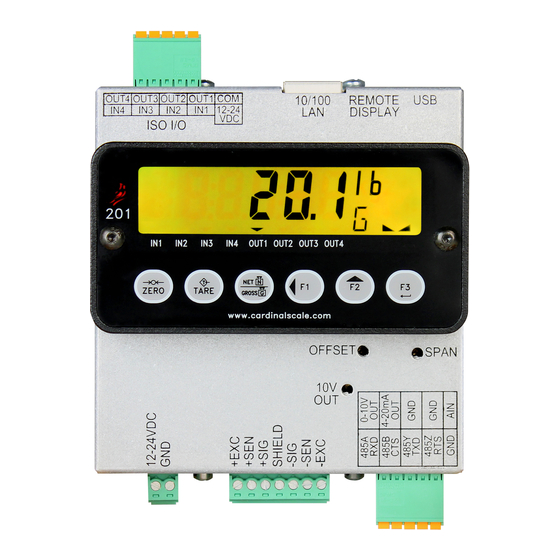
201
PC CONNECTIVITY
SETUP GUIDE
8400-0145-2M Rev A
203 E. Daugherty, Webb City, MO 64870 USA
Printed in USA
Ph: 417-673-4631 Fax: 417-673-2153
01/14
www.cardinalscale.com
Technical Support: Ph: 866-254-8261 tech@cardet.com
8400-0145-2M Rev A 201 PC Connectivity Setup Guide
1
Advertisement

Summary of Contents for Cardinal 201
- Page 1 PC CONNECTIVITY SETUP GUIDE 8400-0145-2M Rev A 203 E. Daugherty, Webb City, MO 64870 USA Printed in USA Ph: 417-673-4631 Fax: 417-673-2153 01/14 www.cardinalscale.com Technical Support: Ph: 866-254-8261 tech@cardet.com 8400-0145-2M Rev A 201 PC Connectivity Setup Guide...
- Page 2 8400-0145-2M Rev A 201 PC Connectivity Setup Guide...
- Page 3 PC / Laptop Ethernet For this configuration the PC and 201 will have to be assigned static IP addresses with the same netmask. For example assign IP address 192.168.1.22 to the 201. 1. Press F1 and F2 together. The 201 display will show: ...
- Page 4 28. Press F3. If the number shown is “000” press F3 to accept the value. Otherwise follow the same process as in step 22 to set the value to “000”. Press F3. 8400-0145-2M Rev A 201 PC Connectivity Setup Guide...
- Page 5 Press F3 to accept the setting. 45. Press F1 and F2 to save the settings. 46. The 201 will reboot “StatiC” then “P1=192”, “P2=168”, “P3=1”, and “P4=22”. If the startup does not appear like this repeat the steps to make sure the settings are correct.
- Page 6 Assign a Static IP Address to the PC. The IP address assigned must be different from the IP assigned to the 201. In this example we will use address 192.168.1.23. 1. Click the Windows “Start” button and then “Control Panel”.
- Page 7 7. Click “Use the following IP address” and type the appropriate values as shown. 8. Click Ok and then “Close”. 9. Open “Internet Explorer” and type in the address bar 192.168.1.22 8400-0145-2M Rev A 201 PC Connectivity Setup Guide...
- Page 8 In this case very little configuration is needed. Simply set the 201 to DHCP “on” and watch the display on the 201 as it is powered up to see what IP address was assigned automatically. Use this number in Internet Explorer.
- Page 9 8400-0145-2M Rev A 201 PC Connectivity Setup Guide...
- Page 10 8400-0145-2M Rev A 201 PC Connectivity Setup Guide...


