Advertisement
Quick Links
A-1 PC
B-5 PCS
C-1 PC
D-1 PC
E-1 PC
PLEASE NOTE:
The screws "G" and part "H" are pre-inserted into their correct holes to prevent
them from being lost in transit. Please remove them before assembly using the
allen key provided.
ASSEMBLY
INSTRUCTIONS
COREM001
F-2 PCS
L
R
G-6 PCS
M6×35mm
PRE-INSERTED
H-6 PCS
D6×D14×1.2mm
PRE-INSERTED
I-1 PC
Advertisement

Related Manuals for Office Boffins COREM001


Summary of Contents for Office Boffins COREM001
- Page 1 D-1 PC PRE-INSERTED I-1 PC E-1 PC COREM001 PLEASE NOTE: The screws “G” and part “H” are pre-inserted into their correct holes to prevent them from being lost in transit. Please remove them before assembly using the allen key provided.
- Page 2 Do not tighten bolts fully until you have completed assembly. DO NOT USE A POWER DRILL TO TIGHTEN THE SCREWS. TIGHTEN BY HAND WITH THE ALLEN KEY PROVIDED. G×3 G×3 H×3 H×3 B×5...
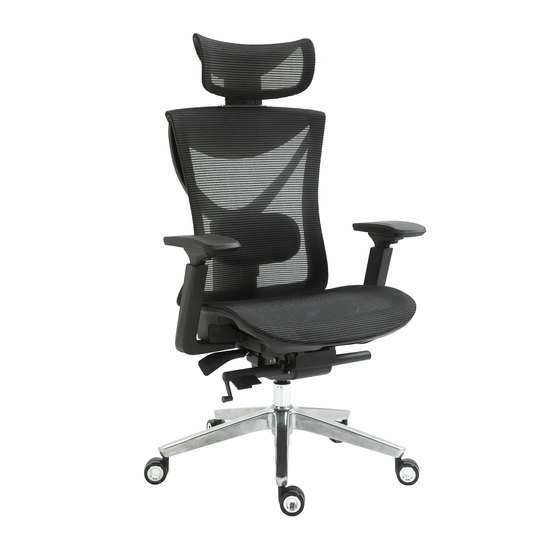
- Page 3 Height adjustable headrest 45° adjustment Height adjustable backrest Height adjustable arms Sliding arm pads Pivoting arm pads Seat Height Adjustment, lift handle Seat Depth Adjustment, push lever Weight Tension Adjustment, turn to raise / lower seat height. down to adjust seat depth. clockwise to increase resistance, anti-clockwise to decrease.
- Page 4 Seat Angle Adjustment, turn clockwise to Synchronised Tilt Adjustment, push handle release, tilt seat pad forward then turn down to release tilt, lift handle up to lock in anti-clockwise to lock into the pre-set postion. position. (approximately 5 degree tilt). 2 Position Back Angle Tilt, pull the lever out to release the back angle tilt.
Need help?
Do you have a question about the COREM001 and is the answer not in the manual?
Questions and answers