Do you have a question about the L903 and is the answer not in the manual?
Questions and answers
Gail Burrington
March 16, 2025
looking for caller ID advertised
1 comments:
Mr. Anderson
March 16, 2025
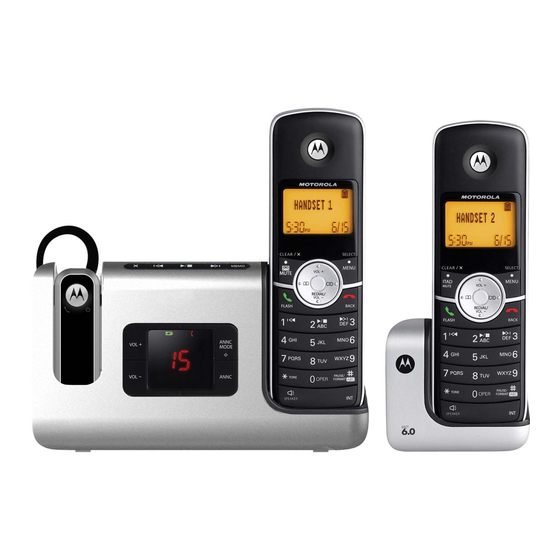
Yes, the Motorola L903 has Caller ID features. It displays the caller's number along with the date and time of the call, if provided by the network. If the number is unavailable, it shows "UNAVAILABLE," and if the call is from a withheld number, it shows "PRIVATE."


Need help?
Do you have a question about the L903 and is the answer not in the manual?
Questions and answers
looking for caller ID advertised
Yes, the Motorola L903 has Caller ID features. It displays the caller's number along with the date and time of the call, if provided by the network. If the number is unavailable, it shows "UNAVAILABLE," and if the call is from a withheld number, it shows "PRIVATE."
This answer is automatically generated