Advertisement
Quick Links
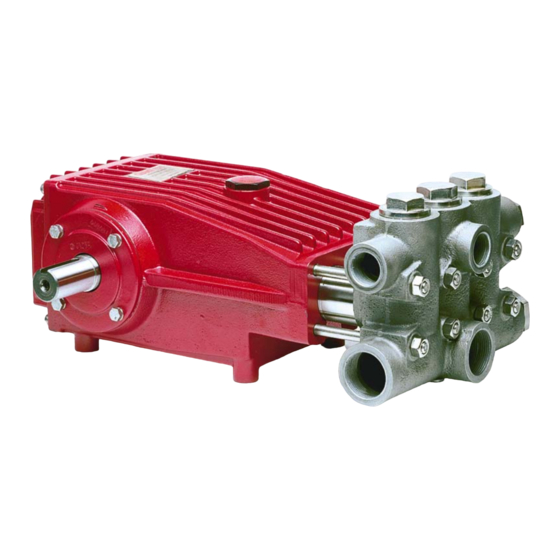
Model
LP121A-5100
Updated 11/02
Triplex Ceramic
Plunger Pump
Operating Instructions/
Repair and Service
Manual
Contents:
Installation Instructions: page 2
Pump Specifications:
Exploded View:
Parts List/Kits:
Repair Instructions:
Trouble Shooting:
Recommended Spare
Parts List/Pump
Mounting Selection
Guide/Torque
Specifications:
Dimensions:
page 3
page 4
page 5
pages 6-8
page 9
page 10
page 11
Advertisement

Related Manuals for Giant LP121A-5100


Summary of Contents for Giant LP121A-5100
- Page 1 Triplex Ceramic Plunger Pump Model Operating Instructions/ Repair and Service Manual LP121A-5100 Contents: Installation Instructions: page 2 Pump Specifications: page 3 Exploded View: page 4 Parts List/Kits: page 5 Repair Instructions: pages 6-8 Trouble Shooting: page 9 Recommended Spare Parts List/Pump...
- Page 2 Giant Industries, Inc. intervals of 500 hours or less depending on operating conditions. 4. Run the pump dry approximately 10 seconds to drain the water before exposure to freezing temperatures. NOTE: Contact Giant Industries for Service School Information. Phone: (419)-531-4600...
- Page 3 Specifications Model LP121A-5100 Volume ....................Up to 31.7 GPM (120 LPM) Discharge Pressure ................Up to 1740 PSI (120 Bar) Inlet Pressure ..................Up to 90 PSI (6.2 Bar) Speed ....................Up to 1000 RPM Plunger Diameter ................36 mm Stroke ....................
- Page 4 Exploded View - LP121A-5100...
- Page 5 SPARE PARTS LIST - LP121A-5100 PUMP ITEM PART NO. DESCRIPTION QTY. ITEM PART NO. DESCRIPTION QTY. 07759 Crankcase 07779 Flinger 13000 Oil Filler Plug 07133 Radial Shaft Seal 06085 Crankcase Cover 07135-0100 Seal Sleeve 07104 O-Ring 13291 Grooved Ring 07186...
- Page 6 1. With a 30mm wrench, re- 2. To disassemble the valve, screw the bolt into the retainer until move the six (6) plugs (48) the valve plate (45) presses the valve seat (44) out of the spring from the valve casing (43). retainer.
- Page 7 This is necessary to ensure proper place the seal retainer, complete curing of new loc-tite. Giant recommends cleaning the threads with (31) over the steel plunger base acetone or other suitable cleaner. Reassemble plunger assembly parts seat firmly into the crankcase.
- Page 8 48A) and tighten to 160 ft.-lbs. lubricating the o-ring (44A). Seat firmly into manifold. Contact Giant Industries or your local distributor for maintenance of the gear end of your pump. Phone: 419/531-4600 Contact Giant Industries for service school information. Phone: (419) 531-4600...
- Page 9 Adjust or Replace packing seals Excessive vacuum Reduce suction vacuum Cracked plungers Replace plungers Inlet pressure too high Reduce inlet pressure Wrong Grade of oil High Crankcase Giant oil is recommended Improper amount of oil in crankcase Temperature Adjust oil level to proper amount...
- Page 10 06496 - 35 mm H Bushing Pulley & Sheaves 07165 - 12.75” Cast Iron - 4 gr. AB Section Rails 07357 - Plated Steel Channel Rails (L=11.75”x W=1.88”x H=3.00”) LP121A-5100 TORQUE SPECIFICATIONS Position Item# Description Torque Amount 08093 Screw, Cover 125 in.-lbs.
- Page 11 LP121A-5100 DIMENSIONS - INCHES (mm)
- Page 12 Liability under this warranty is on all non-wear parts and limited to the replacement or repair of those products returned freight prepaid to Giant Industries which are deemed to be defective due to workmanship or failure of material. A Returned Goods Authorization (R.G.A.) number and completed warranty evaluation form is required prior to the return to Giant Industries of all products under warranty consideration.
Need help?
Do you have a question about the LP121A-5100 and is the answer not in the manual?
Questions and answers