Advertisement
Quick Links
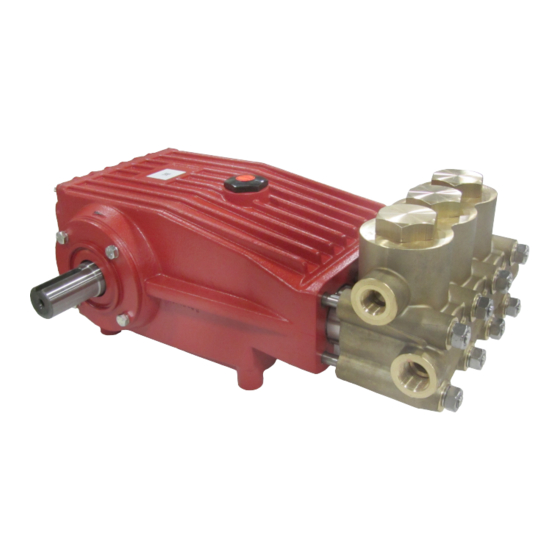
Model
LP460
Updated 11/13
Contents:
Installation Instructions:
Pump Specifications:
Exploded View:
Spare Parts List:
Repair Kits:
Preventative Maintanance Checklist:
Troubleshooting Chart:
Repair Instructions:
Pump Mounting Selection Guide:
Torque Specifications:
Dimensions:
Warranty Information:
Triplex Ceramic
Plunger Pump
Operating Instructions/
Repair and Service
Manual
page 2
page 3
page 4
page 5
page 6
page 6
page 7
page 8-9
page 10
page 10
page 11
back page
Advertisement

Related Manuals for Giant LP460


Summary of Contents for Giant LP460
- Page 1 Model Triplex Ceramic Plunger Pump Operating Instructions/ LP460 Repair and Service Manual Contents: Installation Instructions: page 2 Pump Specifications: page 3 Exploded View: page 4 Spare Parts List: page 5 Repair Kits: page 6 Preventative Maintanance Checklist: page 6 Troubleshooting Chart:...
-
Page 2: Installation Instructions
The pumps. The following information is to be use of a dampener with Giant Industries, Inc. considered as a general outline for instal- pumps is optional, although recommended by lation. -
Page 3: Pump Specifications
The desired pressure is achieved by select- requirements, use the following formula: ing the correct nozzle size that corresponds with HP = (GPM x PSI) / 1450 the pump GPM. LP460 Horsepower Requirements GPM 3000 PSI 4000 PSI 5000 PSI 5800 PSI 12.1 16.2 20.2 23.4... - Page 4 LP460 Exploded View...
- Page 5 LP460 Parts List Item Part # Description Qty. Item Part # Description Qty. 07759 Crankcase 29D 07258 Copper Ring 13000 Oil Filler Plug Assy. 07779 O-Ring 05940 Cover Plate 07133 Oil Seal 07223-0100 Spring Ring 04144 Seal Sleeve 05051 Hexagon Screw...
- Page 6 LP460 Repair Kits Plunger Packing Kit - # 09743 Valve Assembly Kit - # 09744 Item Part # Description Qty. Item Part # Description Qty. 07268 Pressure Ring 04145 O-Ring 07322 Sleeve 40A 05523 O-Ring 37A 05463 Sleeve 04263 Valve Assembly...
- Page 7 Adjust or Replace packing seals Excessive vacuum Reduce suction vacuum Cracked plungers Replace plungers Inlet pressure too high Reduce inlet pressure High Crankcase Wrong Grade of oil Giant oil is recommended Temperature Improper amount of oil in crankcase Adjust oil level to proper amount...
- Page 8 LP460 REPAIR INSTRUCTIONS To Check Valves Discharge Valves: screw off tension plugs (50). Take the spring tension cap (44A) out of the ex - posed discharge valve with flat nose pliers. Remove the valve seat (44D), if necessary with an M12 screw (screwing it into the M12 thread).
- Page 9 LP460 REPAIR INSTRUCTIONS To Dismantle Gear After removing the valve casing and plunger pipes, drain the oil. Screw off gear cover (4) and bearing cover (14). Take off the connecting rod screws and push the front of the connecting rods as far as possible into the crosshead guide.
-
Page 10: Pump Mounting Selection Guide
LP460 TORQUE SPECIFICATIONS Position Item# Description Torque Amount 13277 Inner Hex Screw, Connecting Rod 310 in.-lbs. (35 NM) 13007 Tension Screw, Plunger 265 in.-lbs. (30 NM) 07158 Hexagon Nut, Stud Bolts 59 ft.-lbs. (80 NM) 04122 Plug, Discharge 107 ft.-lbs. (145 NM) - Page 11 LP460 Dimensions - inches (mm)
- Page 12 A Returned Goods Authorization (R.G.A.) number and completed warranty evaluation form is required prior to the return to Giant Industries of all products under war- ranty consideration. Call (419)-531-4600 or fax (419)-531-6836 to obtain an R.G.A. number.
Need help?
Do you have a question about the LP460 and is the answer not in the manual?
Questions and answers