Table of Contents
Advertisement
Quick Links
Advertisement
Table of Contents

Related Manuals for Marantz AV 10


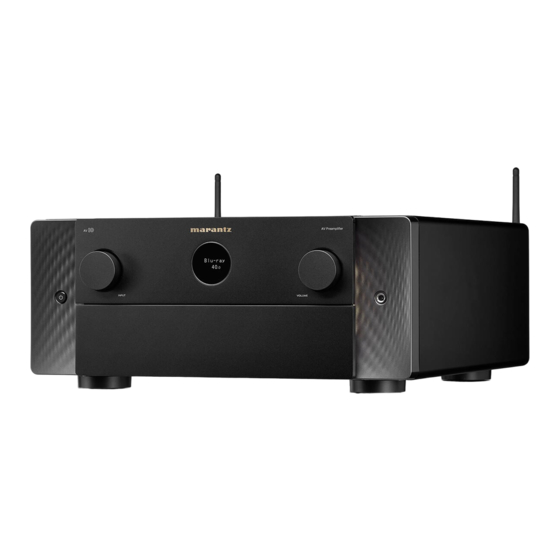
Summary of Contents for Marantz AV 10
- Page 1 AV Preamplifi er QUICK START GUIDE...
- Page 2 Welcome Thank you for choosing a Marantz AV 10. Use the Setup Assistant function to help configure the settings for this unit when you first set it up. Follow the guidance displayed on the TV screen connected to this unit to configure the settings.
-
Page 3: Before You Begin
Before you begin Required for setup Optional LAN cable Power amplifier Wi-Fi® router HDMI® cable Speakers / Speaker cables RCA cables XLR cables • When connecting this unit to a device that is compatible with the Deep Color, 4K, ARC and eARC functions, use a “High Speed HDMI cable with Ethernet”... - Page 4 What’s in the box Sound calibration Quick start guide AV 10 microphone stand Remote control Safety instructions Power cord (RC047SR) Notes on radio FM indoor antenna 2× R03/AAA batteries External antennas for Warranty AM loop antenna Bluetooth®/wireless (for USA and Canada)
- Page 5 Attach the included cable labels The supplied cable labels include labels for the speaker and HDMI cables. Attach a cable label to each cable that matches the speakers and HDMI devices being connected, as shown below. This makes it easy to identify and properly connect the cables between your components.
-
Page 6: Connect The Antennas
Optional 1) Place the antenna evenly over the antenna terminal located If you are connecting the AV 10 to a wired network, connect an at the upper left or right corner of the rear panel. Ethernet cable (not included) between the AV 10 and your router. -
Page 7: Connect The Power Cord
Place the AV 10 and power amplifi er Connect the power cord near your TV AV 10 AV 10 Power amplifi er Power cord... - Page 8 What is ARC and eARC? Audio Return Channel or “ARC” sends audio back to the AV 10 using the same HDMI cable that sends video from your AV 10 to your TV. This allows your AV 10 to process the sound from your...
- Page 9 Select the appropriate HDMI Turn on the TV input on your TV HDMI INPUT VIDEO TV remote control TV remote control...
- Page 10 Install batteries Turn on the AV 10 in the AV 10 remote control • Press the power On/Standby button on the remote control. • Batteries can be taken out in reversed order.
-
Page 11: Verify The Connection
Marantz AV 10. Use the remote control and follow the AV Preamp Setup Assistant instructions on the TV screen to complete the AV 10 settings using the Setup Assistant. English Please select a language... -
Page 12: Firmware Update
Firmware update If you see this screen after completing Setup Assistant, select Update Now to make sure your new AV 10 is up to date with the latest firmware and features. The following features are available for your AVP. Estimated time to install:... - Page 13 AV 10. HEOS app Marantz AVR Remote The HEOS app allows you to explore, browse, and play music from Control your new AVR with the latest Marantz AVR Remote app. many online streaming services or from your own music library.
- Page 14 Owner’s manual Refer to the online manual for other functions, information, and operation procedure details. manuals.marantz.com/AV10/NA/EN/ Online manual For more information, visit www.marantz.com...
-
Page 16: Trademark Information
Trademark information The Bluetooth® word mark and logos are registered trademarks owned by the The terms HDMI and HDMI High-Defi nition Multimedia Interface, and the HDMI Bluetooth SIG, Inc. and any use of such marks by D&M Holdings Inc. is under Logo are trademarks or registered trademarks of HDMI Licensing, LLC in the license. - Page 18 Printed in Japan 5411 11976 00AM © 2022 Sound United. All Rights Reserved.
Need help?
Do you have a question about the AV 10 and is the answer not in the manual?
Questions and answers