Table of Contents
Advertisement
Quick Links
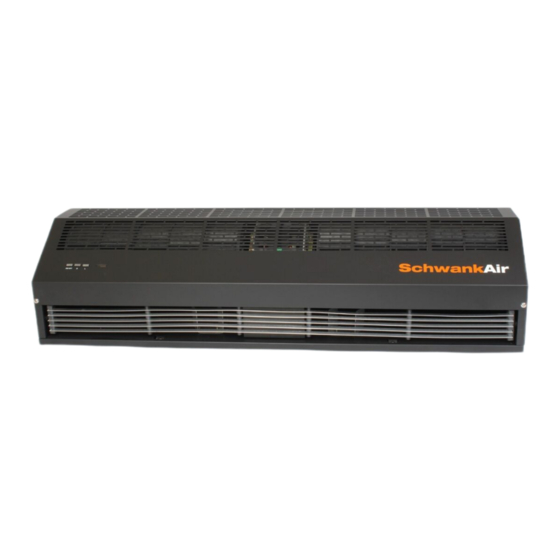
AIR CURTAIN – 1200 SERIES
INSTALLATION MANUAL
Schwank:
USA
2 Schwank Way
Waynesboro, GA 30830
Tel: 1-877-446-3727
Fax: 1-866-361-0523
www.schwankair.com
csr@schwankgroup.com
AC-1036-12-BK
AC-1048-12-BK
AC-1060-12-BK
Canada
5285 Bradco Blvd.
Mississauga, ON L4W 2A6
IM010919
1200 Series User Manual
September 1, 2019
RL: 1A
Advertisement
Table of Contents

Related Manuals for SchwankAir 1200 Series


Summary of Contents for SchwankAir 1200 Series
- Page 1 AIR CURTAIN – 1200 SERIES INSTALLATION MANUAL AC-1036-12-BK AC-1048-12-BK AC-1060-12-BK Schwank: Canada 2 Schwank Way 5285 Bradco Blvd. Waynesboro, GA 30830 Mississauga, ON L4W 2A6 Tel: 1-877-446-3727 IM010919 Fax: 1-866-361-0523 1200 Series User Manual September 1, 2019 www.schwankair.com RL: 1A...
-
Page 2: Product Introduction
CURTAIN. 1. PRODUCT INTRODUCTION Schwankair's newest top of class high efficiency air curtain provides excellent control of heat/cool loss in conditioned spaces allowing for lower energy costs. This new series also prevents flying insect protection. Common uses are retail doors such as restaurants, hotels, shopping malls, storage facilities. -
Page 3: Installation Caution
3. INSTALLATION CAUTION Must follow the following steps to install the 1200 series air curtain: 3.1 Install the unit to a rigid and sturdy structure to 3.2 Units for indoor use only. avoid shaking. Improper installation location may cause excessive vibration and noise. -
Page 4: Installation
4. INSTALLATION A. Installing on a concrete wall: 4.1.1 Remove the mounting plate from the back of 4.1.2 Drill anchor points in the wall and fix the the air curtain by removing the mounting screws at bolts in the proper position. Use the mounting the bottom flange. - Page 5 C. Hanging from the ceiling: 4.3.1 Remove the mounting plate from the main 4.3.2 Fix ceiling brackets as Figure below body (Same as step 4.1.1) 4.3.3 Set the mounting plate on the ceiling 4.3.4 Do the same as step A to install the main brackets and ensure safe installation (use the bolts body.
-
Page 6: Technical Parameter
5. TECHNICAL PARAMETER Max input Max air Air volume Noise power speed Net weight Volt. Freq (cfm) (dB) MODEL (m/s) (V~) (Hz) AC-1036-12-BK 1177 29.8 13.5 AC-1048-12-BK 1648 1295 37.5 AC-1060-12-BK 2119 1648 46.3 6. WIRING DIAGRAM BLUE(BROWN/RED) BLUE BROWN RECEIVER RECEIVER (YELLOW) -
Page 7: Replacement Parts List
9. REPLACEMENT PARTS LIST Items Item Description Parts Number For Model Number Face plate Casing Air guide grill Motor (36”) JC-0163-36 AC-1036-12-BK Motor (48”) JC-0163-48 AC-1048-12-BK Motor (60”) JC-0163-60 AC-1060-12-BK Bearing block JC-0141-XX ALL MODELS Bearing JC-0143-XX ALL MODELS Left wind wheel (36”) JC-0166-36 AC-1036-12-BK Right wind wheel (36”) -
Page 8: One Year Warranty
WARRANTY The Manufacturer warrants that this product is free from defects in material or workmanship under normal use and service subject to the terms of this document. ONE YEAR WARRANTY Subject to the conditions and limitations stated herein, during the term of this limited warranty, we will supply any component part (at our option a new or repaired component part) of the heater as defined below, which the Manufacturer’s examination determines to be defective in workmanship or material for a period of one (1) years from the date of installation, unless otherwise specified below.
Need help?
Do you have a question about the 1200 Series and is the answer not in the manual?
Questions and answers