Advertisement
About the Manual
- This manual is for reference only. The operation of the actual product shall prevail if there is any inconsistency.
- All the designs and software are subject to change without prior written notice.
- All trademarks and registered trademarks mentioned are the properties of their respective owners.
- Please visit our website or contact your local customer service if there is any problem when using the device.
- If there is any uncertainty or controversy, we reserve the right of final explanation.
Package Content

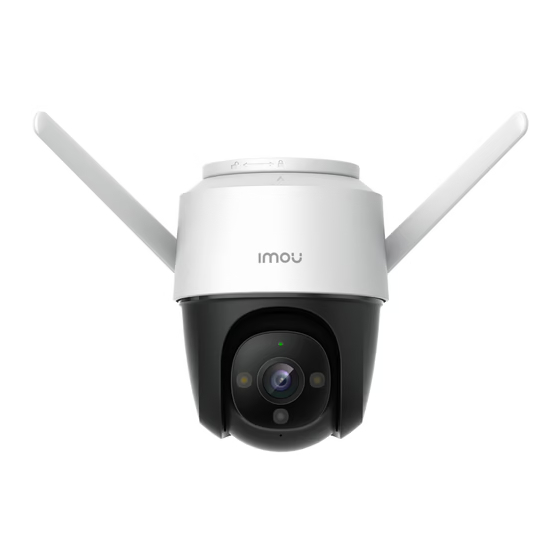
Camera Introduction
 Disconnect the camera from the power before installation or taking out its SD card.

- Press and hold the reset button for 10 s to reset the camera.
- Double-press the reset button to enable camera's hotspot.
See the table below for definitions of camera's LED behaviors.
| LED Indicator Status | Device Status |
| Off |
|
| Solid red |
|
| Flashing red |
|
| Flashing green |
|
| Solid green | Operating properly |
| Flashing green and red alternately | Updating firmware |
Setting up Camera
Follow the steps below to add the camera to your Imou account.
Step 1 Scan the following QR code or search "Imou Life" in Google Play or App Store to download and install the app.


If you already use the app, make sure that you are using the latest
Step 2 Launch the app. Then create an account if you are a new user.
Step 3 Connect the camera to power source with the power adapter.
Step 4 After the camera boots up, the LED indicator light flashes green (wire-free camera) or is on solid green (wired camera).
If the LED indicator status goes wrong, reset the camera.
Step 5 Follow the on-screen prompts to add the camera. Repeat the adding process if you have multiple cameras.

Installing Camera
Make sure that the mounting surface is strong enough to hold at least three times the weight of the camera and the bracket.
Ceiling Mount

Step 1 Peel off the U-shaped mounting template and stick it to the desired installation area.
Step 2 Drill holes into the mounting surface as the mounting template marks and then insert wall anchors as needed.
Step 3 Secure the mounting bracket to the surface with included mounting screws.
Step 4 Align ![]() on the top of the camera with
on the top of the camera with ![]() on the bracket, then fit the two parts together.
on the bracket, then fit the two parts together.
Step 5 Rotate the camera counterclockwise until it is locked. Make sure ![]() align with
align with ![]() .
.
Step 6 Power on the camera and then adjust its angle properly.
Wall Mount

Step 1 Peel off the rectangular mounting template and stick it to the desired installation area.
Step 2 Drill holes into the mounting surface as the mounting template marks and then insert wall anchors as needed.
Step 3 Secure the mounting bracket to the surface with included mounting screws.
Step 4 Align ![]() on the top of the camera with
on the top of the camera with ![]() on the bracket, then fit the two parts together.
on the bracket, then fit the two parts together.
Step 5 Rotate the camera counterclockwise until it is locked. Make sure ![]() align with
align with ![]() .
.
Step 6 Power on the camera and then adjust its angle properly.
Pole Mount
- Make sure that the pole is strong enough to hold at least three times the weight of the camera and the bracket.
- The hoops are not provided. Please prepare them in advance.

Step 1 Thread the hoop through the mounting holes on the bracket, then attach the bracket to the pole.
Step 2 Align ![]() on the top of the camera with
on the top of the camera with ![]() on the bracket, then fit the two parts together.
on the bracket, then fit the two parts together.
Step 3 Rotate the camera counterclockwise until it is locked. Make sure ![]() align with
align with ![]() .
.
Step 4 Power on the camera and then adjust its angle properly.
FAQ
Q: The device cannot boot up or work as expected?
Check the LED indicator status. If the light is not in green, press and hold the reset button for 10 s to reset the camera.
Q: How to connect the camera to another Wi-Fi network?
- If the camera is online, select Device Details > Network Config to change the Wi-Fi connection on the app.
- If the camera is offline, reset the camera, and then configure the camera again.
Q: Connection takes too long?
- Check if the distance between the camera and the router, and that between the camera and the smart phone is both within 5 m (16.4 ft) during the connection.
- Check the Wi-Fi configuration of the router: Select the channel to auto, and the mode to 11bgn mixed.
Q: When the micro SD card is full, how is the recorded video saved?
When the micro SD card is full, the system will overwrite the previous recorded videos. Save the important information in time.
Q: Where are the recorded videos saved?
If you have activated the cloud storage and installed a micro SD card, the recordings will be both saved to the card and cloud. If the cloud storage is deactivated, the recordings are saved to the SD card. Videos recorded during live view or playback is saved on your phone.
Q: The device is offline?
Check the indicator status:
- Solid green: Check whether the router can connect to the Internet. If the network is connected, restart the camera.
- Flashing red: Reset the camera, and then configure the camera again.
- Solid red: The camera is faulty.
For more questions, please scan the QR code below or visit: www.imoulife.com/web/support/help


Documents / Resources
References
Download manual
Here you can download full pdf version of manual, it may contain additional safety instructions, warranty information, FCC rules, etc.
Advertisement


Need help?
Do you have a question about the 2AVYF-IPC-S4XF-D and is the answer not in the manual?
Questions and answers