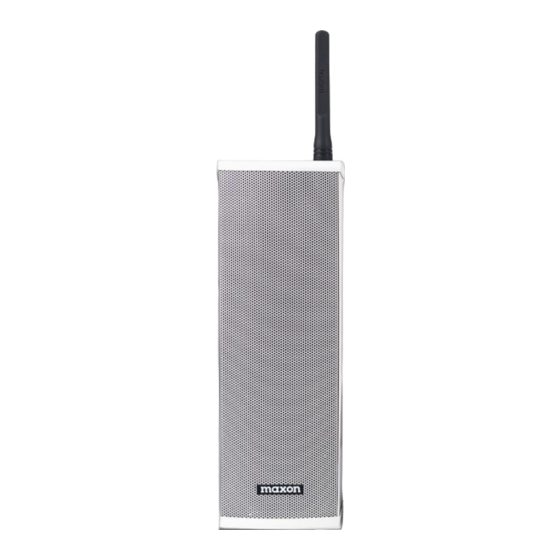
Summary of Contents for Maxon MDS Series
- Page 1 MDS Series Wireless Speakers Programming Guide 11535W 83 Terrace, Lenexa, KS 66214 Toll-Free. 800-456-2071(US Only) 913-859-9515 Website www.maxonamerica.com...
- Page 2 PROGRAMMING THE MDS SPEAKER 1. Speakers should be programmed before installation. 2. Power on only the speaker you want to program and wait for its power-up chime before you start programming. Speakers are “powered on” when plugged into a power source and/or their battery back-up switch is turned on with a charged battery.
- Page 3 Device Manager on your computer. The driver for the dongle is made by Silicon Labs. In this instance it is COM8. You will receive an error if the wrong COM port is selected. b. Read the MDS-Speaker via the pull-down selection at the top under “Programming”...
- Page 4 **If you are working with a previously saved speaker file: a. Get to the main page and select “File” or the “Open” icon. c. Locate the (.bin) file you previously saved to your computer, click on the file, & open it in the CPS programmer. 3.
- Page 5 Basic Settings a. Speaker Alias: Alphanumeric name or number that will represent either the speaker model number or the location of the speaker. Example: Warehouse. b. Boot Zone: Zone has a maximum or 32 channels as Channel Members. These members correspond to the channel number. Members can be arranged by moving a channel up or down in the list.
- Page 6 be in the zone. Channel/DMR Menu a. DMRDigiCh displays the ID of the speaker along with digital channel information. b. This chart makes it easy to create a list of channels by automatically creating the number of channels, the channel name, color code and slot number.
- Page 7 a. Channel Alias is the name that shows up on the display of the radio. b. Slot 1 or Slot 2 are selectable and should match the transmitting radio. c. RX Frequency of the speaker. d. RX CC is the color code of 0-15. e.
- Page 8 Analog Channel Edit a. Channel Alias is the name that shows up on the display of the radio. b. Analog Bandwidth may or may not be selectable. This depends on the software version. 12.5kHz or 25kHz c. Tail Degree is the frequency shift to eliminate the squelch tail. d.
- Page 9 A mixed channel allows the speaker to receive either a digital channel or an analog channel without changing the channel on the speaker. a. Channel Alias is the name that shows up on the display of the radio. b. Digital Channel Type can’t be edited. c.
- Page 10 DMR RX Group List a. Multiple DMR Group lists can be made. In this instance DMRRXGroupList 1 has the member Group 1. b. Only Call Types with a Group Call are displayed. 4. Save Your Work There are 2 ways to access Save as shown below. Next type in the file name then Save.
- Page 11 5. Write to the Speaker (Speaker Programming) a. With the speaker on, connect the BLE Dongle to the PC. (The speaker will make a chiming sound for “Connected”) b. Select the ComPort. c. Click on the Write icon to write the current information to the speaker. d.
- Page 12 MDP-6424 Programming & Operation w/ MDS Speakers Maxon’s MDP-6424 is currently the only radio model available to remotely adjust the volume of a speaker without the CPS program. Any DMR UHF radio or UHF analog radio can talk through the speakers, but they cannot adjust the volume.
- Page 13 4. MDS Set: Sends the ID and volume level information to the speaker. d. From the top left button on the front of the radio, “Contacts” can be selected and the MDS speaker to be adjusted. There you can view the speaker ID number and set the volume.
- Page 14 MDP-6424 Operation 1. Turn on the radio and also the speaker you wish to adjust. 2. There are 2 ways to access the speaker volume adjustment on the radio. a. One is by pressing the “menu” button and selecting “Contacts”. Scroll to find all of the contacts programmed into the radio.
- Page 15 number 3, bypassing number 2 “MDS Contacts”. 2. MDS Contacts: This list only shows the MDS speaker contacts. Press the menu button to see the speakers. Scroll and select the speaker you wish to adjust the volume. Next move to step 3. 3.


Need help?
Do you have a question about the MDS Series and is the answer not in the manual?
Questions and answers