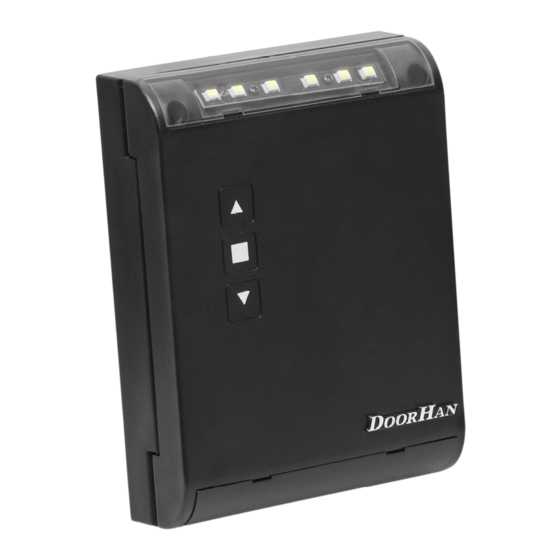
Summary of Contents for DoorHan SMARTROLL
-
Page 1: Table Of Contents
Electrical Connections Operator Programming Remote Control Programming Плата SMARTROLL SMARTROLL Control Board Руководство по программированию Programming Instructions Актуально для версий: Actual Versions: ПО — v 1.0; плата — v 1.2 Soft — v 1.0; pcb — v 1.2 © DoorHan, 06.2022... -
Page 2: Электрические Подключения
ЭЛЕКТРИЧЕСКИЕ ПОДКЛЮЧЕНИЯ 1. ЭЛЕКТРИЧЕСКИЕ ПОДКЛЮЧЕНИЯ 1.1. СХЕМА ПОДКЛЮЧЕНИЯ БЛОКА УПРАВЛЕНИЯ ВНИМАНИЕ! Провода должны быть защищены от контакта с любыми шероховатостями и острыми деталями. Все подключения проводите только при выключенном питании. Сеть ~ 220–240 В Перемычка ~ 220–240 В Двухпозиционный выключатель / Com Cl Op ключ-выключатель... - Page 3 ЭЛЕКТРИЧЕСКИЕ ПОДКЛЮЧЕНИЯ Окончание табл. 1.1 Клеммы Тип Цвет Разъем Подключение устройств № Обозначение Команда «пошаговое управление». Замыкание контактов устройства, подклю- ченного к этой клемме, приводит к пошаговому управлению по схеме: откры- вание — стоп — закрывание — стоп Команда «открывание». Замыкание контактов устройства, подключенного к Open этой...
-
Page 4: Программирование Привода
ПРОГРАММИРОВАНИЕ ПРИВОДА 1.3. СХЕМА ПОДКЛЮЧЕНИЯ ФОТОЭЛЕМЕНТОВ Photocell-N ВНИМАНИЕ! Если к клемме «Stop» не подключены устройства безопасности, установите перемычку между ней и общим (GND) контактом. 2. ПРОГРАММИРОВАНИЕ ПРИВОДА 2.1. ВЫБОР РЕЖИМА РАБОТЫ ПЛАТЫ Выбор режима работы осуществляется нажатием кнопки «Р». Количество нажатий будет соответствовать номеру вы- бранного... -
Page 5: Программирование Пультов Ду
ПРОГРАММИРОВАНИЕ ПУЛЬТОВ ДУ 2.2. НАСТРОЙКА КРАЙНИХ ПОЛОЖЕНИЙ И АВТОМАТИЧЕСКОГО ЗАКРЫВАНИЯ 1. Убедитесь, что роллеты находятся в закрытом положении. 2. Нажмите и удерживайте кнопку «P», загорится индикатор «Program». Через три секунды прозвучит короткий звуко- вой сигнал, и роллеты начнут движение на открывание. 3. - Page 6 пульта в приемник. 3.4. УДАЛЕННОЕ ПРОГРАММИРОВАНИЕ ПУЛЬТОВ ПРИ ПОМОЩИ МНОГОКАНАЛЬНЫХ ПУЛЬТОВ DOORHAN 1. Нажмите кнопку, расположенную на задней поверхности многоканального пульта DoorHan. Данная кнопка выво- дит плату управления в режим записи пультов (прозвучит короткий звуковой сигнал, индикатор «Remote» загорит- ся) при условии, что данный пульт ранее был записан в плату управления.
-
Page 7: Electrical Connections
ELECTRICAL CONNECTIONS 1. ELECTRICAL CONNECTIONS 1.1. CONTROL UNIT WIRING DIAGRAM WARNING! The cable wires shall be protected from contact with any rough and sharp details. Before attempting any work on the control board (connections, maintenance), always turn off power. Сеть ~ 220–240 В... - Page 8 ELECTRICAL CONNECTIONS Table 1.1 continued Terminals Connec- Type Colour Device connection № Title STEP-BY-STEP CONTROL command. Closing the contacts of the device connected to this terminal generates step-by-step control: open — stop — close — stop OPEN command. Closing the contacts of the device connected to this terminal Open makes the control unit to open CLOSE command.
-
Page 9: Operator Programming
OPERATOR PROGRAMMING 1.3. PHOTOCELLS WIRING DIAGRAM Photocell-N WARNING! If no safety devices are connected to the “Stop” terminal then set a jumper between this contact and the com- mon (GND) contact. 2. OPERATOR PROGRAMMING 2.1. CONTROL BOARD OPERATING MODES Selection of operating mode is performed with the “P” button. Number of the “P” button clicks corresponds to the selected operating mode number: ƒ... -
Page 10: Remote Control Programming
REMOTE CONTROL PROGRAMMING 2.2. TRAVEL LIMITS AND AUTOMATIC CLOSING ADJUSTMENT 1. Verify that rolling shutters are closed. 2. Press and hold the “P” button till the “Program” indicator lights up. A short beep will sound in three seconds and the rolling shutter will start opening. - Page 11 REMOTE CONTROL PROGRAMMING 3.4. REMOTE PROGRAMMING OF CONTROLS WITH DOORHAN MULTI-CHANNEL REMOTE CONTROLS 1. Press the button located on the rear side of the multi-channel control. This button makes the control board enter the re- mote control recording mode (a short beep will sound, and the “Remote” indicator will light up), provided that the remote control was previously recorded in the control board.
- Page 12 For information on purchasing, distribution and servicing contact DoorHan central office at: 120 Novaya street bld. 1, Akulovo village, Odintsovo city, Moscow region, 143002, Russia Phone: +7 495 933-24-00 E-mail: info@doorhan.com...


Need help?
Do you have a question about the SMARTROLL and is the answer not in the manual?
Questions and answers