Subscribe to Our Youtube Channel
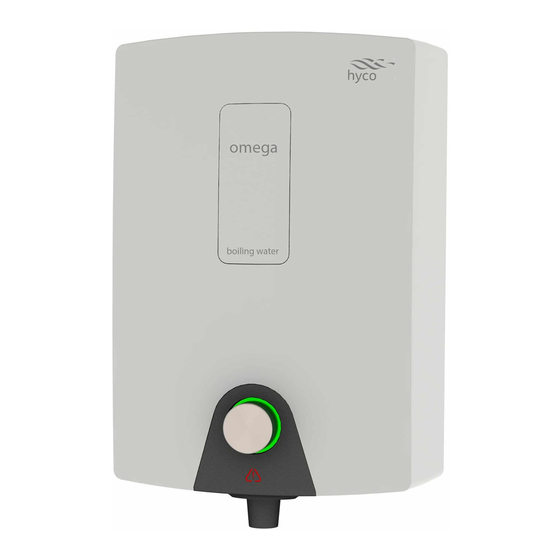
Summary of Contents for Hyco Omega OMEG3
- Page 1 Omega.qxp_Layout 1 08/03/2017 13:23 Page 1 Product Instruction Manual mega OMEG3, OMEG5 Automatic Boiling Water Unit Version 3.2 Jan 2015 V22.12.1...
-
Page 2: Important Safety Points
Thank you for purchasing from our Omega range of wall mounted automatic boiling water units. Available in sizes of 3 & 5 Litres, the Hyco Omega is a great way to provide the hot drinks that will keep a busy work team happy and productive. - Page 3 Omega.qxp_Layout 1 08/03/2017 13:23 Page 3 If the power cord is damaged, discontinue use immediately. Replacement of the power cord must be carried out by the manufacturer or their service engineer. Children shall not play with the appliance. This appliance can be used by children aged 12 and above and persons with reduced physical, sensory or mental capabilities or lack of experience and knowledge if they have been given supervision or instruction concerning the use of this appliance in a safe way.
-
Page 4: Installation
Omega.qxp_Layout 1 08/03/2017 13:23 Page 4 2. Installation Step 1 - Removing the cover Lever the outlet nozzle away from the surround as shown (fig 1). A click indicates the nozzle is successfully detached from the surround. Lower the outlet nozzle to unhook it from the surround (fig 2). - Page 5 Omega.qxp_Layout 1 08/03/2017 13:23 Page 5 The cover can now be lifted away from the back plate. It may be necessary to apply a small amount of pressure to the grey section to facilitate removal of the cover (fig 4). Fig 4 Step 2 - Selecting a mounting position Position the unit bearing in mind it will contain scalding hot water and should not be...
- Page 6 Omega.qxp_Layout 1 08/03/2017 13:23 Page 6 Step 4 - Plumbing connections It is recommended the supplied 15mm compression fittings are used. Inlet connection Connect the cold water supply to the inlet connection below the solenoid valve (marked INLET). • This unit is intended to be permanently connected to the water mains and should not be connected by a detachable hose-set.
-
Page 7: Step 7 - Commissioning And Operation
Omega.qxp_Layout 1 08/03/2017 13:23 Page 7 Step 5 - refitting the cover and outlet SLOT • Slide the cover back over the unit, ensuring not to trap the outlet tubes at the base of the unit. Then secure with the 4 cover screws. •... -
Page 8: Operation
Omega.qxp_Layout 1 08/03/2017 13:23 Page 8 • When the water has reached operating temperature the commissioning phase ends and the unit switches to normal operating mode. This is indicated by the status ring changing from red to green. 3. Operation Status ring and caution indicators •... -
Page 9: Maintenance
Omega.qxp_Layout 1 08/03/2017 13:23 Page 9 4. Maintenance • Clean with a damp cloth only - do not use abrasives. • Periodically (at least every 12 months) remove internal lime-scale build up using a standard domestic kettle de-scaling compound. Access to the tank is via the lid at the top of the unit. -
Page 10: Specifications
Omega.qxp_Layout 1 08/03/2017 13:23 Page 10 5. Specifications Model OMEG3 OMEG5 Power 2.84kW Initial draw off 18/12 30/20 (Cups/Mugs)* Recovery rate (Cups/hr)* Voltage 230V~ Frequency 50Hz Min working pressure 0.2bar/0.02MPa Max working pressure 10bar/1MPa Ambient operating temperature 5-35°C Capacity Dimensions (mm) H500mm x W330mm x D255mm *initial draw off based on 167ml cup and 250ml mug (inc.control valve) - Page 11 This product is guaranteed against faulty materials and manufacture for a period of one year from the date of purchase. Hyco will in its sole discretion replace, repair or refund any faulty unit. Incorrect installation and failure to follow correct operating instructions are excluded.
- Page 12 In order to underline the duty to dispose of this equipment separately, the product is marked with a crossed out dustbin. Hyco Manufacturing Ltd Normandy Court Express Way...


Need help?
Do you have a question about the Omega OMEG3 and is the answer not in the manual?
Questions and answers