Panasonic NA-V10FX1 Operating & Installation Instructions Manual
Hide thumbs
Also See for NA-V10FX1:
- Operating & installation instructions manual (44 pages) ,
- Service manual (62 pages) ,
- Operating & installation instructions manual (44 pages)
Table of Contents
Advertisement
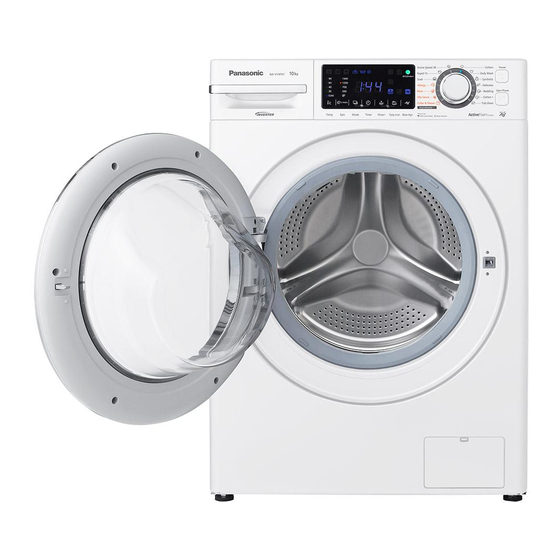
Model No.
EN
Thank you for purchasing this product.
- Read these instructions carefully for optimum
performance and safety before use.
- Keep this manual for future reference.
Operating & Installation
NA-V10FX1 NA-V90FX1 NA-V80FX1
NA-V10FG1 NA-V90FG1 NA-V80FB1
Contents
Instructions
Washing Machine
(Household Use)
AWW9901A30A0-0B0
2
6
7
8
10
12
14
16
18
20
26
27
31
37
38
39
41
43
44
Advertisement
Table of Contents


Need help?
Do you have a question about the NA-V10FX1 and is the answer not in the manual?
Questions and answers