Table of Contents
Advertisement
Advertisement
Table of Contents

Subscribe to Our Youtube Channel
Related Manuals for Maxent MX-50X3


Summary of Contents for Maxent MX-50X3
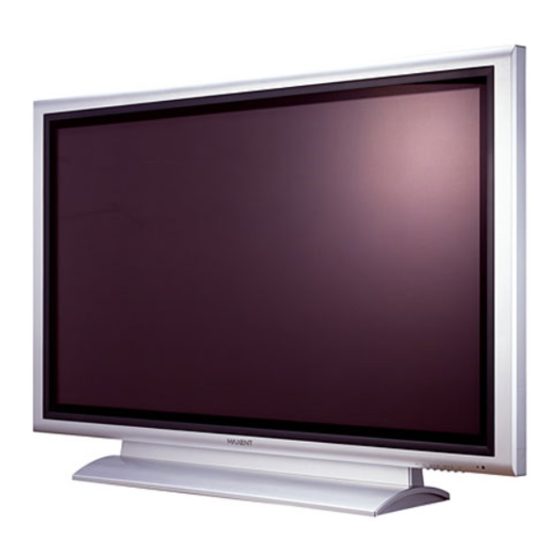
- Page 1 50” PDP Monitor Owners Manual...
-
Page 2: Important Safety Instructions
Important Safety Instructions WARNING: To reduce the risk of electric shock, do not remove the front or back covers. No user-serviceable parts inside. Refer servicing to qualified service personnel only. The lightning flash with arrow-head within a triangle is intended to inform the user that parts inside the product are a risk of electric shock. -
Page 3: Cleaning & Maintenance
Avoid overhead power lines. An outdoor antenna system should not be placed in the vicinity of overhead power lines, electric lights, or power circuits. When installing an outdoor antenna, be careful to not touch any power lines or circuits as contact with these lines can be fatal. Do not insert any foreign objects through the ventilation openings to the display. -
Page 4: Regulatory Notice
Increase the separation between the equipment and receiver. Connect the equipment into an outlet on a circuit different from that to which the receiver is connected. Consult the dealer or an experienced radio/TV technician for help. Warning User must use shielded signal interface cables to maintain FCC compliance for the product. Provided with this display is a detachable power supply cord with IEC320 style terminations. -
Page 5: Table Of Contents
Important Safety Instructions ... 2 Special Notices ... 2 Warnings & Precautions ... 2 Cleaning & Maintenance ... 3 Special Warranty Info ... 3 Regulatory Notice ... 4 Getting to Know Your Display ... 7 Package Contents ... 8 Optional Accessories ... 8 Front Panel Controls ... - Page 6 Table of Contents Appendix ... 55 Troubleshooting ... 56 Wall Mount Instructions ... 57 Side Mount Speaker Installation ... 59 Specifications ... 61 Index ... 63...
-
Page 7: Getting To Know Your Display
Flat Panel Monitor Getting to Know Your Display... -
Page 8: Package Contents
Getting to Know Your Display Package Contents Flat Panel Display Remote Control Batteries 50" PDD Monitor User Manual Warranty Card AC Power Cord Side-Mount Speakers VGA Cable Notes: RGB Cable may require separate purchase. -
Page 9: Front Panel Controls
Front Panel Controls Status LED Not Illuminated - No AC Power detected If the main power switch (rear of panel) is turned off, this LED will not illuminate. Orange - Standby (Power OFF) with AC power detected The LED will illuminate in orange color if the monitor is shut-off but the main power cord is plugged into the back of the unit. -
Page 10: Rear Panel Connections
Getting to Know Your Display Rear Panel Connections Composite / S-Video Inputs Connect Composite or S-Video signals from external sources such VCRs or DVD players. Component Video Inputs Auto-detecting component video inputs (Y/Pb/Pr or Y/Cb/Cr) for connecting to the component output jacks of a DVD player or Set-Top Box. -
Page 11: Remote Control
Getting to Know Your Display Remote Control Standby Power On/Off Push this button to turn on the monitor from Standby mode. Push it again to return to Standby mode. Number Keypad Use number keypad to set up system passcode only. Sound Mute On/Off To switch the sound off and back on again. -
Page 12: Battery Installation
ON to power on from standby mode. Direct Input Selection Keys Directly change input signal selection by pressing the appropriate key. (TV direct input key is not applicable to this monitor.) *Feature can be accessed by using 3rd party tuner through external device. -
Page 13: Display Connections
Flat Panel Monitor Display Connections... -
Page 14: Connecting A Vcr
S-Video connector. Note: There are two sets of S-Video inputs provided. For TV Channels setup please refer to VCR user manual for details. Using Composite Input Connect the yellow (video) out connector from the VCR to the yellow video input on the back of monitor. -
Page 15: Connecting A Dvd
Connecting a DVD Using Component Video Input There are two sets of component video inputs provided. You can use either set of component inputs to connect your DVD. Connect the green-colored (labeled as Y) jack from the DVD to the green-colored jack of the monitor. -
Page 16: Using Composite Input
Display Connections Connecting a DVD (con’t) Using S-Video Input Connect the S-Video (4-pin DIN) connector from the DVD to the S-Video input on the back of monitor. Connect the red (R) and white (L) audio jacks from the DVD to the (R) and (L) audio-in jacks located next to the S-Video connector. -
Page 17: Component Video Input
Connecting a Set-Top Box Using Component Video Input There are two sets of component video inputs provided. You can use either set of component inputs to connect your STB. Some HDTV Set top boxes may not have a Component Video output. Instead, use RGB input method. -
Page 18: External Audio Connections
Display Connections Connecting a Set-Top Box (con’t) Using HDMI Input Connect the HDMI connector from the back of the HDTV set top box to the HDMI Connector located on the back of the monitor. Notes: Some HDTV Set top boxes may not have a HDMI output. Use Component Video input or RGB input method if this is the case. -
Page 19: Connecting A Subwoofer
Connecting a Subwoofer This monitor is equipped with a subwoofer output for connecting to an external amplified subwoofer. Connect a RCA cable from the subwoofer’s input to the subwoofer’s output jack on the back of the monitor. Notes: The RCA subwoofer outputs frequencies below 120Hz. -
Page 20: Setting Up Your Monitor Using Plug And Play
Display Connections Connecting a PC (con’t) Setting Up Your Monitor Using Plug and Play This monitor adheres to VESA Plug and Play standard to eliminate complicated and time consuming setup of monitors. This monitor identifies itself to the computer and automatically sends the PC its Extended Display Identification Data (EDID) using Display Data Channel (DDC) protocols.
Need help?
Do you have a question about the MX-50X3 and is the answer not in the manual?
Questions and answers