Advertisement
Quick Links
Advertisement

Related Manuals for Raynor TEMPUR-PEDIC TP210EHS


Summary of Contents for Raynor TEMPUR-PEDIC TP210EHS
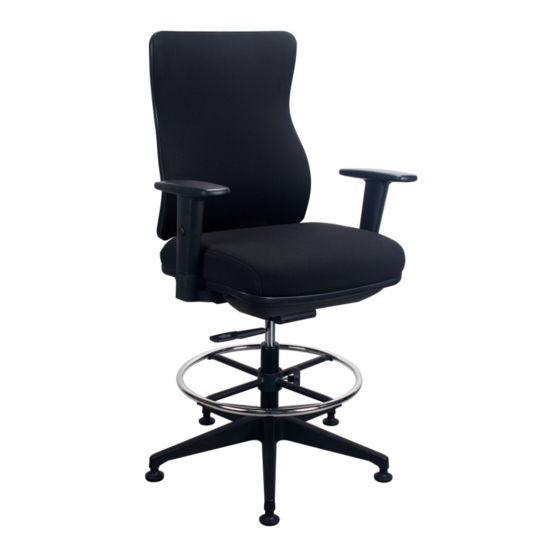
- Page 1 TP210EHS / TP220EHS...
- Page 2 Armrests - 1 Left & 1 Right Armrest Foot Ring...
- Page 3 Please be careful to use the correct RED Screws (I) and Washers (L) and Armrests (G) which are Please be careful to use the correct BLUE marked Left and Right. Press the Glides (A) into the holes at the end of Screws (H) and RED Screws (I).
- Page 4 While seated, pull the lever on the right side of the seat marked Seat Height Adjustment up and hold it while raising or lowering the seat to change the seat height. When the lever is released, the seat height is locked. The seat height adjustment range is approximately 8 .
- Page 5 The Raynor Group does not warrant any aftermarket hardware that is installed on the product. The Raynor Group's warranty is limited to the normal use of the product in a forty hour work week and a 250 lb. weight limit unless otherwise noted.
Need help?
Do you have a question about the TEMPUR-PEDIC TP210EHS and is the answer not in the manual?
Questions and answers