Advertisement
Quick Links
Advertisement

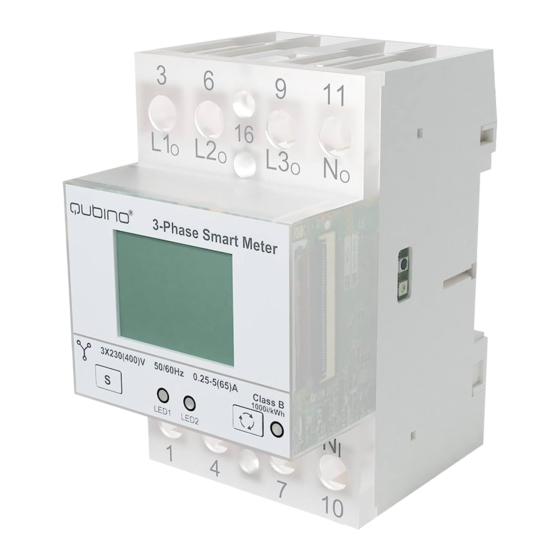
Summary of Contents for QUBINO ZMNHXD1
- Page 1 Qubino LCD User manual...
- Page 2 Programming a three-phase electrical energy meter WM3x6 is very transparent and user friendly. Numerous settings are organized in groups according to their functionality. In this you will find basic programming steps: ISPLAY OF DEVICE INFO LCD U NTERFACE User’s Manual...
- Page 3 1 Display of device info Energy meters have LCD display with following layout. Tariff setting for displayed counter/actual tariff (→) Energy import/active power import (←) Energy export/active power export kWh display kvarh display Actual Value Info: VAh display ...
-
Page 4: Lcd User Interface
2 LCD User Interface After the electrical connection, the display shows a welcome screen for two seconds then the firmware version for the next two seconds. The following is a measurement screen automatically cycling on the screen, regarding the period that is defined in settings. Regarding the period that is defined in settings, measurement screen cycling is started until any key is pressed. -
Page 5: Energy Counters
2.1 Energy counters Energy counters are represented as shown on LCD examples bellow (up to resetable counters, letter r representing it). At the top of the screen is settings of energy counter (tariff, import/export/total, active/reactive/apparent), the 8-digit numerical number shows the value of the energy and the letter at the bottom shows actual activity (counting (A)/not counting ( )). - Page 6 Phase Voltages: Voltage phase 1 Voltage phase 2 Voltage phase 3 Phase to phase Voltages: Phase to phase U Phase to phase U Phase to phase U Reactive powers: Reactive power total Reactive power phase 1 Reactive power phase 2 Reactive power phase 3 Apparent powers: Apparent power total...
-
Page 7: Display Menu Structure
2.3 Display menu structure The display menu is entered by holding the push button for more than one second. Blinking of the screen indicates that. Short clicks then move user through the main menu. By holding the button when positioned on certain screen ( e.g. measure, set, etc…) the sub-menu is entered. User’s Manual... - Page 8 2.3.1 Measure sub-menu When in measure sub-menu, short clicks move user through it, allowing her/him to select a dedicated menu. User’s Manual...
- Page 9 Counter menu 2.3.1.1 Holding button on any of screens 2.1.1 through 2.1.8 sets this screen as a meter screen. In the Counter menu all counters (resettable and non-resettable) are displayed for both – MID and non MID meters. Power menu 2.3.1.2 Holding button on any of screens 2.2.1 through 2.2.4 sets this screen as a meter screen.
- Page 10 2.3.1.5 Reactive and apparent power menu Holding button on any of screens 2.5.1 through 2.5.8 sets this screen as a meter screen. 2.3.1.6 Power factor, power angle and frequency menu Holding button on any of screens 2.6.1 through 2.6.6 sets this screen as a meter screen. User’s Manual...
- Page 11 2.3.2 Set sub-menu When in set sub-menu, short clicks move user through it, allowing her/him to select a dedicated menu. User’s Manual...
- Page 12 Reset counters menu 2.3.2.1 Holding button on any of screens 3.1.1 through 3.1.5 resets any of counters or all of them respectively. 2.3.2.2 menu Screen 3.2.1 shows the address of RS 485 communication and screen 3.2.2 shows the baud rate. User’s Manual...
- Page 13 2.3.4 Info sub-menu When in info sub-menu, short clicks move user through it, allowing her/him to get required information about smart meter. Screen 4.1 shows the serial number of the smart meter. Screen 4.2 shows the software version present on smart meter. Screen 4.3 shows CRC code and below the number of Firmware upgrades.


Need help?
Do you have a question about the ZMNHXD1 and is the answer not in the manual?
Questions and answers