DTEN D7 Product Manual
Hide thumbs
Also See for D7:
- User and installation manual (14 pages) ,
- Quick setup manual (9 pages) ,
- Product manual (2 pages)
Table of Contents
Advertisement
Quick Links
Quick Setup
STEP 1
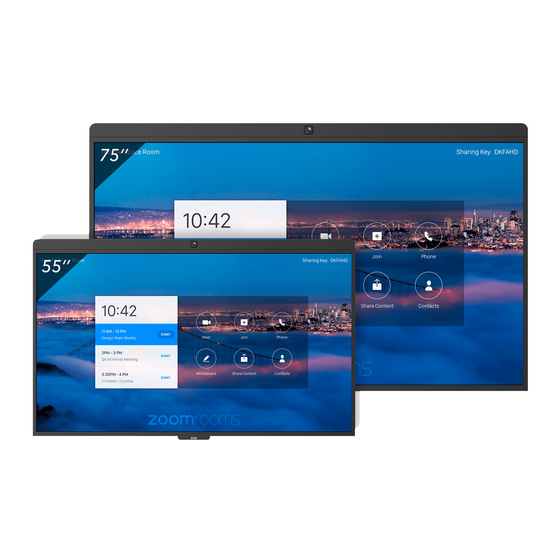
D7 55''
Dual Screen Product Guide
STEP 2
STEP 3
DTEN.COM
SALES@DTEN.COM
SUPPORT@DTEN.COM
* For more info about the product, please visit dten.com
Position the main Display 1 on the right and the secondary Display 2 on the left.
Display 2
Display 1
Mount the displays and then connect the HDMI cable and the touch cable as
indicated on the display 1.
Plugin the power.
Zoom Rooms Setup
STEP 1
You need a Zoom Rooms account to sign in.
Select an existing room or create a new room.
STEP 2
* Please go to Zoom Help Center for more info
Tips
1. Increase the volume to the max using the volume button
(the first button at the back).
2. Ethernet connection is preferred for the best meeting experience.
3. To pair with the zoom rooms controller, please visit zoom.us.
4. Please do not disconnect the power without properly shutting down the system.
5. Do not disassemble the DTEN product without the supervision of a DTEN technician.
If you have any questions, feel free to contact us.
support@dten.com
+1.866. 936.3836
Packing List (Display 1)
1. DTEN D7 x1
2. Wall Mount Brackets x 1
*The bracket pieces are stored at the bottom of the box (beneath the foam).
3. Stylus x1
4. Power Cable (AC 100V-240V) x1
5. RS232 x 1
Packing List (Display 2)
1. DTEN D7 x1
2. Wall Mount Brackets x 1
*The bracket pieces are stored at the bottom of the box (beneath the foam).
3. A Placeholder (AV Bar)
4. HDMI cable x 1 (already attached to Display 2)
5. Touch cable x 1 (already attached to Display 2)
6. Power Cable (AC 100V-240V) x1
Do not disassemble the D7 unit without any supervision of a
DTEN technician. The warranty will be voided automatically.
Advertisement
Table of Contents

Related Manuals for DTEN D7


Summary of Contents for DTEN D7
- Page 1 Plugin the power. 5. Touch cable x 1 (already attached to Display 2) 5. Do not disassemble the DTEN product without the supervision of a DTEN technician. 6. Power Cable (AC 100V-240V) x1 If you have any questions, feel free to contact us.
- Page 2 Port Diagram (Display 1) Port Diagram (Display 2) Wall Mount Side Back Side Back D7 AV bar D7 placeholder AV bar Antenna Power USB for Display 2 connection Mounting Hole Pattern: 400 x 300mm D7 accessory bag D7 accessory bag Audio Output...
Need help?
Do you have a question about the D7 and is the answer not in the manual?
Questions and answers