DTEN D7 Product Manual
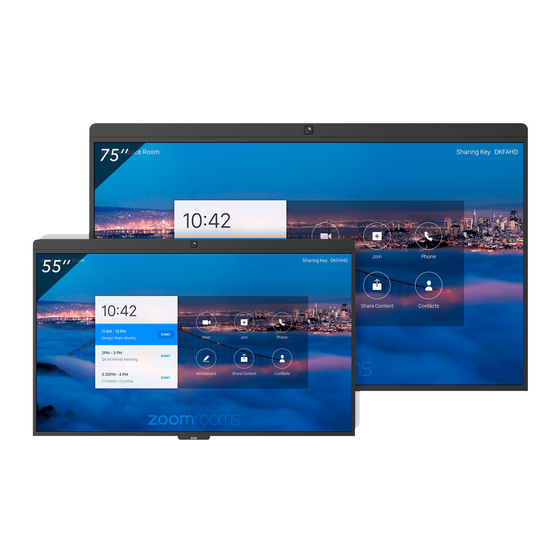
55''
Hide thumbs
Also See for D7:
- User and installation manual (14 pages) ,
- Quick setup manual (9 pages) ,
- Product manual (2 pages)
Advertisement
Table of Contents
Packing List
1. DTEN D7 55" (Standard) X 1
2. Wall Mount Brackets X 1
The bracket pieces are stored at the bottom of the box (beneath the foam).
3. Stylus X 1
D7 55''
4. Power Cable (AC 100V-240V) X 1
Product Guide
Do not disassemble the D7 without the supervision of a DTEN
technician. Improper use may be subject to voiding the warranty.
DTEN.COM
SALES@DTEN.COM
SUPPORT@DTEN.COM
What's Inside
D7 AV bar
D7 accessory bag
D7 Wall mount brackets
Quick Setup
STEP 1
STEP 2
Install the antennas.
Plug in the power cord to the outlet.
Please Note: The power switch at
the panel's bottom should be set
to "on" by default. If the DTEN logo
does not come on, please press the
switch to the "on" setting.
(Back view)
Power switch
(Side view)
STEP 3
Follow the instructions on-screen
to set up the network.
Ethernet connection is preferred.
For more info about the product, please visit dten.com
Advertisement
Table of Contents

Related Manuals for DTEN D7


Summary of Contents for DTEN D7
- Page 1 Product Guide Power switch (Side view) Do not disassemble the D7 without the supervision of a DTEN D7 Wall mount brackets technician. Improper use may be subject to voiding the warranty. For more info about the product, please visit dten.com DTEN.COM...
- Page 2 4. Please do not disconnect the power without properly shutting down the system. Volume down Menu Short press - Trigger menu 5. Do not disassemble the DTEN product without the supervision of a DTEN technician. Power Antenna Short press - Screen sleep Long press - System off If you have any questions, feel free to contact us.
Need help?
Do you have a question about the D7 and is the answer not in the manual?
Questions and answers