Sign In
Upload
Download
Table of Contents
Contents
Add to my manuals
Delete from my manuals
Share
URL of this page:
HTML Link:
Bookmark this page
Add
Manual will be automatically added to "My Manuals"
Print this page
×
Bookmark added
×
Added to my manuals
Manuals
Brands
Honda Manuals
Motorcycle
CRF125F 2021
Owner's manual
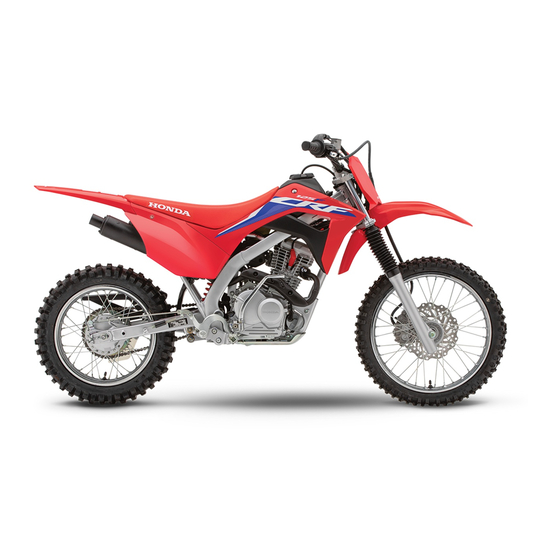
Honda CRF125F 2021 Owner's Manual
Hide thumbs
1
2
3
4
5
6
7
8
9
10
11
12
13
14
15
16
17
18
19
20
21
22
23
24
25
26
27
28
29
30
31
32
33
34
35
36
37
38
39
40
41
42
43
44
45
46
47
48
49
50
51
52
53
54
55
56
57
58
59
60
61
62
63
64
65
66
67
68
69
70
71
72
73
74
75
76
77
78
79
80
81
82
83
84
85
86
87
88
89
90
91
92
93
94
95
96
97
98
99
100
101
102
103
104
105
106
107
108
109
110
111
112
113
114
115
116
117
118
119
120
121
122
123
124
125
126
127
128
129
130
131
132
Table Of Contents
133
page
of
133
Go
/
133
Contents
Table of Contents
Bookmarks
Table of Contents
A few Words about Safety
Maintenance
Motorcycle Safety
Important Message to Parents
Important Safety Information
Protective Apparel
Load Limits and Guidelines
Parts Location
Major Components
Engine Oil
Wheels and Tyres
Essential Individual Components
Ignition Switch
Start Button
Engine Stop Switch
Left Side Cover
Operation
Pre-Ride Inspection
Starting the Engine
Anti-Theft Tips
The Importance of Maintenance
Maintenance Safety
Safety Precautions
Maintenance Schedule
Air Cleaner
Crankcase Breather
Throttle Operation
Spark Arrester
Drive Chain
Wheel Rims and Spokes
Wheel Removal
Brake Pads Wear
Fuse Replacement
Front Suspension
Rear Suspension
Side Stand
Storage Guide
Removal from Storage
Taking Care of the Unexpected
Unstable Engine Operation Occurs Intermittently
Specifications
Chassis and Suspension
Power Transmission
Advertisement
Quick Links
1
Maintenance
2
Engine Oil
3
Front Suspension
4
Specifications
Download this manual
Honda CRF125F/FB
OWNER'S MANUAL
USO E MANUTENZIONE
MANUAL DEL PROPIETARIO
©
Honda Motor Co., Ltd. 2021
Table of
Contents
Previous
Page
Next
Page
1
2
3
4
5
Advertisement
Table of Contents
Need help?
Do you have a question about the CRF125F 2021 and is the answer not in the manual?
Ask a question
Questions and answers
Related Manuals for Honda CRF125F 2021
Motorcycle Honda CRF125F 2020 Owner's Manual
(192 pages)
Motorcycle Honda CRF125FB 2020 Owner's Manual
(192 pages)
Motorcycle Honda CRF125F 2022 Owner's Manual
(133 pages)
Motorcycle Honda CRF125FB 2022 Owner's Manual
(133 pages)
Motorcycle Honda CRF125FB 2021 Owner's Manual
(133 pages)
Motorcycle Honda CRF125F 2023 Owner's Manual
(191 pages)
Motorcycle Honda CRF125FB 2023 Owner's Manual
(191 pages)
Motorcycle Honda CRF125F 2024 Owner's Manual
(135 pages)
Motorcycle Honda CRF125FB 2024 Owner's Manual
(191 pages)
Motorcycle Honda CRF125F 2025 Owner's Manual
(191 pages)
Motorcycle HONDA CRF150F Owner's Manual
(69 pages)
Motorcycle Honda CRF150F 2005 Owner's Manual
(177 pages)
Motorcycle Honda CRF 150RB Owner's Manual
(163 pages)
Motorcycle Honda CRF110F Service Manual
(265 pages)
Motorcycle Honda CRF110F 2019 Owner's Manual
(135 pages)
Motorcycle Honda AFRICA TWIN 2024 Owner's Manual
(371 pages)
This manual is also suitable for:
Crf125fb 2021
Table of Contents
Print
Rename the bookmark
Delete bookmark?
Delete from my manuals?
Login
Sign In
OR
Sign in with Facebook
Sign in with Google
Upload manual
Upload from disk
Upload from URL


Need help?
Do you have a question about the CRF125F 2021 and is the answer not in the manual?
Questions and answers