
Summary of Contents for SumiMark IV PLUS
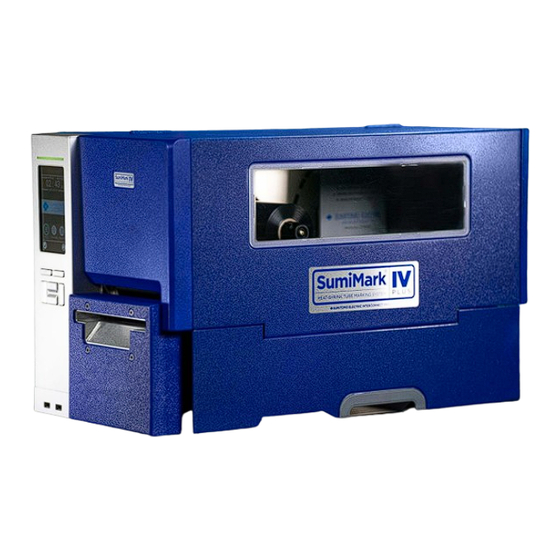
- Page 1 Quick Setup Guide SumiMark IV® PLUS Marking System A guide explaining the steps for setup of the SumiMark IV PLUS printer.
- Page 2 Follow the Installation Wizard. Answer “yes” to each question. c. When selecting USB, choose Other instead of USB. Continue with the install. d. On the next window, be sure to install only the SumiMark IV PLUS driver. Do not install any other SumiMark printer driver.
- Page 3 STEP 2 – SUMIMARK PRINTER ASSOCIATION WITH SUMILABEL Note: although the SumiMark IV PLUS printer must be installed to the Windows system level, it must then be added to the Sumilabel application level, thus making it an “internal printer” and controlled by the Sumilabel software.
- Page 4 Sumilabel software. Step 5 – Connect Cables 1 – Connect USB Cable (Included) or Ethernet Cable (optional) from SumiMark IV PLUS Marking System to host computer. USB Cable Connection - the flat USB end goes into any USB port on host computer. The small, square end goes into small, square port just under the port labeled Ethernet.
- Page 5 Ready to go! Once all necessary cables are plugged into the SumiMark IV PLUS, you are now ready to create your markers and start printing! Additional information for loading tubing, entering QR label footage and operation of the Sumilabel software are available in the printer operational manual included on the USB flash drive.
Need help?
Do you have a question about the IV PLUS and is the answer not in the manual?
Questions and answers