Ninja Foodi MAX Quick Start Guide
- Quick start manual (43 pages) ,
- Recipe book (27 pages) ,
- Quick assembly (2 pages)
Advertisement
Why are there 2 lids?

We're glad you asked. The 2-lid design allows you to pressure cook and crisp in the same pot. Use both lids to unlock a world of delicious, TenderCrisp meals.
First time pressure cooking?
Try this water test to practice using pressure.

Add 750ml water to cooking pot.

Install Pressure Lid by aligning the arrows on the lid and base, then turning clockwise until lid clicks into place.

Pressure Lid is locked when it has clicked into place and the Ninja logo is facing you.

Turn Pressure Release Valve to SEAL.
Note: Valve will be loose when fully installed.

Use the START/STOP dial to select PRESSURE. Press TEMP and set to HI. Press TIME and set to 2 minutes. Press START/STOP button to begin.

The display showing PRE and some steam release indicate pressure is building. When fully pressurised, countdown will begin.

When your Foo di beeps ® and the display reads DONE, turn valve to VENT for quick release.
Note: Valve will be loose when fully installed.
Basket Assembly, Hints & Tips
Pressure Cooking Tips
 Time to pressure will vary based on quantity and temperature of ingredients, along with selected pressure level, and can take up to 20 minutes.
 Natural release is used for large or delicate foods and any starchy ingredients.
 Quick release is used for smaller foods or ingredients that are sensitive to overcooking.
DO NOT quick release pressure when cooking starchy or foamy foods. To quick release the pressure, turn the Pressure Release Valve to the VENT position and allow pressure to release until the float valve drops
Note: Steam exits from the top of the Pressure Release Valve. DO NOT reach over the valve.
 If the unit is not coming to pressure, check that the silicone ring is fully installed by pressing it into place all around the metal ring rack. (See image below.)

Cook & CrispTM Basket Assembly
- Place diffuser on a flat surface.
![]()
- Place basket on diffuser.
![]()
- Press down firmly.
![]()


Helpful Hints
 To convert oven recipes, use the Bake/Roast function and reduce the cook temperature by 5°C.
 Any liquid can be used for pressure cooking. Use broths or sauces instead of water to infuse additional flavour. Always use a minimum of 250ml of liquid. Depending on your recipe, you may need up to 750ml.
 When switching from the pressure lid to the crisping lid after pressure cooking, empty the pot of any remaining liquid for best crisping results.
2 Tier Reversible Rack
Get the most out of your 2 Tier Reversible Rack

Higher Position
Grill chicken, steak, seafood and more.

Lower Position
Steam vegetables and sides.

Full Assembly
Increase capacity to cook up to 8 chicken breasts or salmon fillets at once.
2 Tier Reversible Rack Assembly
- Place the Reversible Rack in the pot in the lower position.
![]()
Note: For easier cleaning, coat the rack with cooking spray before placing food. - Drop top layer through reversible rack handles.
![]()
Note: Place ingredients on the lower layer before adding the top layer. - Top layer will fit securely into handle slots.
![]()


2 Tier Reversible Rack Usage
Create deluxe 360 meals by placing proteins on the top layer, sides on the lower layer, and grains on the bottom of the pot.
For best results, use the top layer for crisping, lower layer for oven roasting, and bottom of the pot for wetter ingredients.
When air crisping 2 layers, allow 5–15 minutes for the lower layer to crisp before adding the top layer.
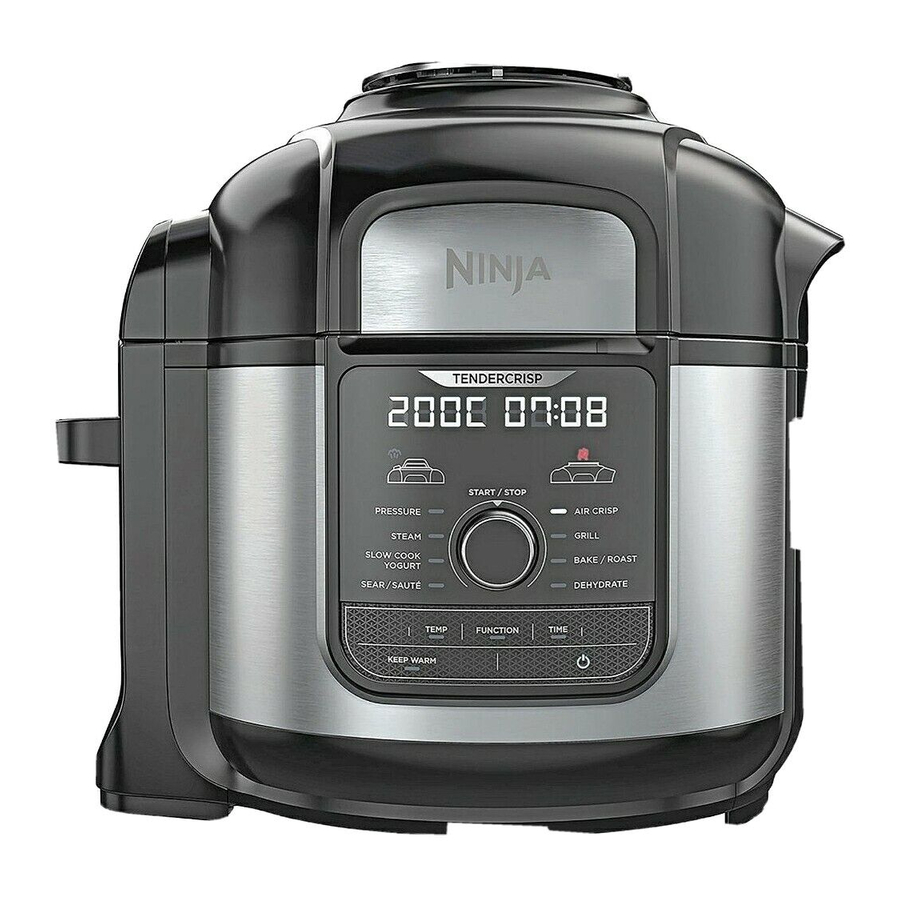
Using the Control Panel

OPERATING BUTTONS
- START/STOP dial/button: Turn the dial to choose a cooking function, cook temperature and cook time. Press the button to start cooking. Pressing the button while the unit is cooking will stop the current cooking function.
- TEMP: Press TEMP and turn the START/STOP dial to adjust cook temperature in 5-degree increments or to adjust pressure level.
- FUNCTION: Press FUNCTION and turn the START/STOP dial to choose a cooking function.
- TIME: Press TIME and turn the START/STOP dial to adjust the cook time.
Note: To adjust settings while cooking, press the TEMP or TIME button, then use the START/STOP dial to choose desired temperature or time. - KEEP WARM: After pressure cooking, steaming, or slow cooking, the unit will automatically switch to Keep Warm mode and start counting up. Keep Warm will stay on for 12 hours, or you may press KEEP WARM to turn it off.
- POWER: The Power button turns the unit on and off and stops all cooking functions.
Using the Pressure Lid


Using the Crisping Lid


Go to ninjakitchen.eu for how-to-videos
For more accessories, visit ninjakitchen.eu
© 2019 SharkNinja Operating LLC

VideosNinja Foodi MAX - How to Get Started (Video)
NINJA FOODI MAX - How to Use (Video)
Documents / Resources
References

Download manual
Here you can download full pdf version of manual, it may contain additional safety instructions, warranty information, FCC rules, etc.
Advertisement


Need help?
Do you have a question about the Foodi MAX and is the answer not in the manual?
Questions and answers