Advertisement
Quick Links
User Manual
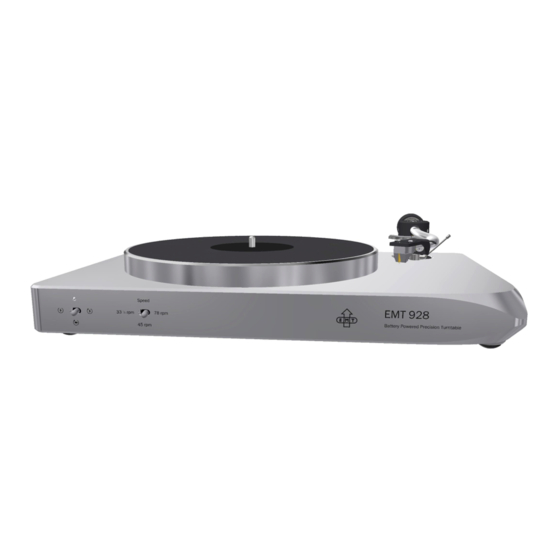
EMT 928 II: Battery Powered Precision Turntable
Thank you for choosing the EMT turntable.
Please take time to install and adjust your product properly. Remember to work carefully and to follow the instruction manual step by step.
You will find actual information about our products on www.emt-tontechnik.ch.
Manual-EMT-928
1/13
Advertisement

Subscribe to Our Youtube Channel
Related Manuals for EMT 928 II


Summary of Contents for EMT 928 II
- Page 1 Thank you for choosing the EMT turntable. Please take time to install and adjust your product properly. Remember to work carefully and to follow the instruction manual step by step. You will find actual information about our products on www.emt-tontechnik.ch. Manual-EMT-928...
- Page 2 EMT Tontechnik certifies that this device has been inspected and tested before leaving the factory. This product is covered by EMT’s two-year warranty, valid from the day of purchase (dealer’s invoice). It covers all factory materials and processing errors. However, this warranty does not cover any failure caused by putting the device to improper use or malfunction caused by neglecting the instructions elsewhere in the user manual.
- Page 3 Unpacking EMT 928 The EMT 928 turntable is packed in a three-layer packaging device. Please open the packaging and remove the content and layers step by step. Place the product parts on an even base, keeping them ready for assembling.
- Page 4 Remove the turntable chassis (4) Remove the power cable (5) Remove the accessories box (6). Inside it, you will find: - Screwdriver for adjusting the speed - Hexagon key to release the transport-lock - Spare belt - GND-cable Manual-EMT-928 4/13...
- Page 5 Installing tonearm The EMT 928 features a tonearm-adapter and output terminal, both acces- sible from underneath the chassis. To complete the installation of the tone- arm, place the turntable as shown in the picture. The installation of the tonearm must be done by a qualified professional.
- Page 6 Transport-lock The main bearing of the EMT 928 is locked during transport to prevent damages to the bearing caused by vibration. This locking mechanism lifts the sub-platter slightly and keeps it in position. To release the transport lock, please follow the following steps: 1.
- Page 7 3. If needed, dress the inlay-mat (2) in the marked area (3) , so the record will lay on an absolutely even surface. Removing the platter Carefully lift the main platter up to remove it from the sub-platter. Make sure to guide it avsolutely vertically. Manual-EMT-928 7/13...
- Page 8 Levelling the turntable Place the EMT 928 on an even and horizontal base. The level of the turntable can be set by turning the decoupling feet (red marked) in and out of the main chassis. Please use a level gauge to level the unit exactly horizontal. Make sure at least one of the spikes is fully tightened.
- Page 9 3. Connect the IEC C14 socket to the mains. Use the power cable provided by your distributor. 4. Switch on the internal charger. The EMT 928 features a unique battery power system, which allows listening music while the turntable is fully disconnected from the mains. Charging of the battery is controlled by an integrated micro-processor.
- Page 10 Operation The EMT 928 features the following elements for operation: 1. Switch for setting the function 2. Switch for setting the speed 3. LED, showing function and battery level Speed Set the switch (2) to the desired speed position. For further information about speed adjustment, please refer to the next page.
- Page 11 Cleaning For cleaning the EMT 928, please use a soft and clean towel. The high density inlay of the platter shall be cleaned with a wet microfiber towel. For this process, please use water only, neither cleaning nor dissolver-liquids.
- Page 12 Changing Belt The EMT 928 features a most modern 20 Watts motor, combined with a high-precision control loop circuit. To ensure proper transmission from the motor to the sub-platter, we recommend to change the belt once a year. One spare belt is delivered together with the turntable. Please contact your dealer for further information.
- Page 13 Standard (LED = Green) Battery service life: +10h Reserve (LED = Red) Dimension: 480x340x100mm Weight: 23kg Input voltage: 100-240VAC, 50-60Hz Output terminal: RCA, with separated tonearm ground Mounting distance tonearm: 215-245mm, prepared for EMT 9-inch tonearm Version: V1.2 Date: 11.11.2022 Manual-EMT-928 13/13...
Need help?
Do you have a question about the 928 II and is the answer not in the manual?
Questions and answers