Table of Contents
Advertisement
Quick Links
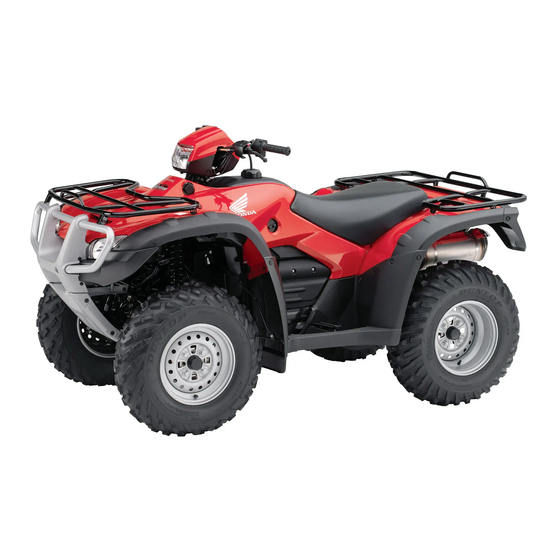
2009
Honda TRX500FM/FPM
FOURTRAX FOREMAN 4 4 with Power Steering
×
OWNER'S MANUAL
FOR OFF-ROAD USE ONLY
This vehicle is designed and manufactured for off-road use only.
USA only:
It conforms to US EPA Noise Emission regulations, but does not
conform to Federal Motor Vehicle Safety Standards or US EPA On
Highway Exhaust Emission regulations, and operation on public streets,
roads, or highways is illegal. The vehicle is equipped with a USDA
qualified spark arrester. Obey local laws and regulations.
It conforms to US EPA, California, and Environment Canada emission
regulations for ATVs.
Advertisement
Chapters
Table of Contents


Need help?
Do you have a question about the FOURTRAX FOREMAN 4X4 TRX500FM 2009 and is the answer not in the manual?
Questions and answers