Linksys WPSM54G Quick Installation
Wireless-g printserver with multifunction printer support
Hide thumbs
Also See for WPSM54G:
- User manual (245 pages) ,
- Quick installation manual (132 pages) ,
- User manual (63 pages)
Advertisement
Package Contents
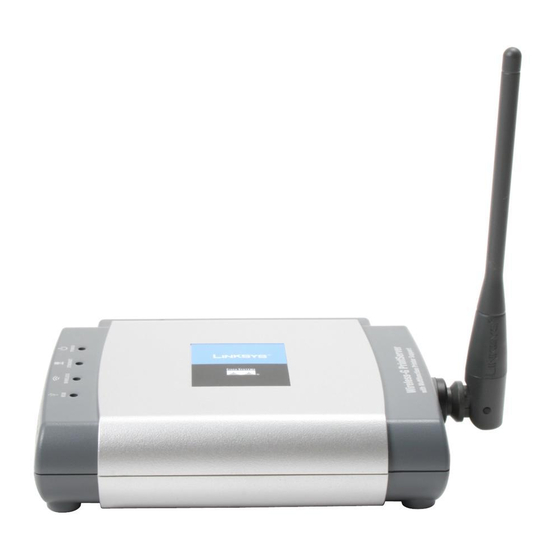
• Wireless-G PrintServer with Multifunction Printer Support
• Start Here Folder
• Setup Wizard CD-ROM
• User Guide on CD-ROM
• Network Cable
• USB 2.0 Cable
• Power Supply
• Quick Installation
2.4
GHz
Wireless-G
802.11g
PrintServer
with Multifunction Printer Support
Wireless
Quick Installation
Model No.
WPSM54G
Model No.
1
Set Up the PrintServer
NOTE:
Linksys strongly recommends
that you set up your printer and install
your printer's driver before you install the
PrintServer's driver.
Before you begin, note the
PrintServer's default name. It is shown
in the Server field on the sticker
located on the back panel. During
the Setup Wizard, this name is used to
B
identify the PrintServer you are
currently installing.
A
Insert the Setup CD-ROM into
the computer's CD-ROM drive.
The Setup Wizard should run
automatically. If it does not,
click the Start button and
choose Run. In the box that
appears, enter
D:\SetupWizard.exe (if "D" is
C
the letter of your CD-ROM
drive).
B
Click Click Here to Start.
C
Click Set up PrintServer.
D
Disconnect the USB printer
cable from the computer, and
disconnect the printer's power
D
adapter from the electrical
outlet. Click Next.
E
Connect the USB printer cable
to the USB port on the
PrintServer. Click Next.
E
F
Connect the Ethernet network
cable to your router and the
Ethernet port of the PrintServer.
(The Ethernet connection is for
configuration purposes only.
Later you can disconnect the
Ethernet network cable when
the PrintServer has connected
wirelessly.)
F
Click Next.
G
Connect the power adapter to
the PrintServer and an
electrical outlet. Click Next.
H
Reconnect the printer's power
adapter to the electrical outlet.
G
Click Next.
I
Wait a few moments while the
system searches for the
PrintServer.
Select the appropriate
PrintServer. If you cannot find
the PrintServer, click Refresh
List.
H
Click Next.
I
J
If your network uses a router
that automatically assigns IP
addresses, select
Automatically obtain an IP
address (DHCP). If your network
uses a static IP address, select
Set IP configuration manually,
and enter the IP Address,
Subnet Mask, and Gateway in
the fields provided.
J
Click Next.
K
Create a password and enter it
in the Password field. Enter the
new password again in the
Confirm field.
Click Next.
L
K
Select the wireless network that
the PrintServer should join. If you
do not see the wireless network
you want to use, click Refresh
and locate the network. Click
Next and go to step N.
If you want to manually enter
the settings for the wireless
network, click Manual Setup.
Click Next and go to step M.
L
M
If you clicked Manual Setup,
the Configure Wireless Settings
screen appears with the SSID
field. Enter the SSID or name of
the wireless network. Click Next.
M
Advertisement
Table of Contents

Related Manuals for Linksys WPSM54G


Summary of Contents for Linksys WPSM54G
- Page 1 Model No. WPSM54G Model No. Set Up the PrintServer Connect the Ethernet network Linksys strongly recommends cable to your router and the Ethernet port of the PrintServer. (The Ethernet connection is for configuration purposes only. Later you can disconnect the...
- Page 2 Disconnect. Product Registration http://www.linksys.com/registration Exit - Closes the diagnostic utility. Linksys is a registered trademark or trademark of NOTE: For more information about the Cisco Systems, Inc. and/or its affiliates in the U.S. and certain other countries. Copyright © 2006 diagnostic utility, refer to “Chapter 5:...
Need help?
Do you have a question about the WPSM54G and is the answer not in the manual?
Questions and answers