Linksys Instant EtherFast EPSX3 Quick Installation
Instant etherfast series 10/100 printservers
Hide thumbs
Also See for Instant EtherFast EPSX3:
- User manual (40 pages) ,
- Brochure & specs (2 pages) ,
- Quick installation (2 pages)
Advertisement
Table of Contents
- 1 Package Contents
- 2 Installation Process
- 3 Connecting the Printserver to Your Network
- 4 Connecting a Printer to the Printserver
- 5 Installing the Printserver
- 6 Connecting the Power
- 7 Installing the Printserver’s Drivers
- 8 Installing the Bi-Admin Management Utility
- Download this manual
See also:
User Manual
This Quick Installation is meant to help you install the product quickly and easily. For detailed instructions on installation,
configuration, and further setup options, please consult the User Guide.
Instant EtherFast® Series
Package Contents
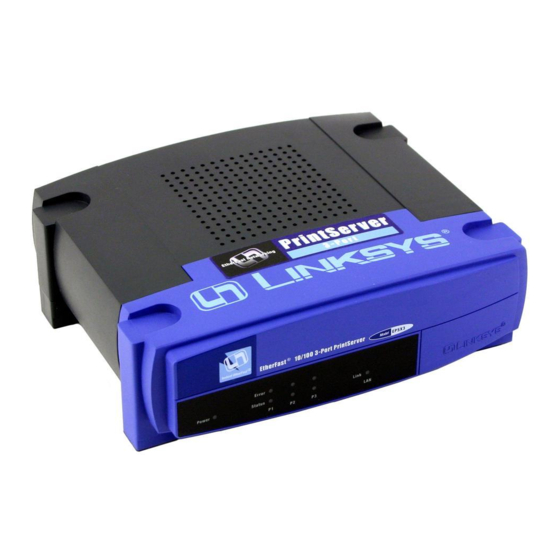
EtherFast 10/100
• One EtherFast 10/100 3-Port PrintServer
or
PrintServers
One EtherFast 10/100 1-Port PrintServer
(1)
• One Setup Utility CD-ROM (2)
• One Power Adapter (3)
• One User Guide (not shown)
• One Registration Card and Quick
Installation (not shown)
EPSX3 ver. 2
PPSX1 ver. 2
Installation Process
For more detailed instructions, please refer to the User Guide.
Installing the PrintServer
The PrintServer does not have a power switch. Whenever its power adapter
is plugged in, the PrintServer is powered on. The PrintServer can be pow-
ered on before, during, or after your network is powered on.
Connecting the PrintServer to Your Network
A. Plug one end of a UTP Category 5 (or better)
cable into the PrintServer's LAN port.
B. Connect the other end of the cable to a net-
worked hub or switch.
A
Connecting a Printer to the PrintServer
C. Connect your printer to the PrintServer's
Printer (LPT) port with your printer cable.
Repeat this step as needed for the 3-Port
PrintServer.
C
D. Turn on your printer.
Connecting the Power
E. Plug the power adapter into the PrintServer's
Power port.
F. Plug the AC power adapter into the electrical
outlet.
N N O O T T E E : : Only use the power adapter packaged with the PrintServer.
E
Using a different power adapter could damage the PrintServer.
G. The LAN LED on the PrintServer's front will light up. If the LAN LED
does not light up, see the Troubleshooting section of the User Guide.
Installing the PrintServer's Drivers
N N o o t t e e : Make sure that IP addresses are assigned to the PrintServer and PC(s). The PrintServer is set
for DHCP by default.
A. To begin driver installation click
Start and select Run. Type
D:\Driver\Win9xnt\setup.exe
(where "D" is the letter of your
CD-ROM drive) in the Open field
A
that appears. Click OK.
B. The Welcome screen appears. Read the text that appears and click Next.
C. Click Next to accept the default
Destination Directory (recom-
mended). If you choose to use
another directory, click Browse
and choose the appropriate direc-
tory. Then, click Next.
C
D. The following screen will assign a
Program
Folder
from
the
Windows Taskbar. The default
Program Folder is the Linksys
PrintServer Driver. Click Next to
continue.
Continued on back!
D
Advertisement
Table of Contents

Related Manuals for Linksys Instant EtherFast EPSX3


Summary of Contents for Linksys Instant EtherFast EPSX3
- Page 1 Troubleshooting section of the User Guide. Installing the PrintServer’s Drivers N N o o t t e e : Make sure that IP addresses are assigned to the PrintServer and PC(s). The PrintServer is set for DHCP by default.
- Page 2 New Printer. complete the installation/configu- ration procedure. Installing the Bi-Admin Management Utility A. Insert the PrintServer CD into your CD-ROM drive. Click Start and select Run. Type D:\utility\biadmin\setup.exe (where “D” is the letter of your CD-ROM drive) in the Open field that appears.
Need help?
Do you have a question about the Instant EtherFast EPSX3 and is the answer not in the manual?
Questions and answers