Table of Contents
Advertisement
Advertisement
Table of Contents

Subscribe to Our Youtube Channel
Related Manuals for Donner DDP-200


Summary of Contents for Donner DDP-200
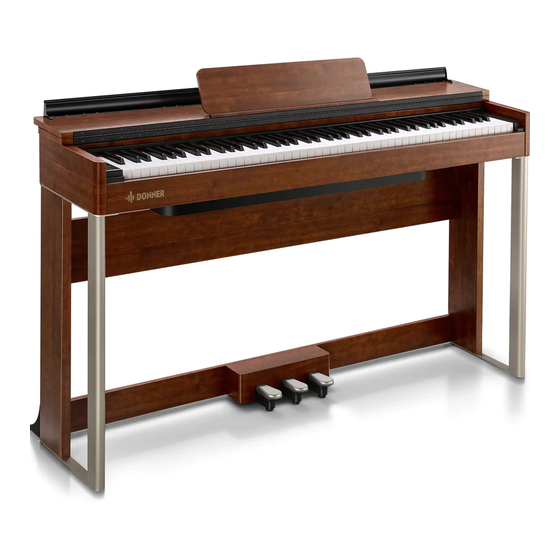
- Page 1 USER MANUAL DDP-200 88 KEYS DIGITAL PIANO...
-
Page 2: Table Of Contents
CONTENTS PIANO ASSEMBLY ........................... 01 - 03 Electrical Piano Overall Assembly ......................... 01 Key Cover ..............................03 Music Stand ..............................03 PANEL INSTRUCTION ............................ 04 Control Panel ..............................04 Back Panel ..............................04 Base Plate ..............................04 EXTERNAL CONNECTION ..........................05 Power Cord Connecting .......................... - Page 3 Welcome to Donner Thank you for choosing Donner Digital Piano! Please read this instruction manual carefully before using this product. Be sure to save these instructions for future reference. Warning: TO REDUCE THE RISK OF FIRE OR ELECTRIC SHOCK, DO NOT EXPOSE THIS EQUIPMENT TO RAIN OR MOISTURE.
-
Page 4: Piano Assembly
PIANO ASSEMBLY Electrical Piano Overall Assembly Before you are ready to assemble the piano, please check if all parts are included in the package box. Piano Body Left Stand Board Right Stand Board Back Plate Pedal Box Corner Bracket Screw M6X30 (14PCS+2PCS For Replacement) A. - Page 5 B. Use screws (M6x30) to fix the back plate onto the body leg which is finished in step (A). C. Place the body on the installation step (B), and use the screws (M6x30) to lock the body from the bottom of the body to the holes.
-
Page 6: Key Cover
Key Cover 1. Open the Key Cover Lift the cover slightly, then push forward and slide it to the end. 2. Close the Key Cover Pull the cover back toward you and gently put it down over the keys. 180° CAUTION: ●... -
Page 7: Panel Instruction
PANEL INSTRUCTION Control Panel DISPLAY SCREEN POWER VOL/FUN FUNCTION Back Panel DC-12V AUX OUT USB-MIDI PEDAL Base Plate 2 Stereo Headphones Socket... -
Page 8: External Connection
EXTERNAL CONNECTION DC-12V Power Cord Connecting 1. Connect the power cord when using. Insert one end of the cord into the power socket behind the piano, and plug the other end of power adapter into the 100V-220V domestic power socket. 2. -
Page 9: Function Introduction
FUNCTION INTRODUCTION Operation Guide At the same time as the [FUNCTION] button above, click the corresponding key to set the function of this piano. Turn On the Power 1. First, check if the power switch of the piano is turning off . If not, please turn off the power. 2. -
Page 10: Selecting & Playing Tone
Selecting & Playing TONE ● This piano has 6 pre-set authentic tones. (See Timbre sheet below for details.) ● In standby mode, press [ FUNCTION ] and [ #A2 ] / [ #C1 ] / [ #D1 ] / [ #F1 ] / [ #G1 ] / [ #A1 ] simultaneously to select the timbre. -
Page 11: Metronome Type
● You can select the Bluetooth name of this piano in the MIDI setting interface of the external device or software compatible with this piano to complete the connection. ● The Bluetooth name of this piano: DONNER DDP-200 ● Instructions for use of Bluetooth MIDI: Any app that can connect to Bluetooth MIDI and use the MIDI standard protocol for playback. -
Page 12: Product Parameters
Piano Demo Song Function Type Metronome Beat Speed 30-240 BPM Tone Reverb (5 types, switchable & adjustable) Effects Wireless DONNER DDP-200 Bluetooth Power Socket DC 12V 3A Headphone Socket 2 x headphone sockets Connecting AUX OUT Socket Sockets USB-MIDI Socket... -
Page 13: Security Consideration
● In order to avoid discoloration to the panel and keyboard, do not clean the piano with thinners, alcohol, or similar chemicals. Spots or dirt which is difficult to remove can be wiped off with a slightly water-dampened cloth. ● In order to avoid damage to the panel or internal electronic components, do not move the piano violently and place heavy objects on it. - Page 14 Smoke, odor, overheating - The following operations shall be carried out immediately to avoid the danger of fire and electric shock when the product is smoking, emitting odors, or overheating. 1. Turn off the power supply. 2. Pull the plug from the power outlet. 3.
-
Page 15: Troubleshooting
TROUBLESHOOTING Issue Reason Solution 1. Volume controller set at 1. Turn the volume to the right maximum volume. minimum position. There was no sound 2. Remove the original connector from the 2. Headphones or plug converters on the keyboard. headphone jack. insert headphone jack. - Page 16 Rev_2.0 Email: service@donnermusic.com Copyright © 2022 Donner Technology. All rights reserved. Made in China U.S.A. CANADA U.K. AUSTRALIA FRANCE JAPAN Tel: 001 571 3705977 Tel: 001 613 4168166 Tel: 0044 2080 895 663 Tel: 0061 384004871 Tel: 0033 970019475 Tel: 0081 5052130367...
Need help?
Do you have a question about the DDP-200 and is the answer not in the manual?
Questions and answers