
Related Manuals for OLEI LR-1BS2


Summary of Contents for OLEI LR-1BS2
- Page 1 Sensing Reality! LiDAR Sensors LR-1BS2 User Manual Please read this user manual for best product performance before using the product. Be sure to keep this manual properly for future reference. OMEN-1BS2-202202...
-
Page 2: Table Of Contents
User Manual LR-1BS2 Contents 1. About this document ........................3 2. Safety information ..........................3 3. Product introduction ......................... 3 4. Installation and operation ......................... 3 4.1. Mechanical interface ........................ 3 4.2. Pin and wire color assignments ....................4 4.3. -
Page 3: About This Document
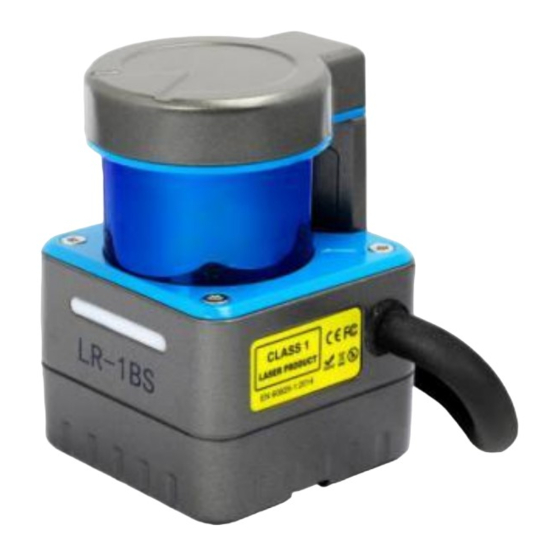
3. Product introduction The LR-1BS2 is an opto-electronic laser scanner that electro-sensitively scans the perimeter of its surroundings at a single plane with the aid of laser beams. The LR-1BS2 measures its surroundings using two-dimensional polar coordinates based on its measurement origin. -
Page 4: Pin And Wire Color Assignments
There are two M3 screw holes (hole depth is 3mm) at the bottom of the LiDAR. Figure 2: Bottom mounting interface of LR-1BS2 4.2. Pin and wire color assignments LR-1BS2 is equipped with a 2-meter "Power/IO" cable and an "Ethernet" connection. OMEN-1BS2-202202... - Page 5 User Manual LR-1BS2 Figure 3 Diagram of electrical interface 4.2.1 "Power/IO" cable Definition Cable color LiDAR power_VCC (12~30VDC) LiDAR power_GND black Input 0: Input port 0 orange Input 1: Input port 1 white Input 2: Input port 2 light blue...
-
Page 6: Communication Interface
Figure 4 Diagram of Ethernet connection 4.3. Communication interface The LR-1BS2 is connected to the computer by a RJ-45 Ethernet interface. The computer IP address should be set up before communication. The LiDAR and computer IP must be set up in the same subnet without any conflict. The host port is 2368 by default. - Page 7 User Manual LR-1BS2 Figure 6: Step 2 of computer IP setting Figure 7: Step 3 of computer IP setting OMEN-1BS2-202202...
-
Page 8: Measurement Principle
Figure 8 Diagram of LR-1BS2 LiDAR work principle As is shown in the figure above, LR-1BS2 measures distance by using the time-of-flight principle. The LiDAR emits pulsed laser beams using a laser diode. If one of these laser pulses hits an object or a person, this is reflected at its surface. The reflection is detected in the LiDAR's receiver by a photodiode. -
Page 9: Parameter Configuration Of Filter Level
User Manual LR-1BS2 Set the LED indicator ON and OFF through "Led Marquee", and click "Set Configs" to confirm; Set the ON and OFF of the LiDAR safety function through "Safe Area", and click "Set Configs" to confirm;... -
Page 10: Description Of Indicator Light
User Manual LR-1BS2 Tail points filter: set the strength of tail points filter; Figure 10 Parameter configuration of filter level 6.3. Description of indicator light When the Led Mode is Mode1, the light style is shown as the following table... - Page 11 User Manual LR-1BS2 The corresponding relationship between the security field group (BANK) and the switch value of the input (Input) port of LR-1BS2 is shown in the following table. ☑ □indicating low level, indicating high level. Field group Input Signal...
-
Page 12: Troubleshooting
User Manual LR-1BS2 Safety field The corresponding relationship between the safety field of LR-1BS2 and the output port is shown in the following table. Safety field Output port Trigger output signal Level 1 Output 1 High level Level 2 Output 2... -
Page 13: Appendix A Mechanical Dimensions
User Manual LR-1BS2 Appendix A Mechanical Dimensions OMEN-1BS2-202202... -
Page 14: Appendix B Example For Electrical Connection
User Manual LR-1BS2 Appendix B Example for electrical connection INPUT: Figure 11 INPUT Input and GND connection is valid. The input signal is isolated by optocoupler, which is much safer. Power supply could be identical to IO power supply or different from it Note:When the Input is not connected: ... -
Page 15: Appendix C Data Packet
User Manual LR-1BS2 Power supply could be identical to IO power or different from it Current limiting resistors are used on each Output. The current of each output port should not exceed 20mA. If you need to drive the relay, it is recommended to add an additional drive circuit. -
Page 16: Appendix D Firmware Upgrade
User Manual LR-1BS2 Appendix D Firmware Upgrade This appendix will explain how to use LiDARUpgrade2D to upgrade the firmware version of the LR-1BS series LiDAR. Figure 14 Icon D.1 Software features For 2D LiDAR LR-1BS series firmware upgrade D.2 Surroundings for software - Windows 7,8,10 - .Net framework 4.5.2... -
Page 17: Appendix E Oforge
User Manual LR-1BS2 Appendix E Oforge E.1 Software Installation Software operating environment: Windows 7, Windows 8 or Windows 10 No less than 2G memory capacity At least 100M free hard disk space Points for attention: 1. The Windows OS firewall must authorize the UDP communication of Oforge 2. - Page 18 User Manual LR-1BS2 OMEN-1BS2-202202...
-
Page 19: Software Interface
User Manual LR-1BS2 E.3 Software interface Figure 17 Software interface E.4 Menu composition and menu options File Open the “Bank Mask File“ of LiDAR OpenMaskFile Save the “Bank Mask File” of local disk SaveMaskFile Device Select LiDAR device model Add new LiDAR device model... -
Page 20: Software Usage
User Manual LR-1BS2 E.5 Software usage Connect the LiDAR 1. Select the local network adapter connected to the LiDAR 2. Click "connect" Figure 18 Connecting the LiDAR Define Bank collision avoidance area LiDAR can define 16 Bank records. Using one of 16 default field sets, each with 3 predefined field. - Page 21 User Manual LR-1BS2 2. Edit Bank field graphic style Any Bank field graphic style has several field points and connected lines. Drag and drop field points to change the size, shape and location of the graph. 1. Double click on the line to add an field point 2.
-
Page 22: Introduction Of Lidar Info Interface
User Manual LR-1BS2 E.6 Introduction of LiDAR Info interface Figure 19 LiDARInfo interface 1. Selected Bank Displays the bank field area number currently in effect. 2. StatusNow Displays the status of the security level area in effect 3. Download Download the currently set bank area graphic style to the LiDAR internal memory 4. -
Page 23: Appendix F Notes On Mounting
User Manual LR-1BS2 6. Upload Upload the graphic data of Bank area in the internal memory of LiDAR to the Oforge interface for display. Appendix F Notes on mounting When installing LiDAR, pay attention to the following points: 1. Please remove the transparent protective film on the window when using it on site. - Page 24 User Manual LR-1BS2 Figure 22 Placement of two LiDARs with parallel offset Figure 23 Placement of two LiDARs with parallel offset, one of these upside down Figure 24 Placement of two LiDARs upside down, parallel offset Figure 25 Placement of two LiDARs with parallel offset, one of these upside down...
-
Page 25: Appendix G Cleaning Of Sensor
User Manual LR-1BS2 Figure 26 Light emission position of LR-1BS, LR-1B, LR-1F Appendix G Cleaning of sensor OLE-LiDAR, especially the ring-shaped protective cover, should be kept clean in order toaccurately sense the surrounding environment. G.1 Notice Please read Appendix F thoroughly and carefully before cleaning OLE-LiDAR, otherwise improper operation may damage the equipment. - Page 26 Morpheus Tek Web: www.morpheustek.com Email: sales@morpheustek.com +1 610-883-6026 TEL: © Copyright: Hangzhou Ole-systems Co., Ltd. Release: 2022-02...
Need help?
Do you have a question about the LR-1BS2 and is the answer not in the manual?
Questions and answers