Advertisement
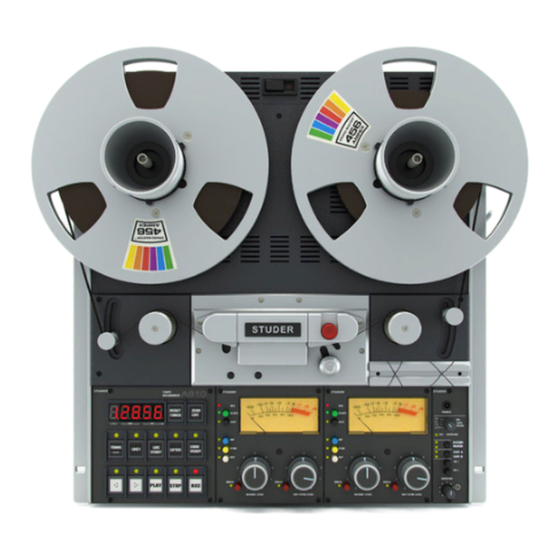
Studer A810 Calibration Quick Reference
The complete instructions are in the Service Manual section 4.2
important definitions
reference level = (magnetic) TAPE level
operating level = voltage level on the INPUT/OUTPUT
a tape recorded with reference level should produce operating level in the output in play mode (!)
the procedure
The calibrating steps should always be performed in the following order, and each section repeated for ch. 2.
1 GENERAL PREPARATORY STEPS: 4.2.1.6
Clean the tape path. Set all switches on the PERIPHERY CONTROLLER to the correct setting 4.2.9.2
check the output level
•
feed ch. 1 line input with 1kHz @ operating level
•
connect mV-meter line to the output of ch. 1 and load with 600Ω
•
press INP and release UNCAL
•
adjust ouput level to operating level with the line amplifier trimmer accessible from the front.
check the VU-meter
•
VU indication:
•
PPM indication: Operating level should result in a reading of -6 (0 for reference level).
•
correct the VU-meter reading with the trimmer potentiometer located on the back of the VU-meter
amplifier.
2 REPRODUCE ADJUSTMENTS : 4.2.2
set code switch 8 on: JS 8 = 1 to enable programming
preparatory steps 4.2.2.1
•
set tape type, equalization and tape speed as desired
•
connect mV-meter line to the output of ch. 1 and load with 600Ω
•
press SAFE and REP, release UNCAL
•
spool reference tape to 'reference level' section (0 dB)
reproduce level adjustment 4.2.2.2
•
press CH 1 and LEVEL REPRO
•
start recorder in PLAY
•
read out reproduce level on the mV-meter
•
adjust to desired line level by pressing UP or DOWN and press STORE
azimuth alignment of the reproduce head 4.2.2.3
•
spool reference tape to 'azimuth alignment section' (-10 dB)
•
always adjust to maximum level first and then to minimum phase difference! See SM
•
rewind tape to 'reference level section', check level and repeat reproduce level adjustment if necessary!
frequency response adjustment 4.2.2.4
•
spool to 'frequency section' of the tape (-20 dB)
•
select the corresponding tone:
16 kHz@30 ips, 14 kHz@15 ips, 12.5 kHz@7.5 ips, 8 kHz@3.75 IPS, all at -20 dB
•
press CH 1 and TREBLE REPRO
•
start the recorder in PLAY mode
•
adjust to optimum frequency response by pressing UP or DOWN and press STORE
•
rewind calibration tape to the 63 Hz tone (-20 dB)
•
press CH 1 and BASS REPRO
•
start the recorder in PLAY mode
•
adjust for optimum frequency response by pressing UP or DOWN and press STORE
3 RECORDING ADJUSTMENT : 4.2.3
tape speed 7.5 or 15 ips (or preferred studio speed). Use new (or practically new) unrecorded tape
Operating level should result in a reading of 0 VU
185, 250, 320, ... nWb/m
studio: +4 dBu = 1,228 V = 0 VU aka linelevel
Advertisement
Table of Contents

Related Manuals for Studer A810


Summary of Contents for Studer A810
- Page 1 Studer A810 Calibration Quick Reference The complete instructions are in the Service Manual section 4.2 important definitions reference level = (magnetic) TAPE level 185, 250, 320, … nWb/m operating level = voltage level on the INPUT/OUTPUT studio: +4 dBu = 1,228 V = 0 VU aka linelevel...
- Page 2 preparatory steps 4.2.3.1 • connect 1 kHz at line level to input and mV-meter to output • press READY and REP, release UNCAL record level adjustment 4.2.3.2 • press CH1 and LEVEL RECORD on input keyboard • put recorder in record mode (PvdM addition) •...
- Page 3 0 VU = 0,775 V = +0 dBu A810 operating level 0 VU = 1,228 V = +4 dBu dus: 250 nWb/m tape op A810 geeft op tape A: 0 dB tape-level weer als -1½ VU ~ 1,025 V = +2½ dB (welke snelheid??)
Need help?
Do you have a question about the A810 and is the answer not in the manual?
Questions and answers