
Related Manuals for TOUGHDOG SECURITY TDOBIS2403-4G IR


Summary of Contents for TOUGHDOG SECURITY TDOBIS2403-4G IR
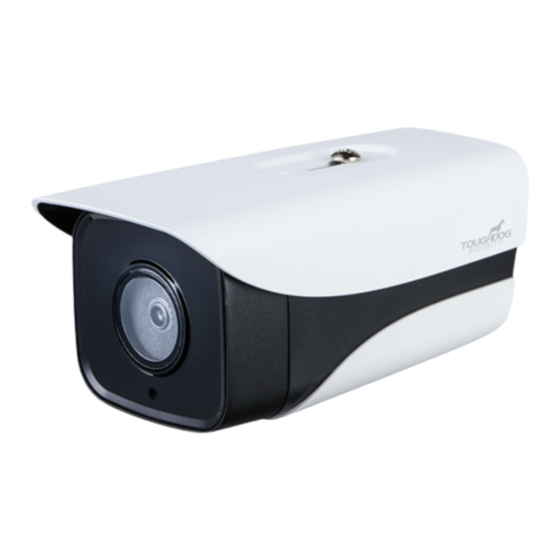
- Page 1 I R B u l l e t N e t w o r k C a m e r a Q u i c k S t a r t G u i d e TDOBIS2403-4G IR Bullet Network Camera...
- Page 2 IR Bullet Network Camera Quick Start Guide Welcome Thank you for purchasing our TDOBIS2403-4G Network camera! This user’s manual is designed to be a reference tool for your system. Please read the following safeguard and warnings carefully before you use this series product! Please keep this user’s manual well for future reference! Important Safeguards and Warnings 1.Electrical safety...
- Page 3 IR Bullet Network Camera Quick Start Guide 3. Operation and Daily Maintenance Please do not touch the heat dissipation component of the device directly in order to avoid scald. Please do not dismantle the device; there is no component which can be fixed by users themselves in the machine.
- Page 4 IR Bullet Network Camera Quick Start Guide There may be deviation between the actual value of some data and the value provided in the manual due to the reasons such as the real environment is not stable and so on. Please refer to the company’s final explanation if there is any doubt or dispute.
-
Page 5: Table Of Contents
IR Bullet Network Camera Quick Start Guide Table of Contents Device Framework ..........................1 Device External Cables ......................1 Dimension ..........................2 Device Installation ..........................4 Install SD Card (Optional) ....................4 Fix Device ..........................4 Connect Device Cable ......................5 Remove Oil Stain on Front Cover (Optional) ............... -
Page 6: Device Framework
IR Bullet Network Camera Quick Start Guide 1 Device Framework 1.1 Device External Cables Note The following structure figure is for reference only. It is only used to know the functions of cable ports. There might be some minor differences between different devices, so please refer to the ... -
Page 7: Dimension
IR Bullet Network Camera Quick Start Guide Cable port Port name Connector Function description Power port, it inputs DC 12 V or AC 24 V. Make sure the power supply is according to the device label when used. Note You can connect the round port to 2-pin Power input POWER converter cable when using AC 24 V for... - Page 8 IR Bullet Network Camera Quick Start Guide Figure 1-2...
-
Page 9: Device Installation
IR Bullet Network Camera Quick Start Guide 2 Device Installation 2.1 Install SD Card (Optional) Note Please cut off device power before installing SD card. Please install SD card when the device is equipped with SD card slot and it needs to use SD card. -
Page 10: Connect Device Cable
IR Bullet Network Camera Quick Start Guide Figure 2-2 Step 1 Mark the bracket mounting hole sites on the mounting surface and dig expansion bolt bottom holes on the marked hole sites on the mounting surface, then knock the expansion bolts into the mounting holes and lock them firmly. - Page 11 IR Bullet Network Camera Quick Start Guide When the input signal is idle or grounded, the device can collect the different statuses of the alarm input port. When the input signal is connected to 3.3V or it is idle, the device collects the logic “1”.
- Page 12 IR Bullet Network Camera Quick Start Guide Figure 2-5 Step 3 Log in WEB interface, make corresponding settings upon alarm input and output on the interface of alarm setup. Alarm input of WEB is corresponding to the alarm input of I/O port cable. It is to set corresponding NO, NC input according to the high and low level signal generated when alarm happens for alarm input device.
-
Page 13: Remove Oil Stain On Front Cover (Optional)
IR Bullet Network Camera Quick Start Guide Step 3 Put the main body of waterproof connector on the network port and rotate it clockwise to lock the network port and waterproof connector firmly. Step 4 Put the waterproof locking cover on the main body of waterproof connector and rotate it clockwise to lock the waterproof connector and waterproof locking cover firmly. -
Page 14: Network Configuration
IR Bullet Network Camera Quick Start Guide 3 Network Configuration You can initialize the device and modify IP address via "ConfigTool.exe"; you can also initialize device and modify IP address on the WEB interface. Please refer to the WEB Operation Manual in the disk for more details. -
Page 15: Modify Ip Address
IR Bullet Network Camera Quick Start Guide Figure 3-1 Step 5 Set new password and confirm password, select Email Address and input email address. Note The password can be set as 8 to 32 characters; it can be a combination of number(s), letter(s) and symbol(s) with at least two kinds of them (excluding “'”,“"”,“;”,“:”,“&”). -
Page 16: Login Web Interface
IR Bullet Network Camera Quick Start Guide Set the device network segment, login user name and password, and then click OK. The system will display the searched devices after searching completes. Step 4 Select the devices whose IP addresses need to be modified, and then click The system will display the dialog box of Modify IP Address, which is shown in Figure 3-2. - Page 17 IR Bullet Network Camera Quick Start Guide Figure 3-3...
Need help?
Do you have a question about the TDOBIS2403-4G IR and is the answer not in the manual?
Questions and answers