Advertisement
Package Contents
- 1x Universal Arcade Stick
- 1x Hex Screw Driver
- 1x 3m USB Cable
- 1x 1m USB Cable
- 1x User Manual
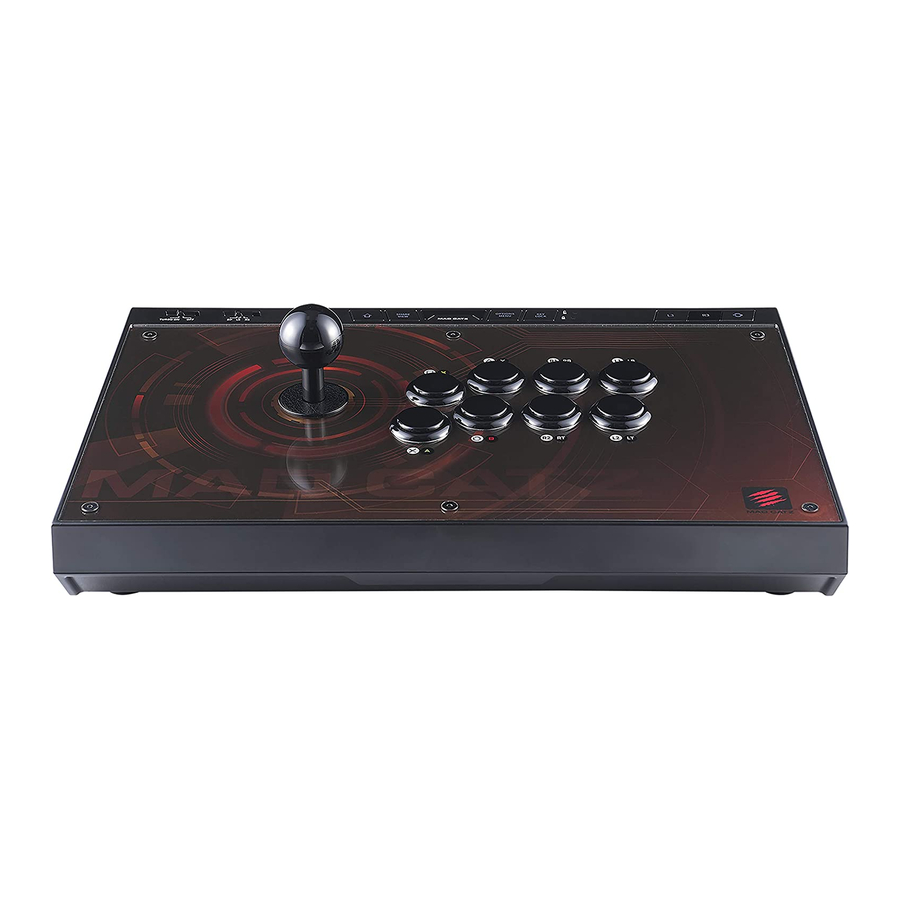
Buttons Introduction


PC Instructions
- Take out the built-in USB cable from the storage space at the back of the arcade stick.
- Connect the USB head to the USB port of your PC.
- The arcade stick automacally connect in X-input mode and ready to play.
- If you wish to switch to D-input mode, hold the Switch button for 2 seconds until the two Lock LED's flash alternately (Lights will flash 3 times after 30 seconds then return to show the KEYLOCK status). To revert back to X-input mode hold the Switch button for 2 seconds.
PS4 / XB1 Instructions
- Take out the built-in USB cable from the storage space at the back of the arcade stick.
- Connect the USB head to the USB port of PS4 / XB1 Console.
- Hold the Switch button for 2 secs, the two Lock LED indicators flash alternately change to console mode.
- Use the USB cable (1m) connect the micro USB head to the micro of the PS4/XB1 controller, then connect the USB head to the USB port at the back of the arcade stick. The two Lock LED indicators both turn ON for 3 seconds indicate the PS4/XB1 controller successfullyconnect to the arcade stick, then back to normal to indicate theKEYLOCK status. Please keep the USB connected to your PS4 / XB1 controller and arcade sctik while in playing.
- If the PS4 / XB1 controller does not successfully connect to the arcade stick, the two LOCK LED indicators both flash 3 times, then back to normal to indicate the KEYLOCK status. Please remove the USB cable from the USB port at the back of the arcade stick, repeat steps 2, 3 & 4.
TURBO Function (Excluding Switch)
")
TURBO function can apply to all 8 acon buttons.
TURN ON:
With the TURBO switch set to OFF, hold down the acon buons that gamer would like to have TURBO funcon, then slide the TURBO switch from "OFF" to "ON".In TURBO mode, the buons output command 10 times per second.
TURN OFF:
Slide the TURBO switch from "ON" to "OFF" to disable the TURBO function.
STICK MODE Switch

This arcade stick supports 3 joystick modes:
- DP: D-pad
- LS: Le Sck
- RS: Right Sck
Switch between modes to make the joystick outputs either D-pad, Left Stick or Right Stick.
*Most games work in DP and LS modes.
KEY LOCK (Excluding Switch)
")
KEY LOCK button allows you to lock certain features to avoid accidental disruption while you are playing a game.
The following five buttons lock when you press the KEY LOCK button.
- HOME
- SHARE / VIEW
- OPTIONS / MENU
- L3
- R3
The LOCK LED turns ON when the above buttons have been locked, press the KEY LOCK button again to unlock these buttons, the UNLOCK LED turns ON.
Button & Artwork Replacement
- Take out the screwdriver from the storage space at the back of the arcade stick.

- Detach the 7 screws at the boom of arcade stick and remove the boom plate.

- Disconnect the connect cable from the buttons press in the 2 clips at the side of the buttons to release.

- Use normal flat screwdriver to hold the joystick in place, then rotate to remove the top ball from the joystick.

- Detach the 6 screws from the top of arcade stick, remove the top panel.

- Replace the artwork paper.
- Install the top panel, acon buttons and top screws.
- Follow the cable assignment label reconnected the correct color cable to each button.

- Replace the bottom plate and replace the 7 screws carefully.


PRECAUTION AND MAINTENANCE
- Store in a cool, dry & dust free area.
- Do not store in areas of extreme low temperatures (0°C) or high (40°C).
- Avoid direct sunlight and heat sources.
- Do not allow the product to get wet or dirty; doing so may cause damage.
- Do not clean with benzene, paint thinner, acetone, alcohol, or other solvents.
- Do not take the product apart (except as stated in the manual); doing so will void your warranty and may cause electrical shock or damage to internal components.
- Please help to conserve the environment by recycling the cardboard packaging of this product.
- This product should NOT be disposed of in normal household waste.
- It should be disposed of separately. Please take it to an electrical waste collecon point.
- Please do not put the product under extreme pressures.
©2017 Mad Catz Global Limited, Office H on 22nd Floor, Kings Wing Plaza 2, No.1 on Kwan Street, Sha Tin, N.T, HK. Mad catz, RAT and the Mad Catz logo are trademarks or registered trademarks of Mad Catz Global Limited, its subsidiaries and afflates.
The shape and design of this products a trade dress of Mad Catz Giobal Limited, its subsidiaries and affiates. All other trademarks or registered trademarks are the property of their respective owners, Made in China, Al rights reserved. Product features, appearance and
specifications may be subject to change without notice. Pease retain this information for future reference,

This product can expose you to Styrene, which is known to the State of California to cause cancer. For more information go to www. PBSWamings.ca.gov.

VideosMad Catz EGO Stick - Review Video
Documents / Resources
References

Download manual
Here you can download full pdf version of manual, it may contain additional safety instructions, warranty information, FCC rules, etc.
Advertisement


Need help?
Do you have a question about the EGO and is the answer not in the manual?
Questions and answers