Sign In
Upload
Download
Table of Contents
Contents
Add to my manuals
Delete from my manuals
Share
URL of this page:
HTML Link:
Bookmark this page
Add
Manual will be automatically added to "My Manuals"
Print this page
×
Bookmark added
×
Added to my manuals
Manuals
Brands
Asus Manuals
Desktop
D700SD
User manual
Asus D700SD User Manual
Hide thumbs
Also See for D700SD
:
Service manual
(46 pages)
1
2
Table Of Contents
3
4
5
6
7
8
9
10
11
12
13
14
15
16
17
18
19
20
21
22
23
24
25
26
27
28
29
30
31
32
33
34
35
36
37
38
39
40
41
42
43
44
45
46
47
48
49
50
51
52
53
54
55
56
57
58
59
60
61
page
of
61
Go
/
61
Contents
Table of Contents
Troubleshooting
Bookmarks
Table of Contents
Table of Contents
Notices
Safety Information
Conventions Used in this Guide
Where to Find more Information
Package Contents
Chapter 1 Getting Started
Welcome
Getting to Know Your Computer
Setting up Your Computer
Turning Your Computer on
Chapter 2 Connecting Devices to Your Computer
Connecting a USB Storage Device
Connecting Microphone and Speakers
Changing to the External Audio Output
Connecting Multiple External Displays
Connecting an HDTV
Chapter 3 Using Your Computer
Proper Posture When Using Your Desktop PC
Using the Memory Card Reader (Optional)
Using the Optical Drive (on Selected Models Only)
Configuring the USB Ports Using the BIOS
Configuring the HDD Security Setting Using the BIOS
Chapter 4 Connecting to the Internet
Wired Connection
Installing the Wi-Fi Antenna
Chapter 5 Using ASUS Business Manager
ASUS Business Manager
Chapter 6 Troubleshooting
Troubleshooting
Starting for the First Time
Start Menu
Windows® Apps
Connecting to Wireless Networks
Connecting to Wired Networks
Turning Your Computer off
Putting Your Computer to Sleep
Advertisement
Quick Links
1
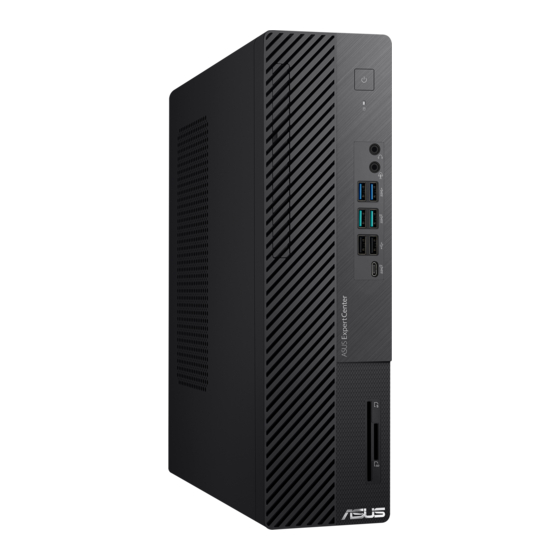
Getting to Know Your Computer
Download this manual
ASUS Desktop PC
User Guide
D700SD/S700SD/D700SDES/
D500SD/S500SD/D500SDES/
M700SD/D700SD_CZ
M500SD/D500SD_CZ
Table of
Contents
Previous
Page
Next
Page
1
2
3
4
5
Advertisement
Table of Contents
Need help?
Do you have a question about the D700SD and is the answer not in the manual?
Ask a question
Questions and answers
Related Manuals for Asus D700SD
Desktop Asus D700SD Service Manual
(46 pages)
Desktop Asus D700SA User Manual
(70 pages)
Desktop Asus D500SA User Manual
(70 pages)
Desktop Asus S500SAES User Manual
(63 pages)
Desktop Asus D700SC Service Manual
(56 pages)
Desktop Asus D700SC User Manual
(59 pages)
Desktop Asus D700SE User Manual
(74 pages)
Desktop Asus Desktop ExpertCenter D700SEES Service Manual
(32 pages)
Desktop Asus D700SER User Manual
(74 pages)
Desktop Asus Desktop ExpertCenter D700SE CZ Service Manual
(32 pages)
Desktop Asus D700MC User Manual
(59 pages)
Desktop Asus D700MA User Manual
(68 pages)
Desktop Asus D700TA User Manual
(65 pages)
Desktop Asus D700TE User Manual
(55 pages)
Desktop Asus D700TD User Manual
(62 pages)
Desktop Asus D700ME User Manual
(72 pages)
This manual is also suitable for:
S700sd
D700sdes
M700sd
D700cz
D500sd
S500sd
...
Show all
D500sdes
M500sd
D500sdcz
D700sd cz
Table of Contents
Print
Rename the bookmark
Delete bookmark?
Delete from my manuals?
Login
Sign In
OR
Sign in with Facebook
Sign in with Google
Upload manual
Upload from disk
Upload from URL


Need help?
Do you have a question about the D700SD and is the answer not in the manual?
Questions and answers