Advertisement
Table of Contents
Contents
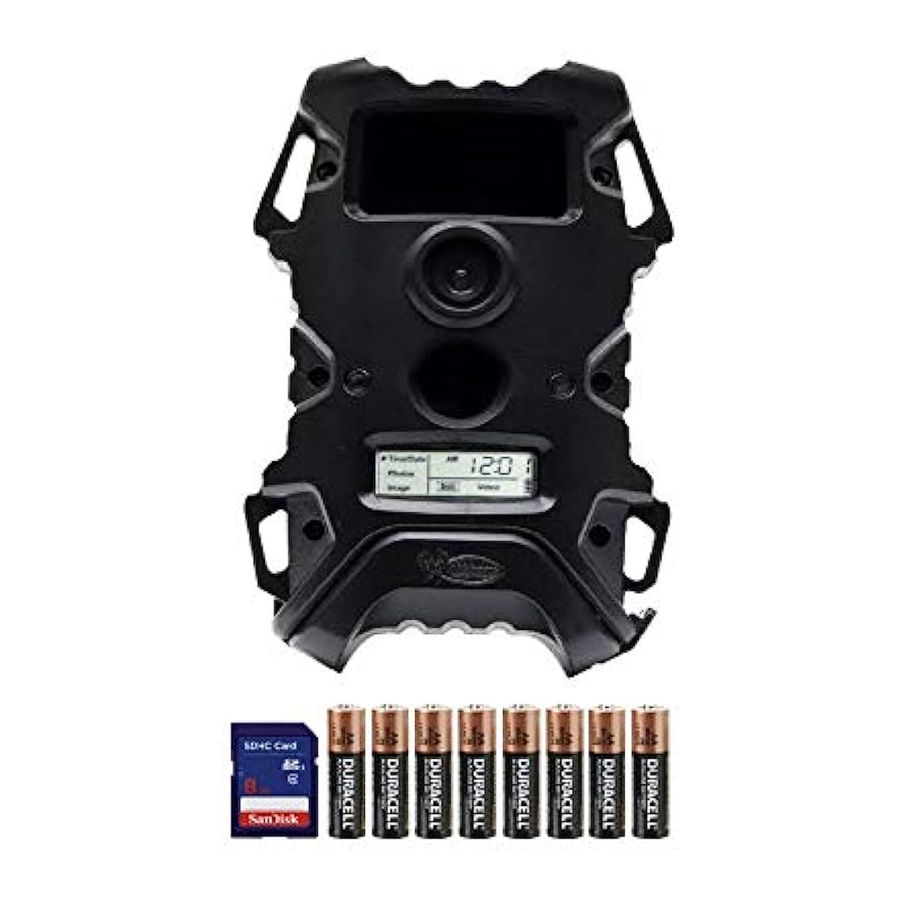
Wildgame Innovations Razor Manual
Battery Installation
- Open the door at the bottom of the camera by unlatching the locking tab.

- With the camera facing open, open the battery compartment cover by sliding the latch to the left.

- With the bottom of the camera towards you, Make sure to insert the batteries into the camera with the positive ends towards you where marked positive and the negative ends towards you where marked negative.

NOTE:
Do not mix old and new batteries. Do not mix alkaline, standard (carbon-zinc) or rechargeable (nicad, ni-mh, etc) batteries.
- Close battery compartment cover. To latch the cover simply pull the latch slightly to the left as you close the battery compartment cover.

- Load SD memory card (up to 32GB) into the SD card slot with the connectors facing up.

![]()
Make sure the camera is powered off before removing or installing an SD card.
If you are using an SD card from other cameras, please make sure to format the SD card in your computer prior to use in your camera. New cards are ok to use straight from the package.


Power
ON:
- To turn the unit ON press and release the power button.

- Check the battery level icon to ensure the batteries just installed contain the proper charge level. If so, you are ok to proceed with camera use.


OFF:
- To turn the unit off, first wake up the LCD screen and then depress and hold the power button until the LCD turns off.


Power Save
- After 30 seconds without any buttons being pushed, the LCD will turn off and camera enters into Power Save or Ready Mode.
- The LCD screen can be awakened by pressing the Power button briefly.

NOTE:
The LCD will not "wake up" when camera is writing to memory.

Test Mode
- LCD Ready Mode: The camera will automatically enter Ready Mode if a button is not pressed for greater than 30 seconds.
- LED Status Light: During the first 30 seconds of the LCD Ready Mode, the red light will illuminate when a PIR event is triggered. After the LCD turns off, the red light will blink 2-3 seconds when photo is taken. After 2 minutes, all indicator lights will turn off until a button is pressed.


Settings
TIME:
- To change date and time, start by pressing and releasing the Enter navigation button to set the hour.

- Press the + or - navigation button to go up or down in sequence.

- When the hour is set, repeat steps 1 and 2 to set the minutes.


DATE:
- Press the Enter navigation button after setting the minute to change the Date.

- Press the + or - navigation button to go up or down in sequence.

- When the Month is set, repeat steps 1 and 2 to set the Day and Year.


Photos
- Press and release the Enter navigation button to choose Photos. The number displayed is the number of photos on your SD card. This is not a programmable mode for the camera.


Image
- Press the enter navigation button while Image is selected. The highlighted option will be blinking.

- Press the + or - navigation button to move to different options. Press the enter navigation button to save the setting.


PICTURES DISPLAY:

- Time
- Date
- Moon Phase
- Photo Count
Mounting
- When mounting to a tree, first latch the 2 bungee cords through the mounting holes on the left or right side of the camera. Then, stretch the cords around the tree and latch the other ends of the bungee cords through the mounting holes on the opposite side of the camera.


IMPORTANT TIPS:
- Recommended distance from target area is 25-30 feet for optimal imaging quality.
- To improve the quality of your images, try not to mount the unit facing the rising or the setting sun in order to avoid direct sunlight into the camera lens.
- If mounting to a feeder unit or dusty environment, be sure to clean the camera lens cover, incandescent flash cover, and the PIR sensor cover on a regular basis.
- Periodically check the mounting of the camera to insure it is not loose.
- Make sure that you securely latch the door closed each and every time you use the unit, as the moisture seal will not be activated unless closed properly.
- Check batteries frequently to insure no corrosive build-up, as this may cause harm to the camera.
Retrieving Images (SD Card Reader)
- First, remove the SD Card from the camera unit itself by pressing on it to where it automatically ejects.
- Next, insert the SD card into your SD card reader.
- If so, it should list several options for the next steps (not limited to the following):
- Picture Options
- Import pictures
- View pictures
- Copy Disc
- Transfer pictures
- General Options
- Open folder to view files
- Picture Options
- Select the method from the list provided that best suits your requirements. If the selection is made to "View pictures", you can then view the images located on the SD Card and manipulate them as needed.
- If your computer does not automatically launch the AutoPlay window recognizing the Removable Disk (the SD Card), then you will need to go to the "Start Menu" at the bottom left of your screen and select "Computer". The summary view will then be illustrated on the right hand side of the window where by the "Devices with Removable Storage" will be listed. The computer will recognize the reader as "Secure Digital Storage Device". Please select "Secure Digital Storage Device" from this menu (or double click on the graphical icon).
- This will then direct you into the SD Card file folder. Images are in the MEDIA folder.
- Once open, you will then see all of the photo files that are located on the SD Card. Select each image individually to view. The default viewing browser for your computer will then automatically launch.
- Repeat for viewing all or other photos.
- If you determine that you want to delete the image, select the image by placing your cursor on it and clicking your mouse only once. Right click on your mouse and select delete. This will delete the image permanently, so be absolutely sure you want to do this before selecting delete.
Format SD Card
SDXC CARDS ARE NOT SUPPORTED
Having trouble with your SD card? Try this.
- Connect the SD card to your computer. Ifyour computer has an SD card slot you can insert the SD card directly into the port.
NOTE:
If you are using a MicroSD card, you will need an adapter to allow it to fit into standard SD card ports. If your computer does not have an SD card port built-in, you can use an external USB card reader that plugs into any USB port on your computer.
- Click the Start or Windows menu and select Computer (Windows Vista/7) or MyComputer (Windows XP). For Windows 8 users, type "computer" and click the Computer icon in the Apps search results.
- Right-click the drive letter associated with your memory device, then select "Format"
- Ensure FAT32 is selected under "File System"
- Ensure "Quick Format" is checked
- Click "Start"

Documents / Resources
References

Download manual
Here you can download full pdf version of manual, it may contain additional safety instructions, warranty information, FCC rules, etc.
Advertisement


Need help?
Do you have a question about the Razor and is the answer not in the manual?
Questions and answers