Advertisement
INSTRUCTIONS FOR
INSTALLATION AND OPERATION
MODEL V8300H-S AND V8000H-S SUNSHIELDS FOR V8300HC AND
The information in this manual covers the installation
and maintenance of the V8300H-S and V8000H-S Sun-
shields for the V8300HC and V8000HC Environmental
Housings, respectively.
The sunshield kit contains left and right sunshield
halves, two (2) housing cover support brackets, four (4)
long sheet metal screws, four (4) short self-threading
machine screws, and four (4) lockwashers. Additionally,
the V8000H-S kit includes four (4) nylon spacers. The
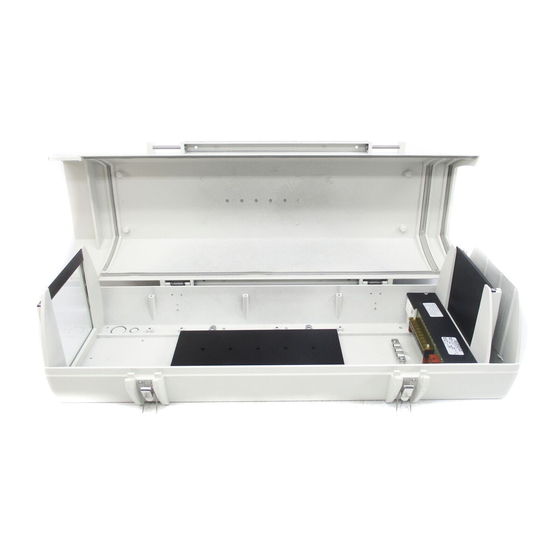
1. Remove the cover of the housing completely by
releasing all four (4) clamps and lifting the cover
off of the housing bottom.
2. Note the four (4) blind (closed) holes molded into
the top surface of the housing cover. The four (4)
long sheet-metal screws pass down through the two
sunshield halves and thread into these holes.
3. Place one sunshield half on the housing cover, ori-
enting it correcetly front-to-rear. One end of each
sunshield half is tapered to match the angle of the
front of the housing. Attach it to the cover with two
(2) of the long screws and lockwashers. When in-
stalling the V8000H-S, the nylon spacer supplied
Product specifications subject to change without notice.
Copyright 0 1998 Vicon Industries Inc. All rights reserved.
TOLL FREE: l-800-645-91 16
1. INTRODUCTION
2. INSTALLATION
2.1 General
2.2 Attaching the Sunshield
UK: 44/(O) 1489/566300
l
l
NOTES
I
The housings and sunshields are similar, except that the
and V8300H-S. Both sunshields are made of ribbed
aluminum in a heat-sink design to protect the housings
from direct solar radiant heat while permitting air-flow
over the housing exterior.
uses No. 8 size hardware, while the V8OOOH-S
uses No. 10 size hardware. The housing cover support
brackets help support the housing cover when the sunshield
is in place. Refer to Figure 1 when performing the instal-
lation procedure that follows.
must be inserted under the screw head. See Figure
4. Carefully turn the assembly over. A molded-in square
rib projects out from the lower edge of the cover on
each side. The ribs are hollow and there is a metal
dowel at each end. There are holes that pass through
the hollow ribs near the dowels. The self-threading
machine screws pass up through these holes into the
sunshield. The cover support brackets are positioned
in the underside of the rib. See Figure 1B.
Vicon and its logo are registered trademarks of Vicon Industries Inc.
TEL: 516-952~CCTV
l
INFOFAX: l-800-287-1 207
l
I
I
are larger than the V8300HC
Vicon part number 8006-8615-02-00
(2288)
FAX: 516-951 -CCTV (2288)
l
WORLD WIDE WEB: www.vicon-cctv.com
I
Advertisement
Table of Contents

Subscribe to Our Youtube Channel
Summary of Contents for Vicon V8300H-S
- Page 1 V8000H-S, the nylon spacer supplied Vicon part number 8006-8615-02-00 Product specifications subject to change without notice. Copyright 0 1998 Vicon Industries Inc. All rights reserved. Vicon and its logo are registered trademarks of Vicon Industries Inc. TEL: 516-952~CCTV (2288) FAX: 516-951 -CCTV (2288)
- Page 2 HOLLOW PLASTIC RIB LONG SELF-TAPPING SCREW HOUSING COVER (UNDER SUNSHIELD) HOUSING COVER Figure 1 Sunshield Installation X615-198...
- Page 3 Call or write Vicon for a Return Authorization Name and address of the company returning (R.A.) at one of the locations listed below. Record the unit the name of the Vicon employee who issued the R.A. Name of the Vicon employee who issued the R.A.

Need help?
Do you have a question about the V8300H-S and is the answer not in the manual?
Questions and answers