Advertisement
Quick Links
Advertisement

Summary of Contents for XODO E6
- Page 1 Smart WiFi Camera E6 User Manual...
-
Page 2: Table Of Contents
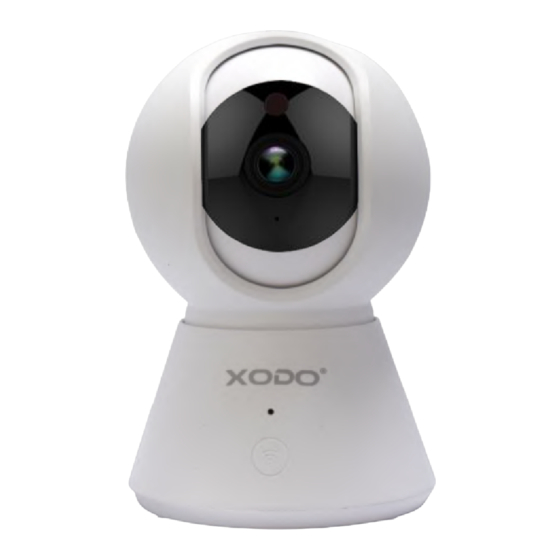
Your new E6 camera is a smart home mo�on sensor USB camera that can monitor and record in low ligh�ng condi�ons, detect movement and audio, and be monitored from a smart phone with the free app. -
Page 3: Package Contents
Smart WiFi Camera Screw Assembly, USB Cable, Wall Charger, Moun�ng Bracket User Manual Product Features Your E6 Smart home camera has the following features: • High resolu�on camera • Noise cancella�on • Night Vision • Micro SD Card slot (128GB) •... -
Page 4: Specifica�Ons
Specifica�ons Product Name: Xodo Smart WiFi Camera Model: E6 Power Input: 5V 1A(Min) Total Power Consump�on: 5W(Max) Support System: Android or IOS Resolu�on: 1920 x 1080 Video Compression: H.264 High Profile WiFi: IEEE 802.11 b/g/n 2.4GHz Audio: Two-way talk, noise cancella�on... -
Page 5: Installa�On Of Smart Wifi Camera
Installa�on of Smart WiFi Camera 1. Download Xodo app, create or login to account, and follow app instruc�ons. 2. The moun�ng bracket can be installed with included screws to mount the camera. 3. Align the camera to the mount and �ghten to secure camera. -
Page 6: Xodo Smart App
Download and Install the Xodo Smart APP Download and install the APP. It can be also be found by searching "XODO Smart" by Con�xo Inc. in the App Store (for IOS) or Google Play Store (for Android). Xodo Smart Open the APP The welcome screen will appear and then you will be asked to login or register a profile. - Page 7 Adding Devices You will be able to manually add a device. Select IP Camera E6 to con�nue. Detec�ng Device To detect the device manually, power on the device and hold the reset bu�on un�l you hear the confirma�on sound. Once you confirm the smart device is ready, press the “nest step”...
- Page 8 Connect to a WiFi Network Now you want to connect the smart device to a local WiFi network. If the proper network is not listed on this page, click the " " bu�on to see a list of available networks. Your router may broadcast both 2.4Ghz and 5.0Ghz broadband frequency.
- Page 9 Scan with Camera Screens The pairing process will ask for you to use the camera to scan a QR barcode on the screen. The QR barcode will appear on the screen. Hold camera in front of the QR barcode un�l you hear a prompt. Press the “I Heard a Prompt” bu�on to con�nue.
- Page 10 Connec�ng A�er you hear the prompt and con�nue on, the “Connec�ng” screen will appear. It will usually register within by approximately 30 seconds. A�er connec�ng process completes it will con�nue on toward the next screen. Confirma�on Screen The smart device is added once they are communica�ng on the same network.
- Page 11 Home Screen Updated Now that your device has been added, it will show on the home screen along with all other paired Xodo Smart Products. Now you are all set. Camera Home Screen The home screen will show the live camera feed along with camera controls.
-
Page 12: Configure The Camera Se�Ngs
10. Add to Home Screen allows to add the camera to the home screen of your smartphone. 11. Device Update allows to check so�ware or install updates to device. 12. Remove device will remove the camera from the Xodo Smart app and remove pairing. This is necessary if pairing with a new device. -
Page 13: Customer Service And Tech Support
See our website for more products www.con�xo.com We enjoy your feedback! Xodo is a subdivision of the Con�xo Inc. group., and the respec�ve logos are registered trademarks of Con�xo Inc. and may not be used, reproduced, or altered without wri�en Permission.


Need help?
Do you have a question about the E6 and is the answer not in the manual?
Questions and answers