Table of Contents
Advertisement
Quick Links
Advertisement
Table of Contents

Related Manuals for Magnimage LED-F706


Summary of Contents for Magnimage LED-F706
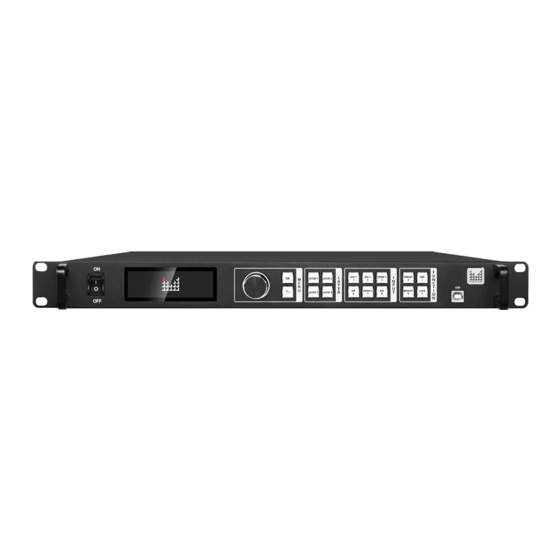
- Page 1 LED-F706/F708/F710 All-in-one Video Controller User Manuel V1.1 △ Before using this LED video processor, please read this instruction manual carefully and keep it for future reference. Document Version:V1.1 Document Release Date:2021/8/10 LED-F706/708/710...
- Page 2 Revision History Revised Content Revise Date Version 2022/ 7 / 13 First release V1.1...
-
Page 3: Table Of Contents
Content Statement ....................... 1 Introduction ......................1 Trademark Credit ......................2 About the software ......................2 Product Features ......................3 Port Extension ........................4 Safety Notice ........................4 Features ........................5 Overview ..........................5 Technical Specifications ....................9 Menu ........................11 How to use the buttons ..................... 11 MENU Area:... -
Page 4: Statement
Statement Without the written permission of the company, no unit or individual may copy, copy, transcribe or translate part or all of the contents of this manual. This manual shall not be distributed in any form or by any means (electronic, mechanical, photocopying, recording... -
Page 5: Introduction
Introduction Thank you for purchasing our company's LED all-in-one video controller. Hope you can enjoy the excellent performance of this product. The design of this LED all-in-one video controller complies with international and industry standards, but improper operation may still cause personal injury and property damage. -
Page 6: Product Features
Product Features Standard multiple input interfaces:HDMI2.0×1、DP1.1 ×1 or HDMI1.4 ×1(select 1 of them, support audio transmission)、DVI×2、Audio×1; Support HDMI loop out; Support image scaling freely; Support quick light screen, no need PC software to configure the screen; Support seamless switching for multi-layers;... -
Page 7: Port Extension
Port Extension LED-F706/LED-F708/LED-F710 is basic model number, we can extend one port of 3G SDI on the basis of basic model. Extension model are as follows: Available Expansion Modules Product Model Expand 1 external SDI input module LED-F706S Input module... -
Page 8: Features
Overview The all-in-one video controller is a video controller created by Magnimage, which integrates video processing, splicing, switching and LED screen sending card functions. This series integrates various professional input interfaces, supports up to 4K × 2K/60Hz, F706S single machine can load 390W pixels, with bandwidth expansion function single machine can load up to 600W pixels, and support 6 Gigabit Ethernet port output;... - Page 9 LED display. Complete video input interface, including: DVI×2, HDMI1.4 ×1 (support 4K × 1K/60Hz), DP1.1 × 1 (support 4K × 1K/60Hz), HDMI2.0x1 (support 4K × 2K/60Hz), One HDMI loop-out (only supports HDMI2.0D loop-out), supports AUDIO (IN and OUT), and can also extend one 3G SDI input source at the same time.
-
Page 12: Technical Specifications
Video input port DVI1-DVI2 2 x DVI input ports DP1.1 1 x DP input port,support 3840x1080/60Hz and customized HDMI1.4 1 x HDMI1.4 input port,support 3840x1080/60Hz and customized 1 路 HDMI2.0 1 x HDMI2.0 input port,support 3840x2160/60Hz and customized 1 x SDI input port 3GSDI(extend) 1 Audio input port Audio(IN)... - Page 13 Can external audio and output audio signal with 3.5mmAudio 1 port (IN) multi-function card Output information Model port quantity Resolution specification Gigabit single port max. load 0.65M pixels, whole unit load LED-F706S Ethernet 3.9M pixels. Max. Width 7680 pixel, Max. height port 3840.
-
Page 14: Menu
Menu Using the product menu system can easily and intuitively set the machine to meet the user's use requirements The all-in-one video controller uses a full-color LCD display to display the entire user menu. When the user does not operate or the operation times out, the default state will be displayed on the LCD screen. -
Page 15: Layer Area
browsing mode setting mode ↖ confirm button, short press knob, can switch between the two modes. Under browse mode, Anticlockwise rotate the "knob", the cursor moves up or left; rotate the "knob" clockwise, the cursor moves down or right. When moving the cursor to the item to be adjusted, press the "knob"... -
Page 16: Function Area
FUNCTION Area: This area contains 4 buttons:PRESET, SIZE, BRIGHT, LOCK. BUTTON Button system default operation PREST Quick call out menu of load PRESET/TEMPLATE SIZE Call out menu for layer size adjustment BRIGHT Quick button to adjust screen brightness LOCK LOCK Introduction to Default State After turning on the power of the all-in-one video controller, during the system boot process, the boot interface will be displayed on the LCD screen of... - Page 17 The information in the above figure is explained as follows; Direction Resolution Current output resolution Brightness Current screen brightness Machine IP address The serial number of the network port. If the current network port is connected to the network cable, the network port will become highlighted.
-
Page 18: Main Menu Introduction
Main Menu Introduction In the main menu, the user uses the "OK", " " keys and the knob to select and adjust each item. The operation mode is as follows: mark introduction Open main menu In the default state, press the "OK" key or press the rotary knob Select each item Rotate the knob to select each item Adjust parameter... -
Page 19: Main Menu
Main Menu In the default state, press "OK" button or press the knob, the menu system will enter the main menu state, and the LCD screen will display as shown in the figure below There are 4 menu items in the main menu. Use the knob to select the 4 menu titles listed above. -
Page 20: Screen Configuration Submenu
Screen configuration submenu... - Page 22 Screen Can adjust LED screen brightness(Default level 50) Brightness When all the network ports are routed in the same way, light the screen quickly according to the number of cabinets, the connection of the Quick network cable, the arrangement and other information. Through the configuration built-in quick splicing function of the machine, copy and light up multiple sending card screens...
- Page 23 When the cable connection way of each network port is different, you Manual need to enter each network port to set the corresponding cable configuration connection way. When the cabinet label function is on, the led screen will display the serial number of the network port and the serial number of the receiving Cabinet label card of each cabinet, so that the connection diagram can be made...
-
Page 24: Layer Setting Submenu
Layer Setting Submenu... - Page 25 Can change the horizontal position, vertical position, horizontal width, vertical Size/Position position of each layer Each layer can be cropped independently, this crop is for input signal of layer. The maximum value is the difference between the width of the H position horizontal base and the width of the horizontal The minimum value is 0, and the maximum value is the difference...
-
Page 26: Input Setting Submenu
Input Setting Submenu... - Page 27 EDID setting Select one input to set EDID. H Active horizontal width V Active Vertical height refreshment advanced Adjust bandwidth setting RGB range Adjust RGB range for any input, set AUTO/“0-255”/“16-235” After setting the EDID, for different computers and different graphics cards output, you may need to restart the computer or unplug the signal cable.
-
Page 28: Function Settings Submenu
Function Settings Submenu Enter the save interface, press the number button or rotate the knob Save preset to save the preset Enter the loading interface, press the number button or press the Load preset rotary knob to load the preset; use the PRESET button on the front panel to enter the loading interface. - Page 29 It is convenient to label the areas that the machine is loaded with. You can define a serial number for the machine. When this function is Label turned on, it can be displayed on the LCD screen of the machine. The default interface becomes this label, as shown in the figure above.
- Page 30 Can change machine IP address address Switch this mode, you can use the USB communication Communicati square port USB communication on settings Switch this mode, you can use the setting USB disk file flat port USB to upgrade the machine Version You can view the version of the machine's ARM and FPGA programs Information...
-
Page 31: Warranty
Warranty Machine Warranty Period 24 months from the date of the user's purchase invoice; If the user's purchase invoice is lost, the 60th day after the production date of this product is the start date of the warranty for this product.