Advertisement
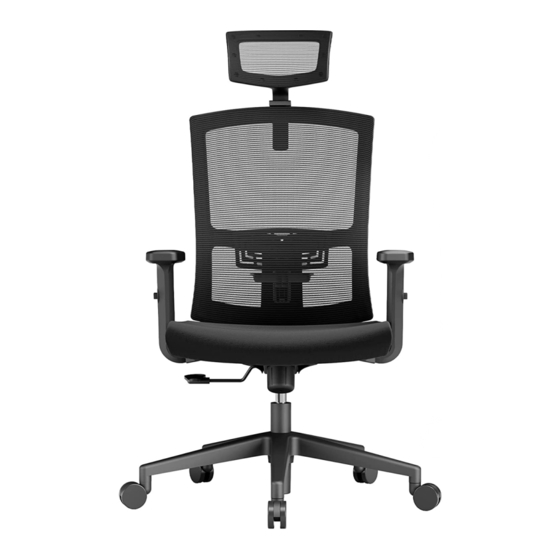
Office Chair
Instruction Manual
V2.0(A)
Model: NWOC4
Thank you for choosing this NOBLEWELL product! At NOBLEWELL
we strive to provide you with the best quality products and services
in the industry. Should you have any issues, please don't hesitate to
contact us at
Technical Support:
1-800-556-2032 Mon-Fri 8am - 8pm(CST)
Other Info:
supportus@noblewellfurni.com(US/CA)
Advertisement
Table of Contents

Related Manuals for Noblewell NWOC4


Summary of Contents for Noblewell NWOC4
- Page 1 Instruction Manual V2.0(A) Model: NWOC4 Thank you for choosing this NOBLEWELL product! At NOBLEWELL we strive to provide you with the best quality products and services in the industry. Should you have any issues, please don't hesitate to contact us at...
- Page 2 Features Adjustable headrest Height adjustable lumbar support Press the button to adjust the height of armrest and release to lock the height Height Adjustment Pull up and hold the handle, the chair will rise automatically. Pull up and hold the handle meanwhile exert strength downwards, the Tilting Function...
- Page 3 • Check package contents against supplied parts and hardware list to assure that all components were received undamaged. Do not use damaged or defective parts. lf you require replacement parts, please contact NOBLEWELL customer service at supportus@noblewellfurni.com. • Carefully read all instructions before attempting installation. If you do not understand the instructions or have any concerns or questions, please contact customer service at supportus@noblewellfurni.com.
- Page 4 Headrest Gas Lift Cylinder Caster Base Bolt Bolt Bolt φ6 Washer M6X30mm M8X20mm M6X20mm 13/64 in (5mm) φ8 Washer Allen Key Installation Steps Rotate and press the casters Press the gas lift cylinder [6] [5] hard into on the leg [3]. into the leg.
- Page 5 IMPORTANT NOTE: Please note that you need to verify the direction of the seat [2]. There are 4 pilot holes on the center of the seat as shown in the below figure. The holes [3 and 4] are further to the edge of the seat than the holes [1 and 2].
- Page 6 Connect armrests [4] to the seat [2] with bolts [b], washers [d] and Allen key [9]. Back Front 5-1. Remove the back stay [8a] from the headrest [8b]. Insert and hold the headrest stay [8a] into the slot on the back [1], meanwhile attach the headrest [8b] on the backrest stay [8a].
- Page 7 5-2. Use one hand to hold the both headrest and headrest stay, mean- while use the other hand to tighten the screw by a Phillips screwdriver to secure the headrest stay [8a] and headrest [8b] on the back [1]. Phillips Screwdriver (Not lncluded) Length Adjustable...
- Page 8 Align the hole on base with gas lift cylinder, then press the base down to secure it to gas lift cylinder. HEAVY! You may need assistance with this step.
Need help?
Do you have a question about the NWOC4 and is the answer not in the manual?
Questions and answers