HyperX Pulsefire Haste HMSH1-A-BK/G Manual
- User manual (97 pages)
Advertisement
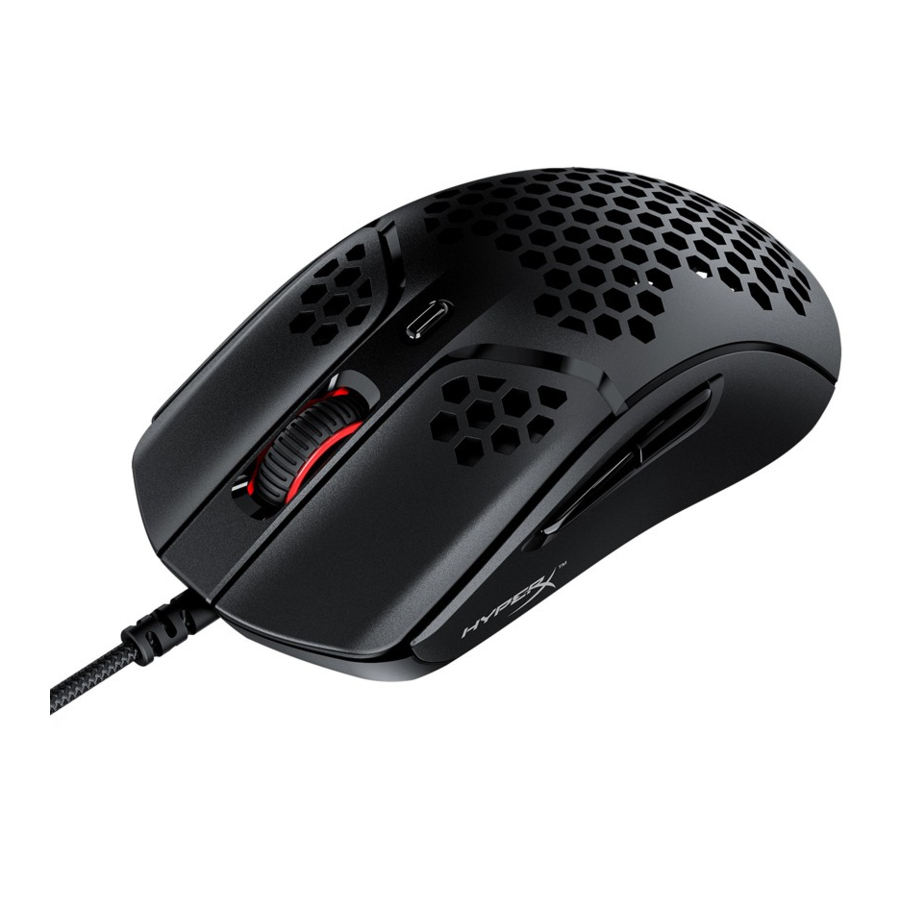
Overview


- Left click button
- Right click button
- Mouse wheel
- DPI button
- Forward button
- Back button
- Optical gaming sensor
- Grip tape
- Mouse skates
Specifications
- Shape: Symmetrical
- Sensor: Pixart PAW3335
- Resolution: Up to 16000 DPI
- DPI Presets: 400 / 800 / 1600 / 3200 DPI
- Speed: 450 IPS
- Acceleration: 40G
- Buttons: 6
- Left / Right buttons switches: TTC Golden Micro Dustproof Switch
- Left / Right buttons durability: 60 million clicks
- Light effects: Per-LED RGB lighting1
- Onboard memory: 1 profile
- Polling rate: 1000Hz
- Cable type: HyperFlex USB Cable
- Connection type: USB 2.0
- Skate material: Virgin-grade PTFE
- Weight (without cable): 59g
- Weight (with cable): 80g
- Dimensions (L x W x H): 124.2mm x 66.8mm x 38.2mm
- Cable length: 1.8m
1 Per-LED RGB lighting customizable with HyperX NGENUITY software.
Installation
Connect the USB connector to the computer.
Grip Tape
Optionally install the included grip tape for added control and comfort. Attach the grip tape for the left and right mouse buttons with the pointed end facing the forward direction of the mouse.


Replacement Skates
Pulsefire Haste includes an extra set of PTFE skates in case the preinstalled skates are lost, damaged, or worn.
- Remove the damaged skate. Gently use a small flathead screwdriver or similar tool if needed.
- Remove adhesive residue and debris from the mouse. A clean dry surface will provide optimal adhesion.
- Peel the replacement mouse skate from the backing paper and install on the mouse. Use tweezers if needed.
- Remove the protective film.
Function Keys
| Function Keys | Secondary Feature |
| DPI button |
Change between DPI presets. Default values are:
|
HyperX NGENUITY Software
To customize lighting, DPI, and macro settings, download the HyperX NGENUITY software here: hyperxgaming.com/ngenuity.
Using with Console
Connect the USB connector to Playstation or Xbox.
Factory Reset
If you are experiencing any issue with the mouse, you can perform a factory reset. Onboard memory will be cleared, and all settings will revert back to default.
| Function Keys | Secondary Feature |
| Hold DPI button + mouse wheel button down for 5 seconds | Perform a factory reset on the mouse. |
Support
Questions or Setup Issues?
Contact the HyperX support team at: hyperxgaming.com/support/

VideosHyperX Pulsefire Haste Review Video
Documents / ResourcesDownload manual
Here you can download full pdf version of manual, it may contain additional safety instructions, warranty information, FCC rules, etc.
Advertisement


Need help?
Do you have a question about the Pulsefire Haste HMSH1-A-BK/G and is the answer not in the manual?
Questions and answers