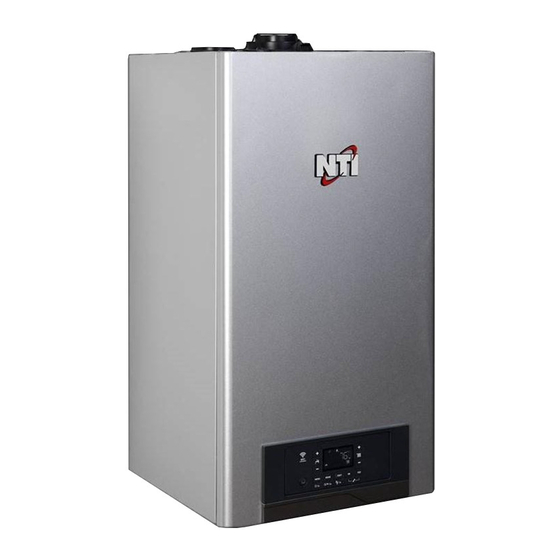
NTI TRX Series Quick Start Manual
Residential condensing gas boiler
Hide thumbs
Also See for TRX Series:
- Installation, start-up, maintenance, parts, warranty (116 pages) ,
- Manual (100 pages)
Advertisement
Quick Links
Advertisement

Summary of Contents for NTI TRX Series
- Page 1 Residential Condensing Gas Boiler Connectivity Quick Start Guide TRX series...
- Page 2 Thank you for your purchase. Connecting the boiler is quick and easy in 4 easy steps: You just installed an NTI boiler designed and built to provide a new experience in domestic heating and hot water comfort. Connect the product and, with 1: Owner Account agreement from the boiler’s...
- Page 3 1. Owner Account Creation 1. Enter the website and create your final user account 2. Confirm your email. All other steps will be performed by the Contractor www.nti.remotethermo.com...
- Page 4 2. Connect the Boiler to the Internet 1. Enter connectivity menu by pressing MENU and OK. a) Turn ON “WIFI” : Scroll to Wi-Fi (using the right + and - buttons) and press OK, then select “ON”. Confirm by pressing b) Open Access Point: Scroll to “AP”, then press “AP”...
- Page 5 3. Connect the Boiler to the Internet 1. Enter connectivity (I-NET) menu: press MENU (“I-NET” will appear), then press OK. Scroll to “SN” (using the right + and - buttons), then press 2. The display will show you its 12 characters serial number. Take note of it.
- Page 6 Step 4 Contractor Remote Connectivity 1. Log in to the platform www.nti.remotethermo.com with your Contractor account. If you don’t already have an account, please go to http://www.ntiboilers.com/remotecontractor to request an account. 2. To register a new product, click on “New Product Registration”.
- Page 7 Step 4 Contractor Remote Connectivity 5. Fill in the available data and then go to “User Data”. Enter the Owner’s information (email address is required).
- Page 8 Visit us online NTI Boilers Inc. 30 Stonegate Drive Saint John, NB E2H 0A4 Canada Technical Assistance: 1-800-688-2575 Website: www.ntiboilers.com Fax: 1-506-432-1135 420011057700...


Need help?
Do you have a question about the TRX Series and is the answer not in the manual?
Questions and answers