Advertisement
Quick Links
Advertisement

Related Manuals for Vicoustic Multifuser DC3


Summary of Contents for Vicoustic Multifuser DC3
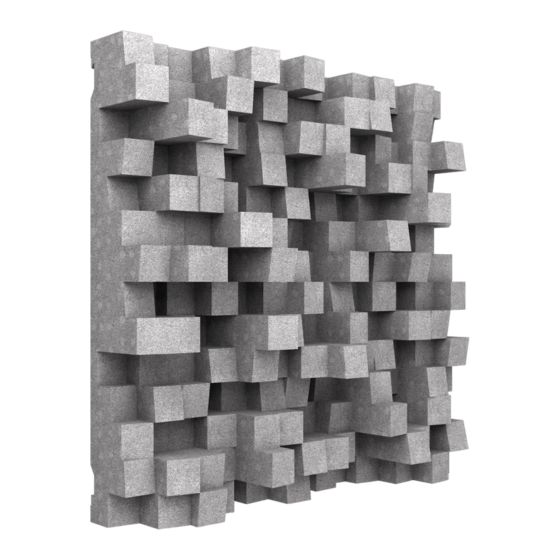
- Page 1 Multifuser DC3 Installation Manual...
-
Page 2: Material Needed
6mm Phillips Screwdriver Measuring Tape Wall Plugs and Screws Level Drill Multifuser DC3 Flexi Glue Ultra Silicone Drop VicFix Mini This product can be installed on the wall with VicFix Mini and on the ceiling using Flexi Glue Ultra (not supplied). - Page 3 Ways of using the gauge...
- Page 4 Wall installation - One panel After defining the place where you want to install the panels, start marking the position of the Multifuser DC3 fixation clips. This product can also be installed using Flexi Glue Ultra.
- Page 5 Wall installation - Installation up to three panels Define the place where you want to install the panels and fix the First VicFix Mini. From there and with the help of the gauge provided, mark the positioning of the remaining fixation clips.
- Page 7 To install the last Multifuser DC3, use it to mark the inner side of the last fixing clip. Remove the last two panels again and use the gauge provided to ensure the clips are aligned. Fix the last clip. You can use a bubble level to help in this procedure.
- Page 9 Install the last two panels.
- Page 10 Wall Installation - Vertical Installation Install the first panel according to step number 2. Follow the steps described in the following diagrams. Remove the top panel so that you can install the bottom panel first.
- Page 11 Ceilling Installtion Apply three lines of glue on the back of the Place the panel on the suitably chose acoustic panel. Do not wait longer than 10 position on the ceilling. Once in the desired minutes after applying the glue to attach the place, press firmly against the wall for 15 panel to the wall.
- Page 12 Rua Quinta do Bom Retiro Nº 16, Armazém 9 2820-690 Charneca da Caparica, Portugal T (+351) 212 964 100 Info and Sales E sales@vicoustic.com www.vicoustic.com © Vicoustic, 2021 | V3 No parts of this document might be copied and/or published without written consent of Vicoustic.
Need help?
Do you have a question about the Multifuser DC3 and is the answer not in the manual?
Questions and answers