Advertisement
Quick Links
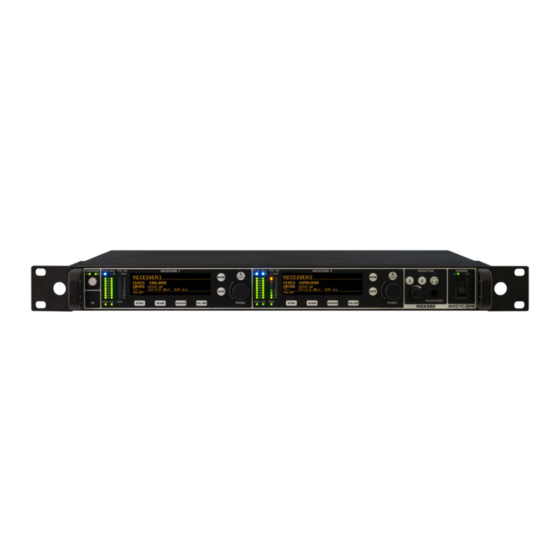
MRK
WARNINGS:
• This wireless electronic equipment must be disassembled and
serviced only by qualified electrical personnel.
• Take electrical precautions before starting to work.
• use components with the same specifications.
• Customer is the only responsible for any damage occurred by improper service.
The aim of the following document is to give the instruction to install the expansion board EXP3 on
MRK980 or MRK16.
NOTE: the installation is possible on all MRK16 but only on MRK980-EX0 version. The EX0 version
can be recognized from the code EX0 on the product label and from the small black metal panel on
the rear panel.
– EXP3-SC INSTALLATION
XX
EX0
MRKxx - EXP3 installation
small black metal panel
rev.01
Advertisement

Subscribe to Our Youtube Channel
Related Manuals for WisyCom EXP3


Summary of Contents for WisyCom EXP3
- Page 1 • use components with the same specifications. • Customer is the only responsible for any damage occurred by improper service. The aim of the following document is to give the instruction to install the expansion board EXP3 on MRK980 or MRK16.
- Page 2 MRKxx - EXP3 installation EXP3 KIT: Expansion board version 3 and kit for assembling: 2x DSELL255013 FOR MRK980 CAFFC09 2x RODX2505 2x ROPX2505 2x VITCCX2520 4 xVISEMS2507 2x DSETL254022 FOR MRK16...
-
Page 3: Assembling Instruction
Remove the 2 screws to remove black metal panel (holding the nuts in the internal part) Insert the FFC jumper cable (code: CAFFC09) into the EXP3 connector (as in the picture): For MRK980: Insert the expantion board EXP3 and fix it to the rear panel with 2 screws (code: VITCCX2506) - Page 4 MRKxx - EXP3 installation Fix the FFC jumper cable (code: CAFFC09) on the main board of MRKxx. PAY ATTENTION to the verse! Fix internally the board with the 2 cylindrical spacers + 2 screws with fan washer and flat washer:...
- Page 5 For MRK16: Insert the cylindrical spacers + screws DSETL254022 VISEMS2507 Insert the board EXP3 and fit it to the rear panel with 2 screws (code: VITCCX2506) Insert and fix the FFC jumper cable (code: CAFFC09) on the main board of MRK16...
- Page 6 MRKxx - EXP3 installation Rotate 180° and remove bottom cover Insert 2x VISEMS2507 as in the picture Put the MRK16 back straight and fix the 2x VISEMS2507 previously inserted...
Need help?
Do you have a question about the EXP3 and is the answer not in the manual?
Questions and answers