
Related Manuals for golmar EL632/G+/48


Summary of Contents for golmar EL632/G+/48
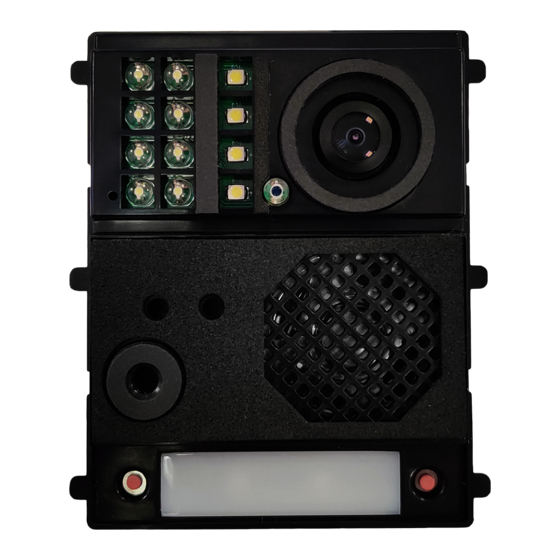
- Page 1 WEB CLIENT EL632/G+/48 IP G+ QUICK GUIDE Web Client EL632/G+/48 REV0121 V04|ENGLISH...
-
Page 2: Table Of Contents
IP G+ CATEGORY 2_HEADER WEB CLIENT EL632/G+/48 CATEGORY 1_HEADER INDEX ..............................3 1. Before starting ............................3 2. Access the web client .................................5 3. Web client 3.1. Settings .................................. 5 3.2 Push buttons ................................5 3.3. Calls via SIP protocol ............................6 3.3.1. -
Page 3: Before Starting
CLIENTE WEB EL632/G+/48 IP G+ 1. BEFORE STARTING For the system configuration is not necessary any computer or software, as the management panel assigns an IP address and registers the monitors in the system. In case of advanced configurations, such as the SIP devices inclusion or additionals cameras, the use of the web client will be necessary. - Page 4 IP G+ WEB CLIENT EL632/G+/48 Before typing the management panel IP address in the web browser, we must make sure that the network connection of the computer is on the same IP range. For this we will follow the next steps: Go to network settings in control panel.
-
Page 5: Web Client
IP G+ CLIENTE WEB EL632/G+/48 3. CLIENTE WEB Below, the different sections of the web client are described: 3.1. Settings From the first settings screen we can modify the entry panel configuration. It also allows to change the panel IP address and set a different one that the system automatically assigns. -
Page 6: Calls Via Sip Protocol
IP G+ WEB CLIENT EL632/G+/48 - Double push buttons module panel: PUSH BUTTONS PUSH BUTTONS PUSH BUTTONS Single push button type Settings Settings Settings Built-in push buttons Left Push buttons Push buttons Push buttons Right SIP servers SIP servers SIP servers... -
Page 7: Sip Servers
CLIENTE WEB EL632/G+/48 IP G+ In this guide has been used the Grandstream GXP1610 model. The following describes how to modify its IP address: 3 - Modify the IP address: Type the current IP address of the telephone in the web browser: Access to the network section and modify the IP and the Gateway IP POR DEFECTO DEL TELÉFONO... - Page 8 IP G+ WEB CLIENT EL632/G+/48 Once we have accessed the switchboard web server, we deploy the system settings pressing on “System Settings” and we will access to the “Network Settings”. In the WAN section, we will set an IP address which is in the IP range of our system.
-
Page 9: Devices
CLIENTE WEB EL632/G+/48 IP G+ To assign the previously created extension to our device, in this case an entry panel, we will access the client web and we will go to the “SIP servers” section. The next screen will appear:... - Page 10 • H.264 video codec standard, “baseline” mode support. (*) Golmar does not guarantee the compatibility of cameras from other manufacturers. Steps to follow: 1 - Connect the camera to the system: In this scheme the camera receives data and power UP-LINK from the 48Vdc switch.
- Page 11 CLIENTE WEB EL632/G+/48 IP G+ 4 - Modify the IP address. The camera IP address will have to be changed to a value between 10.128.XX.XX and 10.254.XX.XX. The Gateway IP address should become 10.128.0.1 If the configuration of the IP addresses of the system is automatic, use this recommenden parameters.
-
Page 12: Event Log
IP G+ WEB CLIENT EL632/G+/48 In this moment the camera is added and appears in the devices list: It is possible to select which devices have access to the camera images. Cámara 1 For this, click on the “visibility” option and Pu sh buttons 10.128.0.125... - Page 13 Sistemas de comunicación S.A. C/ Silici 13. Poligon Industrial Famadas 08940 – Cornellà del llobregat – Spain golmar@golmar.es Telf: +34 934 800 696 www.golmar.es Golmar reserves the right to make any changes without prior notice.
Need help?
Do you have a question about the EL632/G+/48 and is the answer not in the manual?
Questions and answers