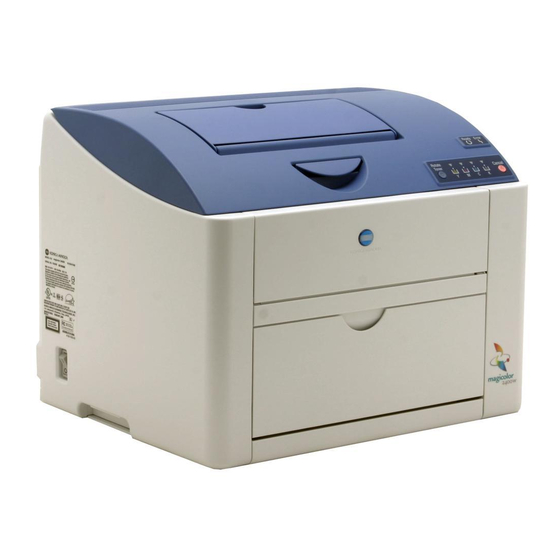
Konica Minolta Magicolor 2480 MF Manual
Warranty exchange guide
Hide thumbs
Also See for Magicolor 2480 MF:
- User manual (182 pages) ,
- Service manual (148 pages) ,
- Technical manual (46 pages)
Advertisement
Quick Links
Advertisement

Summary of Contents for Konica Minolta Magicolor 2480 MF
- Page 1 ® magicolor 2400 and magicolor 2500 Series Warranty Exchange Guide 1760665-001C...
- Page 2 Trademarks KONICA MINOLTA and the KONICA MINOLTA logo are trademarks or registered trademarks of KONICA MINOLTA HOLDINGS, INC. magicolor is a trademark or registered trademark of KONICA MINOLTA PRINTING SOLUTIONS U.S.A., INC. All other trademarks are the property of their respective owners.
-
Page 3: Exchange Procedure
Introduction Thank you for contacting a technical support representative to obtain information about returning your magicolor 2500W, magicolor 2530DL or magicolor 2550 for warranty exchange. Follow these instructions very carefully. If you need additional assistance, refer to the General Information Guide (included with the original printer) or printer.konicaminolta.com for worldwide sources of service and support. - Page 4 Unpack the Exchange Printer Use caution when unpacking the exchange printer, so the packaging (including the tape) can be used to repack the printer to be returned. Unpack the exchange printer WARNING! The printer weighs approxi- matelty 40 lbs/18 kg without consumables.
- Page 5 Prepare the Original Printer Turn off the original printer, unplug the power cord and remove the interface cable(s). Remove the media and dust cover from the original printer. Remove the Toner Cartridges Follow these steps to manually remove the toner cartridges. - Open the top cover - Press the toner carousel release.
- Page 6 To remove the toner cartridges, rotate the carousel to the removal position. Note: Be careful not to touch the developer roller (the roller with the color toner on it). This could cause print quality problems when you install the toner cartridges in your exchange printer. A.
-
Page 7: Install The Toner Cartridges
Install the Toner Cartridges Before you can install the toner cartridges into your exchange printer, you must check the position of the carousel to make sure that the toner cartridge slot is aligned with the opening inside the printer. If the slot in not aligned, use a pencil (as described in the removal procedure) to press the carousel release button and manually rotate the carousel until the slot is aligned as shown in the picture below. - Page 8 Repeat steps 1 and 2 three more times to install the original printer’s remaining toner cartridges into the exchange printer: Black (K), Yellow (Y) and then Magenta (M). Note: The color of toner cartridge is marked inside the carousel and on the handle of the toner cartridges.
- Page 9 Move the Transfer Belt Unit With the top cover of the original printer still open, disconnect the transfer belt unit connector. Remove the two thumb screws, one on each side of the transfer belt unit. Caution.. Be careful not to drop the thumb screw into the printer.
- Page 10 Slide out the transfer belt unit from the original printer, Note: Be careful not to touch or scratch the transfer belt surface With the top cover of the exchange printer still open, slide the transfer belt unit into place. Note: Be careful not to touch or scratch the transfer belt surface...
- Page 11 Install the two thumb screws, one on each side of the transfer belt unit. Take care not to over tighten these screws. Note: Be careful not to over tighten the thumb screws. Connect the transfer belt unit connector. Close the top cover of the exchange printer. Connect the interface cables, power cord and insert paper into the input tray.
- Page 12 Prepare the Original Printer for Repackaging Open the fuser separator tabs on the original printer. Note: It is important to release the pressure on the fuser roller before shipping the printer. Repackaging the original printer Close the top cover of the original printer. Replace the packing tape on the outside of the original printer.
- Page 13 Place the prepaid return shipping label (provided in the packing slip) on the outside of the box. Contact UPS-SCS at 1-800-443-6379 to schedule pick-up of this unit Thank you for being a KONICA MINOLTA customer...


Need help?
Do you have a question about the Magicolor 2480 MF and is the answer not in the manual?
Questions and answers