Table of Contents
Advertisement
Quick Links
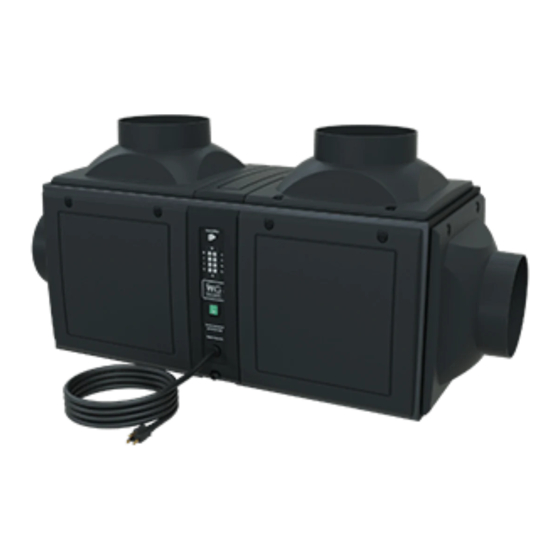
Ducted Systems
Professional Grade
Packaged Cooling Systems
Installation, Operation and Maintenance Manual
DP25, DP50, DP88, DP200
Manufactured by:
Syracuse, NY
www.wineguardian.com
www.airinnovations.com
Wine Guardian reserves the right, without notice, to make changes to this document at its sole discretion.
Please visit our web site for the most current version of the Wine Guardian PRO manual and other literature.
Wine Guardian is a registered trademark (2,972,262) of Air Innovations, Inc. Edition 01-2019 © Air Innovations 2019
Part No. 15H0167-00
1
Advertisement
Table of Contents
Troubleshooting


Need help?
Do you have a question about the Pro DP25 and is the answer not in the manual?
Questions and answers