Table of Contents
Advertisement
Quick Links
Advertisement
Table of Contents

Subscribe to Our Youtube Channel
Summary of Contents for TOP VEHICLE TECH GRKVW03
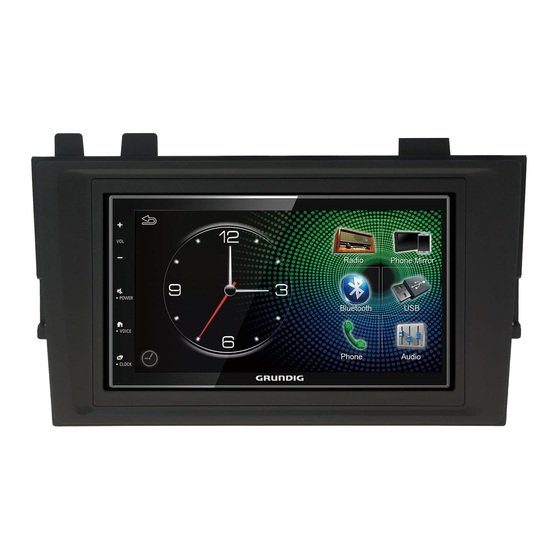
- Page 1 GRKVW03 VOLKSWAGEN TRANSPORTER (T6.1) 2019-UP INSTALLATION MANUAL V1.0522 This dash image is a visual representation for display purposes only. The information provided in this document is subject to change without notice due to changes and/or improvements to the product/s. www.topvehicletech.com...
-
Page 2: About This Product
ABOUT THIS PRODUCT The GRKVW03 installation kit allows the retention of the vehicle’s steering wheel controls and helps to maintain the original aesthetic of the interior when installing a new car stereo. The GRKVW03 gives you everything you need for a complete install in one box. The components of this kit are compatible for the Volkswagen Transporter (T6.1, 2019-UP) with MIB 2 factory stereos. - Page 3 FITTING GUIDE STEREO REMOVAL 1. Use a panel removal tool to release the plastic panel which surrounds the speedometer. Once free, pull forward toward the steering wheel without removing completely. 2. Use the panel removal tool to release the front fascia panel. Starting from the right side which is now uncovered from the speedometer panel, pry this out following with the left air vent.
- Page 4 FITTING GUIDE STEREO INSTALLATION CONT’D 8. Connect the aftermarket reverse camera (if required) to the female yellow RCA on the camera extension harness. Note: ensure the ‘Camera Connected’ option in the ‘Preferences’ menu is set to ‘Yes’ for the camera to function correctly.
-
Page 5: Vehicle Settings
CONFIGURATION MENU FUNCTIONALITY Configuration Menu Press and hold (or double press) MUTE or Vehicle Settings VOICE to enter into the configuration menu. Infodapter Settings From here you will then be able to use the steering wheel controls to navigate through the various options and settings below. - Page 6 CONFIGURATION MENU FUNCTIONALITY PREFERENCES (SUB-MENU) Preferences This sub-menu (found within the Infodapter Driver Position Right Menu) allows you to adjust various details Camera Connected specific to the vehicle. These include: Reverse Priority Park Assist Driver Position Select Left or Right depending upon whether Park Brake Source Speed the vehicle is left or right-hand drive.
-
Page 7: Wiring Diagram
WIRING DIAGRAM Flying Wire Outputs Pink - Speed Pulse Quadlock Connector ISO Connector Green - Park Brake Connect to quadlock connector from vehicle Connect to new stereo Purple/White - Reverse Gear Grey - Mute Female Yellow RCA Connector Connect reversing camera Camera Harness (optional) Connector [4 Pin]... -
Page 8: Technical Assistance
TECHNICAL ASSISTANCE If at any point you experience any problems and need any assistance before, during or after the installation process, please contact us via : Phone: 01420 470 605 E-Mail: help@topvehicletech.com Mon - Fri 9am - 5.30pm GMT If you would like to download a digital copy of this manual, or any other product, then please visit the www.topvehicletech.com website.


Need help?
Do you have a question about the GRKVW03 and is the answer not in the manual?
Questions and answers