Advertisement
A
Installation
CAUTION! The freezer is heavy - transport it with care! To avoid back or other injury, we
recommend you ask someone for help or use a mechanical aid when moving it.
Getting it ready for use
Before you start installing the freezer, wipe the interior
1
surfaces and accessories with a damp cloth to remove
any dust from transit and storage. Dry thoroughly.
Installation
Tilt the freezer carefully – not more than 45 degrees – and
2
move it to its designated place. Use the roll wheels under
the back corners to help you position it in place and the
levelling feet at the front for adjustment, if necessary.
Avoid areas where the freezer would be exposed to direct
sunlight, heat, extreme cold ambient temperatures or
excessive moisture and high humidity. Installing it in the
coolest area of the room will save energy consumption
and running costs. Allow at least 10 cm clear space at the
back and sides of the unit, and 70 cm above, so air can
circulate freely around the freezer.
For comprehensive installation instructions, please consult the manual.
Before plugging in your new freezer, let it stand upright for at least 4 hours to allow
Plug in the freezer and secure the power cord behind the unit, making sure the plug
5
Quick Start Guide
198 L chest freezer ready to use!
the refrigerant gases to settle into the compressor.
The first time you turn the unit on, select the
appropriate mode (see overleaf) and set the
temperature control to the coldest temperature
in the range. Then, after 24 hours, adjust the
Model: STR-H200W
Let's get your new
Connection
Connection
is accessible after installation.
temperature to your needs.
Turn over the page for a
description of the modes ...
B
Settling
3
4
First use
5
Advertisement
Table of Contents

Subscribe to Our Youtube Channel
Related Manuals for Stirling STR-H200W


Summary of Contents for Stirling STR-H200W
- Page 1 Quick Start Guide Model: STR-H200W Let’s get your new 198 L chest freezer ready to use! Installation CAUTION! The freezer is heavy - transport it with care! To avoid back or other injury, we recommend you ask someone for help or use a mechanical aid when moving it.
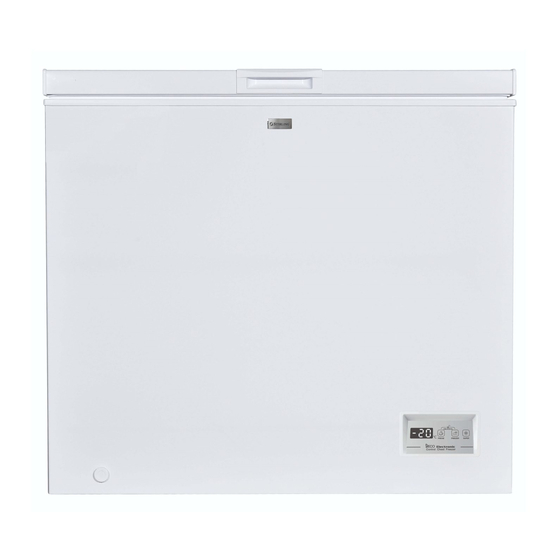
- Page 2 Using the chest freezer This appliance can be used as a chest freezer, or as a refrigerated storage cabinet for unfrozen food. For convenient access and organised storage, the cabinet is equipped with a wire basket. The control panel is located at the front of the storage cabinet, in the bottom right- hand corner.
Need help?
Do you have a question about the STR-H200W and is the answer not in the manual?
Questions and answers