Table of Contents
Advertisement
Quick Links
Advertisement
Table of Contents

Related Manuals for Yoke P611


Summary of Contents for Yoke P611
- Page 1 Shanghai Yoke Instrument Co.,Ltd. Model P611 pH Meter Operation Manual...
-
Page 2: Table Of Contents
Table of Contents 1. Brief Introduction ----------------------------------------------------------------------------------- 2. Technical Parameters ------------------------------------------------------------------------------- 3. Instructions to the Meter --------------------------------------------------------------------------- 3.1. LCD Display ------------------------------------------------------------------------------------- 3.2. Operation Keys ---------------------------------------------------------------------------------- 3.3. The Storage, Recall and Elimination of the Measuring Information --------------------- 4. pH Measurement ------------------------------------------------------------------------------------ 4.1. -
Page 3: Brief Introduction
1. Brief Introduction: Thanks for buying and using the model P611 pH/mV Meter (the following called “meter” in short). Before using this meter, please read the operation manual carefully in order to help use and maintain it correctly. On the basis of improving instrument of performance constantly, we reserve the right of changing the content of this manual and accessories in case of not notifying in advance. -
Page 4: Technical Parameters
2. Technical Parameters: 2.1. pH: Measuring range (-2.00 - 19.99) pH (Depending on type of electrode used) Resolution 0.1/0.01 pH Accuracy Meter:±0.01pH; Complete Kit: ±0.02pH Input current ≤2×10 Input impendance ≥1×10 Ω Stability ±0.01 pH/3h Temp. Compensation range (0 - 100) ℃ (auto/manual) 2.2. -
Page 5: Instructions To The Meter
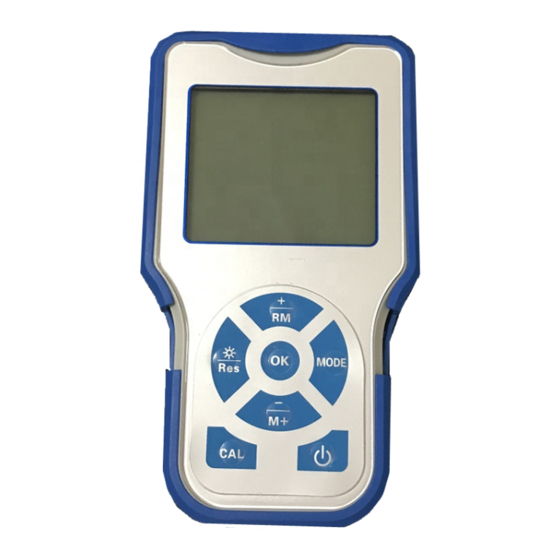
3. Instructions to the Meter: 3.1. LCD Display: ① —— Parameters mode icon ② —— Measuring value ③ —— Serial number and icon as measuring value to be stored and recalled. M+ — measuring value to be stored icon; RM — reading to be recalled icon; ④... -
Page 6: Operation Keys
⑧ — — Indication icon of low voltage, appears when the voltage less than 2.4V, call attention to change the batteries. 3.2. Operation Keys: The meter has 7 operation keys in all. 3.2.1. — Switch key In the measurement mode open and shutdown function , other mode keys do not work. 3.2.2. -
Page 7: The Storage, Recall And Elimination Of The Measuring Information
(a) When in the measuring state, long press s)this key to set parameter. (≥2 (b) When in the non-measuring state,short press ≤1.5s), determine current selection. 3.3. The Storage, Recall and Elimination of the Measuring Information: 3.3.1. Store the measuring information: In the measuring mode, when the measuring data is stable and appear the “... -
Page 8: Meter Calibration
4.1.1. Press key to turn on,press key, select PH measurement mode 4.1.2. Check E-201pH composite electrode,check pH composite electrode glass bulb whether or not keep wet,if the glass bulb damaged,the electrode cannot be used,if glass bulb’s surface too dry need to be immerged into a saturated potassium chloride solution for 24 hours to activate and reuse. -
Page 9: Sample Test
then again press key , LCD will appear a twinkling 10.01 pH, confirm the calibration is right then press key to confirm the third point, at this time exit calibration mode into measuring mode ,the LCD will appear “ ” in the lower left corner,it means meter was third times calibrated. -
Page 10: Parameter Setting
after displaying value to be stable. Note: According to the pH equal temperature measuring theory: the closer the temperature of the sample solution with the calibration solution, the more accurate the measuring value will be acquired. So please comply with this theory. 4.4. - Page 11 Press key determines the current settings and returns. (c) Press key to enter into next parameter setting or press key to return to measuring mode. 4.4.3. Resolution selection (P2) (a) Press key in the mode P1 choose P2 , press key enters into mode P2, see picture (4-3).
- Page 12 4.4.5. Temperature unit ℃/℉ setting (P4) (a) Short press key in mode P3 to choose mode P4,press key enters into P4 see picture (4-5). (b)Press key to choose temperature unit: ℃ or ℉ ,press determines and returns; (c) Press key to enter into next parameter setting or press return to measuring mode.
-
Page 13: Considerations
key determines and returns; (c) Press key to enter into next parameter setting or press key to confirm and return to measuring mode. 4.4.8. Auto power off time setting (P7) (a) Press key in mode P6 to choose mode P7,press key enters into P7 see picture (4-8). - Page 14 calibrated. 4.5.2. The meter must be re-calibrated in the following situations: (a) New changed or unused electrode for a long time; (b) After measuring acid (pH<2) or alkaline (pH>12) solution; (c) After measuring solution which contains fluoride and concentrated organic solution; (d) The solution’s temperature is much different with calibration temperature.
- Page 15 removing the sample stuck on the electrode, or wash with suitable solvent then clean the solvent with purified water after measuring sticky sample. 4.5.8. An electrode be used for a long time, or measured solution which contains a polluting solute easily for the sensitive bulb, or a substance resulting in jam at the junction, the electrode will be getting passivated, its sensitivity will decrease and its response is getting slow, the reading are not correct.
-
Page 16: The Self-Diagnose Information
“ON” to restore the meter to producer setting mode, and then to calibrate and measure again. 4.6. The Self-diagnose Information: When using, there might appear the following icons. This is the meter’s self-diagnose information, which can help to know some information about the meter or the electrode when using: 4.6.1. -
Page 17: Meter's Complete Kit
6. Meter’s Complete Kit: 1unit 6.1. Model P611 pH meter 6.2. E-201-9 combination electrode 6.3. T-10-Q temperature electrode 1sets 6.4.standard buffer solution(4.00,7.00,10.01) 6.5. Manual 6.6. Carrying case 7. Warranty: 7.1. We warrant this meter to be free of charge maintain, replace the parts or products under normal using circumstances, from purchased time within one year caused by manufacturing bad and unable to work.
Need help?
Do you have a question about the P611 and is the answer not in the manual?
Questions and answers
How to reset meter to factory settings