Table of Contents
Advertisement
Quick Links
Is important to have both computer network and addressing backgrounds; available in following Websites:
http://en.wikipedia.org/wiki/IP_Address
http://en.wikipedia.org/wiki/Network_switch
The Network connecting cable provided along with the interface belongs to a direct connection type one; if
the interface is connected to an older version computer, it would be necessary a crossover network cable.
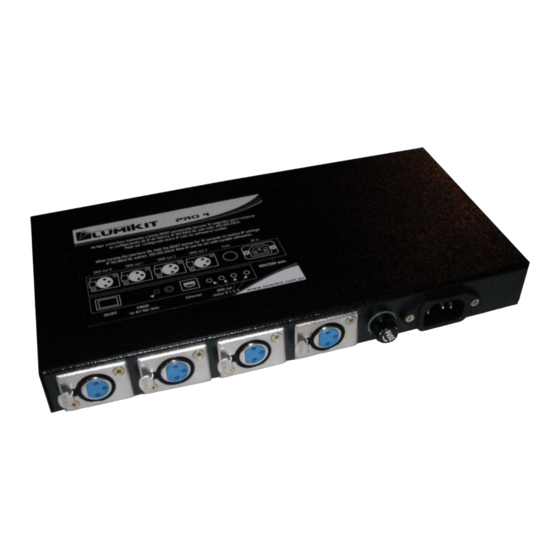
The power connection ground pin remains connected to the DMX connector hardware (XLR/canon).
Watch Lumikit PRO 4 interface's initial setup video:
http://www.lumikit.com.br/videos
Interface Lumikit PRO 4
User Guide
© 2011 Lumikit Sistemas para Iluminação
Lumikit Sistemas para Iluminação | www.lumikit.com.br
rev.2 – 29/08/2012
1
Advertisement
Table of Contents

Subscribe to Our Youtube Channel
Related Manuals for Lumikit PRO 4

Summary of Contents for Lumikit PRO 4
- Page 1 The power connection ground pin remains connected to the DMX connector hardware (XLR/canon). Watch Lumikit PRO 4 interface’s initial setup video: rev.2 – 29/08/2012 http://www.lumikit.com.br/videos...
-
Page 2: Table Of Contents
CONTENTS INTRODUCTION ........................................3 INSTALLATION, CONNECTORS, LEDS AND BUTTONS ........................... 4 LUMIKIT PRO 4 INTERFACE SETUP .................................. 4 ..................................... 8 OMMUNICATION ROBLEMS 1024-CHANNEL ARTDMX PACKAGES ................................9 CONNECTING THE INTERFACE ..................................9 INTERFACE RESET ......................................10 INTERFACE ISOLATION .......................................11 PACKAGE CONTENTS ......................................11 MAINTENANCE ........................................12... -
Page 3: Introduction
Art-Net universe, this way the interface would work as a buffer or splitter. The lighting designer can also configure DMX output 0 so it can be used by Lumikit SHOW software as well as configure DMX outputs 1, 2 and 3 so it can be used by Lumikit LED software; only by adjusting each Art-Net universe within the software or whatever more appropriate arrangement desired. -
Page 4: Installation, Connectors, Leds And Buttons
3. Lumikit PRO 4 Interface setup Before start the setup, be sure the computer’s network controller and the interface are connected through a network cable. Ethernet switches are allowed to be used so it guarantees more interfaces to be connected into the same computer and/or access points/routers performing communication with the interface. - Page 5 On either Lumikit SHOW or Lumikit LED software, inside interface settings (“INterfaces” button), click on the “Setup Art-Net interfaces” button, and then the following window will be displayed: In the list (1) will be displayed interfaces found over the network; in case of none to be displayed, check for possible communication problems (next chapter) and then click on “Search Art-Net interfaces”...
- Page 6 Once required changes are finished being made, click then on “Program interface” (4) and follow the following instructions displayed on screen: To configure the interface within Lumikit SHOW or Lumikit LED software press button “Auto detect” (1): Lumikit Sistemas para Iluminação | www.lumikit.com.br...
- Page 7 Check for more details on 1024-channelArtDMX packages later on chapter 4. These 2 packages equal to 4 512-channel packages. In case that DMX outputs definitions have been changed to Art-Net universes 0, 0, 1 and 2: Once “Auto detect” button is clicked on: Lumikit Sistemas para Iluminação | www.lumikit.com.br...
-
Page 8: Communication Problems
In case of communication with the interface is still not possible to be done, perform an interface RESET (chapter 6), set network settings IP to192.168.0.1 and try again; If Windows is your operating system, turn its firewall off. Lumikit Sistemas para Iluminação | www.lumikit.com.br... -
Page 9: 24-Channel Artdmx Packages
4. 1024-Channel ArtDMX Packages Lumikit PRO 4 Interface has 4 DMX outputs; which can be used to control whatever DMX device, including electronic LED panels. On controlling LED panels an undesirable outcome might happen: DMX outputs are updated different times, therefore small shares from the panel updates themselves before the other. -
Page 10: Interface Reset
IP Address: 192.168.0.30 Network mask: 255.255.255.0 DMX Output0 = Art-Net Universe 0; DMX Output1 = Art-Net Universe 1; DMXOutput 2 = Art-Net Universe 2; DMX Output3 = Art-Net Universe 3; Lumikit Sistemas para Iluminação | www.lumikit.com.br... -
Page 11: Interface Isolation
8. Package Contents Lumikit PRO 4 Interface; Power supply cable; Direct network cable; Instruction booklet; CD containing LumikitPack (SHOW + LED) and Lumikit SHOW MACOSX softwares, PDF manual and videos. Lumikit Sistemas para Iluminação | www.lumikit.com.br... -
Page 12: Maintenance
Wait until it is totally dry, so you can connect every cable into the interface again. 11. Warranty Lumikit PRO 4 interface has a 12-month warranty. Network cable and all read-out integrated circuits are not warranty covered, due to the fact it depends on the installation provided by the client. - Page 13 In case other network adapter makes itself needed to work together with the interface, you must within Lumikit SHOW or Lumikit LED softwares inform by which network controller the connection is supposed to be made, only by informing the adapter IP address.
-
Page 14: Changing Ip Address/ Macosx
On the following list, select “Ethernet”; Fill out the “IP Address:” field with “192.168.0.1” and “Subnet Mask:” with255.255.255.0”: Type “ping 192.168.0.30” on Terminal to check if the communication is working. Turn Air-Port off in case a communication with the interface could not be established. Lumikit Sistemas para Iluminação | www.lumikit.com.br... -
Page 15: Problems And Solutions
Error LED also on. S: Check if Lumikit PRO 4 interface responds on performing a PING for its IP. Whether the interface isn’t able to respond to the PING, it should also not be able to be found by software (you can learn how to perform a Ping action in the explanation videos). This problem may occur by the following causes: - Network cable currently being used is not compatible;...
Need help?
Do you have a question about the PRO 4 and is the answer not in the manual?
Questions and answers