Table of Contents
Advertisement
Quick Links
create quality products designed to enhance your home. Visit us online to see our full line of products available for your home improvement
USE AND CARE GUIDE
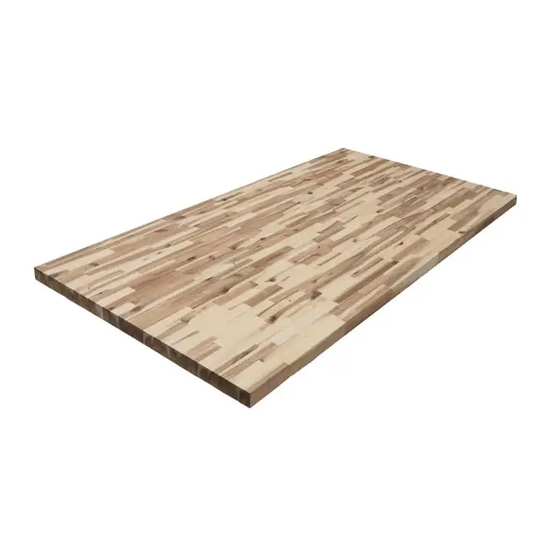
HB ACACIA BUTCHER BLOCK
Questions, problems, missing parts? Before returning to the store,
call Hampton Bay Customer Service
8 a.m. - 7 p.m., EST, Monday – Friday, 9 a.m. – 6 p.m., EST, Saturday
1-855-HD-HAMPTON
HAMPTONBAY.COM
needs. Thank you for choosing Hampton Bay!
Item #1007 508 205
Item #1007 508 032
Item #1007 171 619
THANK YOU
Item #1007 171 581
Item #1007 171 743
Item #1007 171 565
Item #1007 508 152
Item #1007 508 193
Item #1007 508 161
Advertisement
Table of Contents

Related Manuals for HAMPTON BAY HB ACACIA BUTCHER BLOCK 1007 508 205


Summary of Contents for HAMPTON BAY HB ACACIA BUTCHER BLOCK 1007 508 205
- Page 1 8 a.m. - 7 p.m., EST, Monday – Friday, 9 a.m. – 6 p.m., EST, Saturday 1-855-HD-HAMPTON HAMPTONBAY.COM THANK YOU create quality products designed to enhance your home. Visit us online to see our full line of products available for your home improvement needs. Thank you for choosing Hampton Bay!
-
Page 2: Table Of Contents
Table of Contents Safety Information ........2 Installation . -
Page 3: Pre-Installation
Pre-Installation PLANNING INSTALLATION Ensure the countertop is installed and nished (using oil, oil-wax, varnish) before use. Follow the instructions contained in this manual to keep the warranty valid. NOTE: Within 24 to 48 hours after unpacking, the countertop must be nished on both sides and all edges. It is very important to properly coat the countertop with a high quality oil. -
Page 4: Tools Required
Pre-Installation (continued) TOOLS REQUIRED Safety Tape Gloves Level goggles measure 1-1/4 in. Drill Sandpaper Drill Wood bits screws Caulk Orbital Circular Jigsaw sander... -
Page 5: Installation
Installation Planning for Expansion Gaps The countertop expands and contracts depending on the humidity and temperature of the room. Provide expansion gaps between the edges of the countertop and wall, which allows for this wood movement. To protect your walls and hide the expansion gap, the use of a back splash is recommended. - Page 6 Installation (continued) Mounting the Countertop to your Cabinets Mount the countertop to the cabinet frame or drill overized holes in your support blocks. Using washers, screw the countertop all the way, then withdraw the screw by a quarter turn to preserve the natural wood work, while keeping the countertop in position.
- Page 7 Installation (continued) Joining Countertops (continued) Joint Dishwasher The required distance between banding countertops and the sink, hotplate, dishwasher, and so forth, cannot be less than 4 in. (100 mm), nor can the countertops be joined min. min. 4 in. 4 in. (100 mm) within their range or at an angle.
-
Page 8: Maintenance
Maintenance PROTECTING THE SURFACE Solid Wood Panel - Finishing your countertop with oil or oil-wax One of the preferred nish procedures is to use oil or wax oil. Strictly follow the manufacturer’s instructions as to the use of any oil or oil-wax. Once installed, the working surface must be protected with a layer of oil (multiple applications may be needed) that provides a barrier and prevents the ingress of water and dirt into the wood. -
Page 9: Removing A Dent From Your Top
Care and Cleaning (continued) REMOVING A DENT FROM YOUR TOP WARNING: Irons and steam are extremely hot and can burn you. Please use caution. Finished tops will require you to sand the area till the nish is gone. Use the nest sandpaper to take off the nish (220 grit for oil, to 150 grit for polyurethane nish). NOTE: Always sand in the direction of the wood grain. - Page 10 Questions, problems, missing parts? Before returning to the store, call Hampton Bay Customer Service 8 a.m. – 7 p.m., EST, Monday – Friday, 9 a.m. – 6 p.m., EST, Saturday 1-855-HD-HAMPTON HAMPTONBAY.COM Retain this manual for future use.
Need help?
Do you have a question about the HB ACACIA BUTCHER BLOCK 1007 508 205 and is the answer not in the manual?
Questions and answers