Table of Contents
Advertisement
Quick Links
Advertisement
Table of Contents

Related Manuals for AIS XMP-120


Summary of Contents for AIS XMP-120
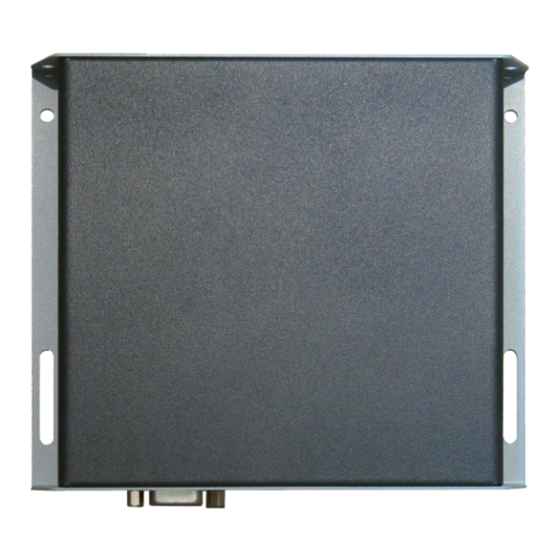
- Page 1 XMP-120/130 User’s Manual Notes about model variants The XMP-120 and XMP-130 models are based on XMP-120 with the following differences: XMP-120 XMP-130 Ethernet only Ethernet + Wi-Fi Wireless operations apply to XMP-130 only. All other aspects of operation are identical for each model.
-
Page 2: Table Of Contents
2. Setting up the system 2.1. System connections 2.2. Entering menu configuration via USB keyboard 2.3. Navigating the menus 2.4. Connect the XMP-120/130 to your network 2.5. Clock and calendar settings 2.6. Audio volume settings 2.7. Video output settings 2.8. -
Page 3: Introduction
1. Introduction This document describes the hardware and software operations of the XMP-120/130, system set up, and frequently asked questions. 1.1. Features HDMI, VGA, and Composite video outputs High resolution image output up to 1280x720 pixels DVD quality video playback with sound using MPEG-4 ASP @2Mbps ... -
Page 4: Setting Up The System
2.3. Navigating the menus You must attach a USB keyboard (not supplied) to the XMP-120/130 to configure settings. With the player booted up and ready, it takes approximately 30 seconds after you plug in the keyboard for the following menu to be... -
Page 5: Clock And Calendar Settings
DHCP – automatically assign network IP address DHCP is enabled by default. You do not need to change the settings unless setting a static IP. Static IP – manually assign network IP address Highlight “IP configuration” and press “Enter” on keyboard to <Select> Move the highlight to “Static IP”... -
Page 6: Audio Volume Settings
If you are connecting to an LCD TV, the resolution setting is most likely 1366x768 or 1920x1080 For 1920x1080 displays, we recommend setting the output of XMP-120/130 to 1280x720 for the best video quality. If you are connecting a LCD computer monitor, projector, or plasma display, refer to the device documentation for the best matching setting. - Page 7 DOWNLOAD the latest firmware and copy it to the root directory of a USB drive from www.digisignage.com PLUG the power cord into the device PLUG a USB keyboard to the device to enter menu system Follow on screen instructions and SELECT firmware upgrade option in the menu When instructed, PLUG IN the USB drive to begin firmware upgrade...
-
Page 8: Content Management
3. Content Management Please consult the software documentation for information specific to your management solution... -
Page 9: Working With Smil
4. Working with SMIL The XMP-120/130 uses open communications protocols for highly flexible content presentation and playback control. SMIL-compliance means predictable results across multiple devices, and SMIL’s non-proprietary nature means that your investments are never obsolete. 4.1. Introduction Using SMIL (pronounced “smile”), the language created by W3C for multimedia communications, the media player understands the language “spoken”... -
Page 10: Technical Data
5. Technical Data 5.1. Specifications XMP-120 XMP-130 Video format support MPEG-1 or MPEG-4 ASP (up to 2 Mbps bitrate) Recommended 16:9 video resolution: 640x360 or 720x400 Image format support JPEG baseline (1280x720 recommended resolution) Audio codec support MP3 or MPEG L2 audio (up to 384Kbps) Playback control W3C SMIL 3.0 instructions (sub-set) - Page 11 Ethernet will take priority for data transfer. What is the maximum file size for a single video file? The maximum video file size for the XMP-120 is 2GB, even when using a larger SD card. Recommend file size is 1850MB or less.
- Page 12 During content and schedule sync, contents are transferred to player’s local storage before being presented on screen. This ensures the best possible presentation and fluid delivery of your video message. Video streaming raises many playback quality issues such as image freezing, blocking, or blue-screens, costing you valuable “air time”...
Need help?
Do you have a question about the XMP-120 and is the answer not in the manual?
Questions and answers