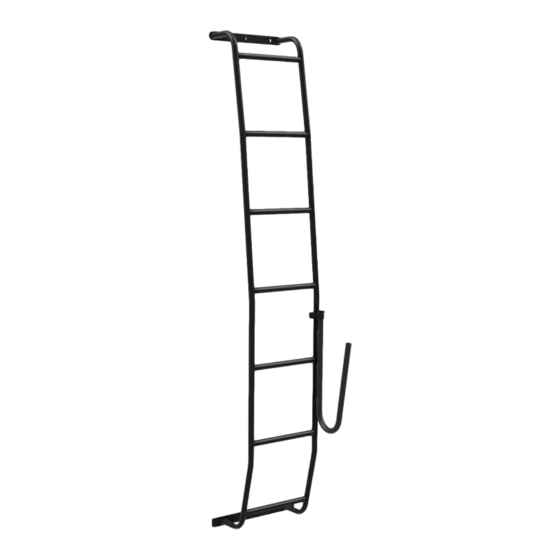
Summary of Contents for Orion Promaster Board Pole for Stealth+
- Page 1 ORION VAN GEAR Proudly Made in Oregon Promaster Board Pole for Stealth+ INSTALLATION GUIDE support@orionvangear.com - (971) 267-2552...
- Page 2 INSTRUCTIONS AND WARNINGS BEFORE BEGINNING THE INSTALLATION. THE RESPONSIBILITY TO CORRECTLY INSTALL ORION VAN GEAR PRODUCTS IS YOURS AND MUST BE TAKEN SERIOUSLY. ORION VAN GEAR LLC WILL NOT BE HELD LIABLE OR RESPONSIBLE FOR DAMAGES OR PERSONAL INJURIES RESULTING FROM THE USE OF OUR PRODUCTS.
-
Page 3: Materials Required
MATERIALS REQUIRED REQUIRED ● 1x 7/16” Wrench ● Drill Set 1/8” Drill Bit 9/32” Drill Bit ● 1x 5/32” Ball End Allen Key (For 1/4”-20 Hardware) ● 1x Blue Threadlock (Medium Strength) [RECOMMENDED ON T-NUT HARDWARE] ● 1x 1 oz Anti-seize Lubricant [RECOMMENDED ON ALL NYLON LOCKNUT JOINTS] ●... -
Page 4: Included Hardware
INCLUDED HARDWARE Board Pole (bottom) Board Pole (top) Bayonet 1/4”-20 Hardware 15S T-NUT BUTTON-HEAD SCREWS WASHERS HEX NYLON NUT W/SPRING BALL Seam Plate (2 hole) Black 5/8” BL 3/4” BL Silver 1 1/4” BL... - Page 5 STEP 1 - Slide the BAYONET into the bottom section of the board pole (the shorter piece) making sure to align the threaded holes on the BAYONET with the holes on the board pole. - Insert 2x 5/8" SCREWS through the ladder into the BAYONET. (Apply Threadlocker) - Join the top and bottom board pole sections together and insert remaining 2x 5/8"...
- Page 6 STEP 2 2A- Determine the desired location for the board pole on the driver’s side of your van. The top of the pole mounts to the 8020 through the slots on the Stealth+ rack. Roll 2x 15S T-NUTS in to the 8020 approximately 2” apart to match the desired location determined in step 2A.
- Page 7 STEP 3 3A- Next, position the pole so the bottom flange sits flush towards the top of the van’s pinch weld illustrated in Fig. 3A. Once positioned, tighten the 2 screws on the top of the pole from step one. 3B- Using the 2 slots on the bottom flange as a template, mark and drill holes into the van’s pinch...
- Page 8 STEP 4 4A- Use 2x 1.25” SCREWS, 4x WASHERS, and 2x NYLON NUTS to grip the bottom flange, pinch weld, and backing plate. Use the order specified in Fig 4A below. (Apply anti-seize) 4B - Tighten all connections and enjoy! Under Van Fig.
- Page 9 OR REPLACEMENT PARTS CONTACT US: support@orionvangear.com (971) 267-2552 STOKED WITH YOUR NEW ORION PRODUCTS? Help us spread the word about by tagging us in your photos and videos (@OrionVanGear) on Instagram, Facebook, and TikTok! We can’t wait to see your adventures and hear your stories! instagram.com/orionvangear...


Need help?
Do you have a question about the Promaster Board Pole for Stealth+ and is the answer not in the manual?
Questions and answers