
Related Manuals for Selbit ANTD-03


Summary of Contents for Selbit ANTD-03
- Page 1 ANTD-03 AUTOMATIC CUT THICKNESS CONTROLLER AUTOMATIC CUT THICKNESS CONTROLLER AUTOMATIC CUT THICKNESS CONTROLLER FOR 2-HEAD BANDSAWING MACHINE HEAD BANDSAWING MACHINE HEAD BANDSAWING MACHINE INSTALLAOR AND USER MANUAL INSTALLAOR AND USER MANUAL...
- Page 2 F – PG chokes for introduction of the cables G – Screws fixing the case to a support or the machine (4 units, 4.1 x 10 mm) H – hole plugs for the holes of fixing screws I – back of the case www.selbit.pl...
- Page 3 Length of the power cables (24V) should be adequate to the location of the controller. The cables going from the SEC 24V transformer clamps should in the final stage of the installation be connected to controller board clamps marked as PWR. (4) Installation of the interference suppressors (CPZ) www.selbit.pl...
- Page 4 The sensor ought to be fixed with two screws going through the case in such a way that it will be exactly 1 to 1.5 mm above the tape, in aparallel position. www.selbit.pl...
- Page 5 Maximal allowed tilt of the sensor and the Maximal allowed tilt of the sensor and the vertical axis Maximal allowed tilt of the sensor and the Maximal allowed tilt of the sensor and the horizontal axis www.selbit.pl...
- Page 6 It is done in accordance with the description of the first launch, by switching places of orange and red sensors. Connecting of the sensors MSK – 320 to ANTD-03 connectors (5a) Rotating encoder installation...
- Page 7 The rotating encoder cables should be lied away from other electric cables. Through fixing it with fixing bands it is introduced to the location where the controlled will be installed. www.selbit.pl...
- Page 8 Before putting the front panel into the back part of the casing or the workbench, check whether the rubber gasket is placed in the grove running around the panel where it is supposed to be. It is important for ensuring proper tightness of the connection and prevents dirt from getting inside the casing. www.selbit.pl...
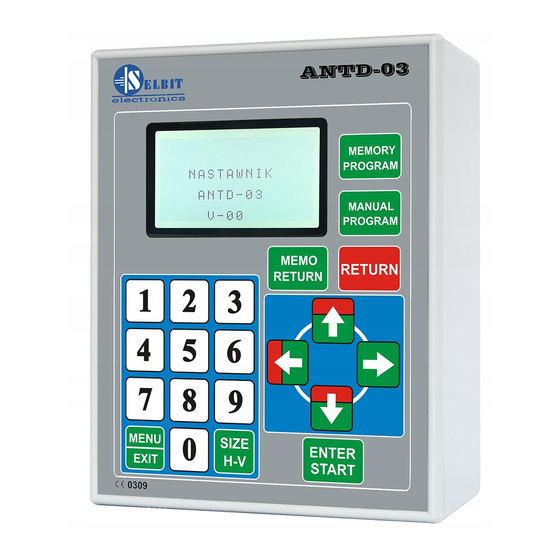
- Page 9 To enter the next menu (selected and highlighted using the dark background), use the right arrow key. To go back to the previous menu, press the left arrow key, and to exit the entire menu altogether at any moment, press the MENU/EXIT key. www.selbit.pl...
- Page 10 After www.selbit.pl...
- Page 11 If the machine does not respond correctly to the keys being pressed, check whether W1- W4 control outputs of the controller have been correctly connected to the relevant contactors. Horizontal counting test www.selbit.pl...
-
Page 12: Auto Calibration
ENTER/START key. During the autocalibration, the controller moves the heads of the machine, while displaying the progress bar and the correction factor measurements for the subsequent movements. Upon the completion of the autocalibration process, the controller displays a relevant message. www.selbit.pl... - Page 13 Having changed the language, confirm your choice by pressing ENTER/START. Operation of the ANTD-03 controller The ANTD-03 is equipped with an LCD graphic display that shows the functions carried out by the controller and the settings. Additional symbols of...
- Page 14 Cutting programs ANTD-03 offers the option to set the dimension for the worked material from the level of the bed up. 1 - Manual program.
- Page 15 To leave the program mode, press the MENU/EXIT key shortly. 2 - Memory program. The ANTD-03 controller has the option to set up and save an individual cutting program that can be loaded from the memory at any moment. www.selbit.pl...
- Page 16 Warning! The controller should be operated only in temperatures ranging from -10 to +45 degrees Celsius. Before starting work, check if the saw elevation displayed on ANTD-03 conforms to the elevation shown by the mechanical measuring tool. Should there be a discrepancy, enter the proper elevation according to the instructions in the section titled: ‘Setting the actual elevation above the bed’.
- Page 17 EMC directive. The ANTD-03 controller has to be considered as a component because it is not a machinery or a ready-to-use appliance according to European directives (Machinery Directive and EMC Directive).
Need help?
Do you have a question about the ANTD-03 and is the answer not in the manual?
Questions and answers